In keeping with our recycle, reuse, repurpose theme at Art Journal Journey, Bleubeard and I will be working with paint that includes some that is dried. Since Bleubeard doesn't like paint or wet paws, he has asked me to share this tutorial without his help.

For this technique, the materials include (but as I found out rather quickly, are not limited to) from back clockwise:
Bucket of clean water
Paint samples found in my stash, many dried and dead
Silicone sheet
Corrugated plastic covered with a plastic bag to facilitate clean up
Cotton fabric (originally a gifted king size pillowcase that had been washed many times
Scissors to ease in tearing fabric
Chip brush or paint brush (I don't recommend foam)
Plastic gloves to protect your hands (this is a messy project)
Painter's tape
Not shown:
Spray bottle containing distilled water (doesn't need to be distilled, but it's the only sprayer I have), paper towels, and a fine tip paint brush

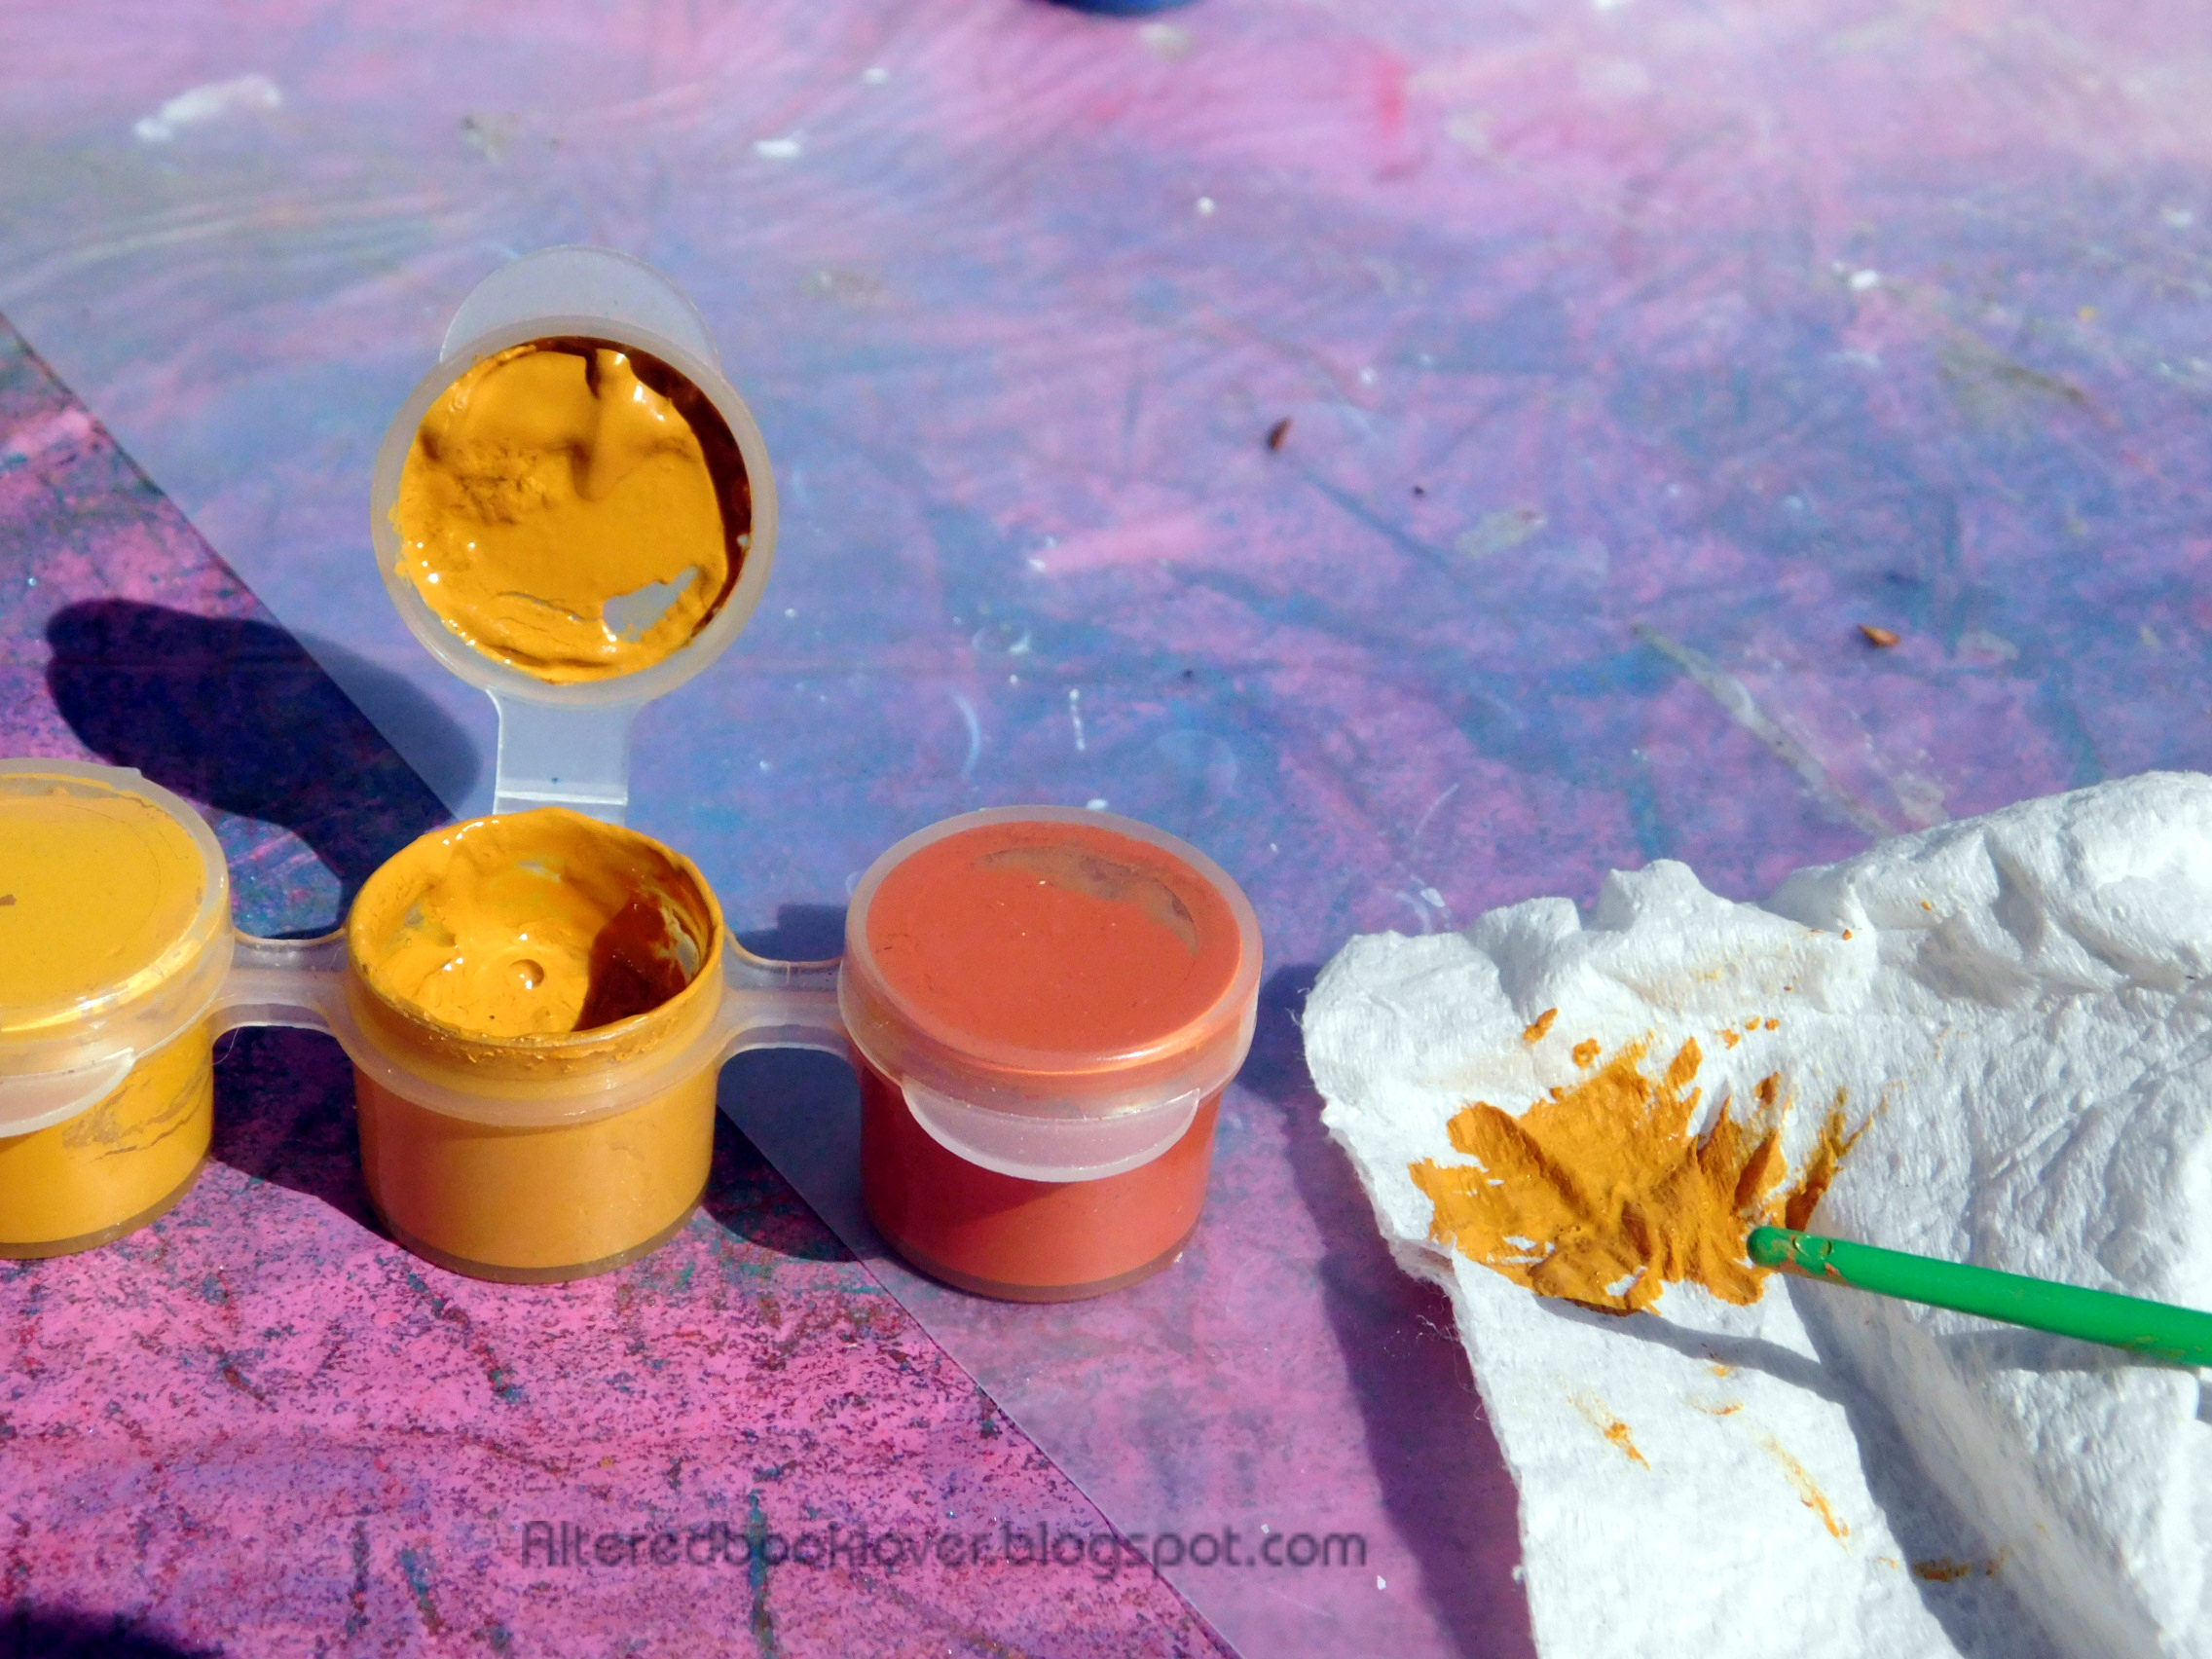
I found these paints in my basement studio when I was working down there one day. I was shocked at how many had dried beyond rejuvenation. I suspect these were low quality paints to begin with. Because some of these paints had turned to a solid mass it was impossible to get them back to a workable state after they dried completely. They had dried through to the core and had thoroughly hardened. Whether they were quality paints or cheap acrylics, the biggest offender of paint drying beyond use is air. When
any acrylic paint is exposed to air, it begins to harden.

It took me a couple of minutes to determine how I would show the paints that were dried beyond use, and I finally decided to open the lids on the ones that were completely dry. Six of 12 were dead. Dead as the Wicked Witch of the East who fell under Dorothy's house.

It took maybe half a second to realize that big chip brush was not going to fit in those little pots, so it was off to find one that would. I also remembered to bring paper towels to clean the paint off the brush and brush handle.

I checked to make sure the pillowcase was 100% cotton, which it was.

It was now time

to tear the fabric to size.

The next step was to place the fabric in the clean water.

The paint was either dead or separated, so it was time to stir the paint that was still viable. I revived the separated acrylic paint as best I could by mixing the pigment and binder back together with the handle of my little paintbrush.

The mundane chore was now completed, so the fun could commence at last.

Now the fabric was well saturated, it was time to lay it out on the plastic. Do not wring the fabric. It needs to be very wet.

I was starting to lose light on my table, so I kept moving it into the light.

It was also now time to put on your gloves and add masking tape to two corners of the fabric.

Using a paintbrush that was wet, add the paint. I had limited paint to share, but I certainly tried to use it all.

Continue adding paint. If your fabric starts to dry, spritz more water on the fabric and the paint.

It may be hard to see, but there is a circle of pale pink paint around the outside. Some of the blue migrated out when I spritzed more water on the fabric.

It was time to remove the masking tape that held the fabric to the plastic.

Starting in the center of the painting, scrunch the fabric into a ball. Place on a suitable surface (I used a gifted silicone mat) in a sunny spot to dry.

Let's try a different piece, since I still have a bit of paint left. This time, remove as much air as possible from the wet fabric.

This is sideways. I tried to flip it so you could tell it was supposed to be a scene at sunset on a beach, but because of the perspective, you could tell even less when I rotated it. I've always said I'm no good at drawing and I guess this proves it.

Once dry, I ironed this piece that had been scrunched and the two pieces I used to clean the plastic. I loved how the fabric looked mottled and the various lines the scrunching created. Although it looks like the fabric hadn't been ironed, it was just the way the fabric dried.

The beach scene at sunset is not what I expected, but I liked the scrunched fabric from the back as much as I did from the front.

I like the back of the beach scene even better than the front. I may tear the beach scene up and use parts of it in other artistic endeavors.
Ruminations:
Some of the paint was thicker than other, which made it difficult to get a good scrunch effect.
Some of the paint mixed with other colors because of the different thicknesses of the old paint.
I suspect that would not be the case if all the paint was the same consistency.
I was able to use all the yellow, pink, and blue, but I still have some brown and dark green. At least I got rid of most of the unwanted paint that I found in my stash when I was taking an inventory of my paint in the basement studio.
Thank you for sticking with me through this very long tutorial. When this post goes live, you will be able to access it at any time on my Tutorials page. If you try this technique, please use new or consistent paint. I'm sure you'll get far better results than I got, even though I'm pleased with the outcome of these two fabrics I can use for projects other that what I originally planned. Bleubeard is thrilled this project is complete and he didn't have to contribute a singe thing.


.JPG)


 These are the basic materials for this post.
 From left clockwise:
 As usual I forgot something, and that is a palette knife.
 Here's a closer look at the colors I have chosen. I don't have white fluid acrylic, so I am using a different brand.
 The first thing I did was line the pages up in the proper direction and the side I chose I thought would look best. Then I got super busy creating these first layers and forgot to take any photos.
 I used these pages to clean my palette knife and the tops of both the blue and green Phthalo bottles.
 I started with Phthalo Blue as it came out of the bottle. I didn't realize how long it was going to take for these marks to dry.
 Next, I added white and it changed the color quite a bit, I thought.
 Even more white made the Phthalo blue (green shade) look like a watercolor, but acted like an acrylic on the various pages.
 The page back left was out of order and should have been with the first ones where the paint was straight from the bottle. The page back right was watered down with both white paint and water.
 I was
almost out of room on my craft room floor, so I switched to Phthalo
green (blue shade). The marks on these pages were straight from the
bottle.
I was
almost out of room on my craft room floor, so I switched to Phthalo
green (blue shade). The marks on these pages were straight from the
bottle. I was so glad I found one blue page (bottom right), so you can tell the difference between the green and blue.
 It's really obvious I will need more time to work on these pages. I haven't even opened the silver, yet. I will continue working on these, because this is just the first layer of each. I still need to add more marks and more layers. And of course, I have all those pages on the left I have not yet started. Nothing like waiting until the last minute to try to create a tutorial that will more than likely take a week to complete.
 One good thing. I know what to look for next time and what space I need for drying time. Once this goes live, I will call it Part 1 and show Part 2 next month.




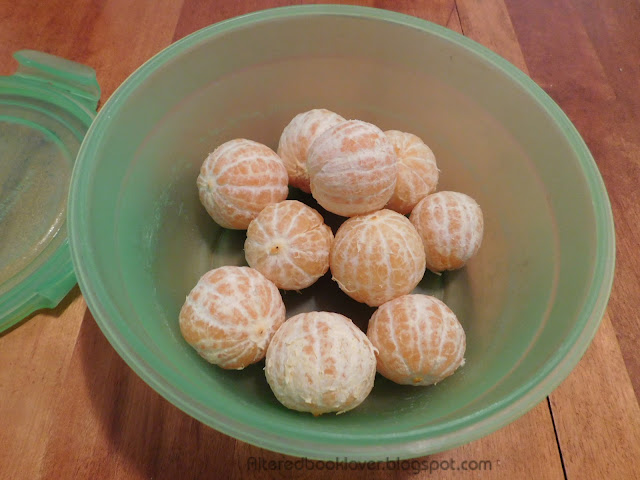 Some of you have seen this bowl of mandarin oranges before.
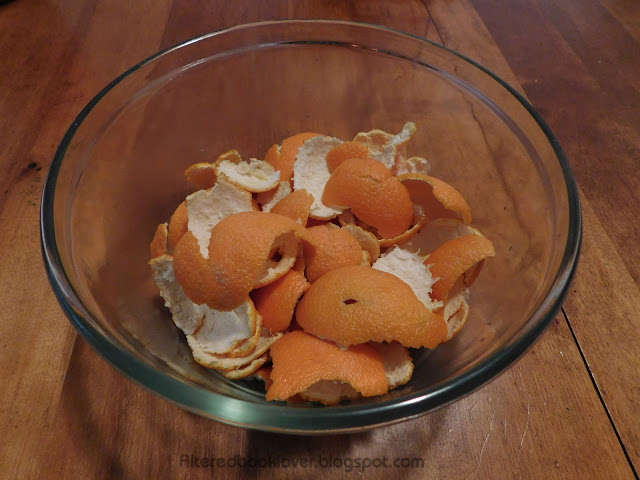 You may also recall I purchased
the oranges for the peels because their outer skins are much thinner
than regular oranges.
You may also recall I purchased
the oranges for the peels because their outer skins are much thinner
than regular oranges.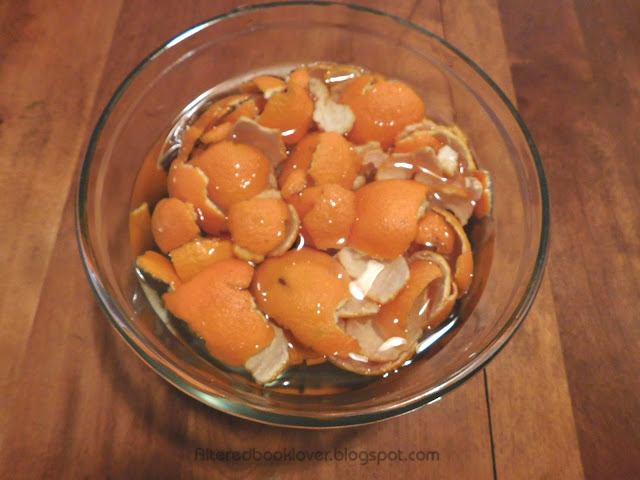 I added water to the peels and cooked them in the microwave oven for 30 minutes on 30% power. I know ALL reputable web sites will tell you to cook them on the stove in a steel pot for an hour, but those sites also have a bigger budget than I have. I am trying to conserve electricity, the cost of which is through the roof right now. By using the microwave, I am hoping to 1) save on electricity and 2) achieve basically the same results.
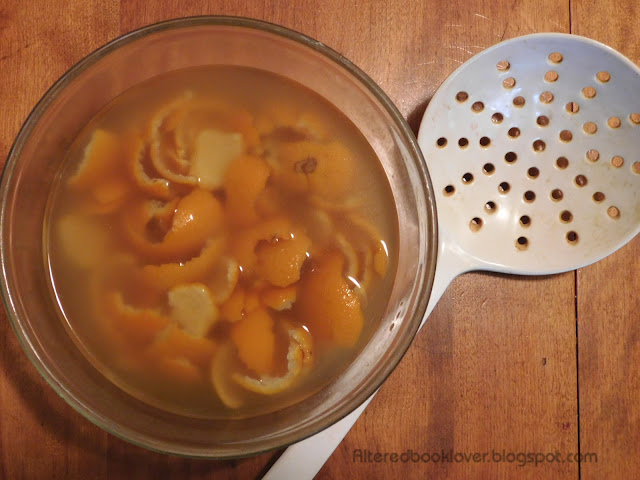 As I mentioned earlier, I wasn't sure I had the right color, but I decided it was probably not
going to get much darker. Using a strainer dedicated to crafts, I
removed the peels. I wondered if I should have cut or torn them a bit
more before I cooked them.
As I mentioned earlier, I wasn't sure I had the right color, but I decided it was probably not
going to get much darker. Using a strainer dedicated to crafts, I
removed the peels. I wondered if I should have cut or torn them a bit
more before I cooked them.  At least they were easy to remove from the bath.
 I had to
wait overnight until the liquid cooled sufficiently before I
continued. BTW, the spent peels went in my compost pile.
I had to
wait overnight until the liquid cooled sufficiently before I
continued. BTW, the spent peels went in my compost pile.
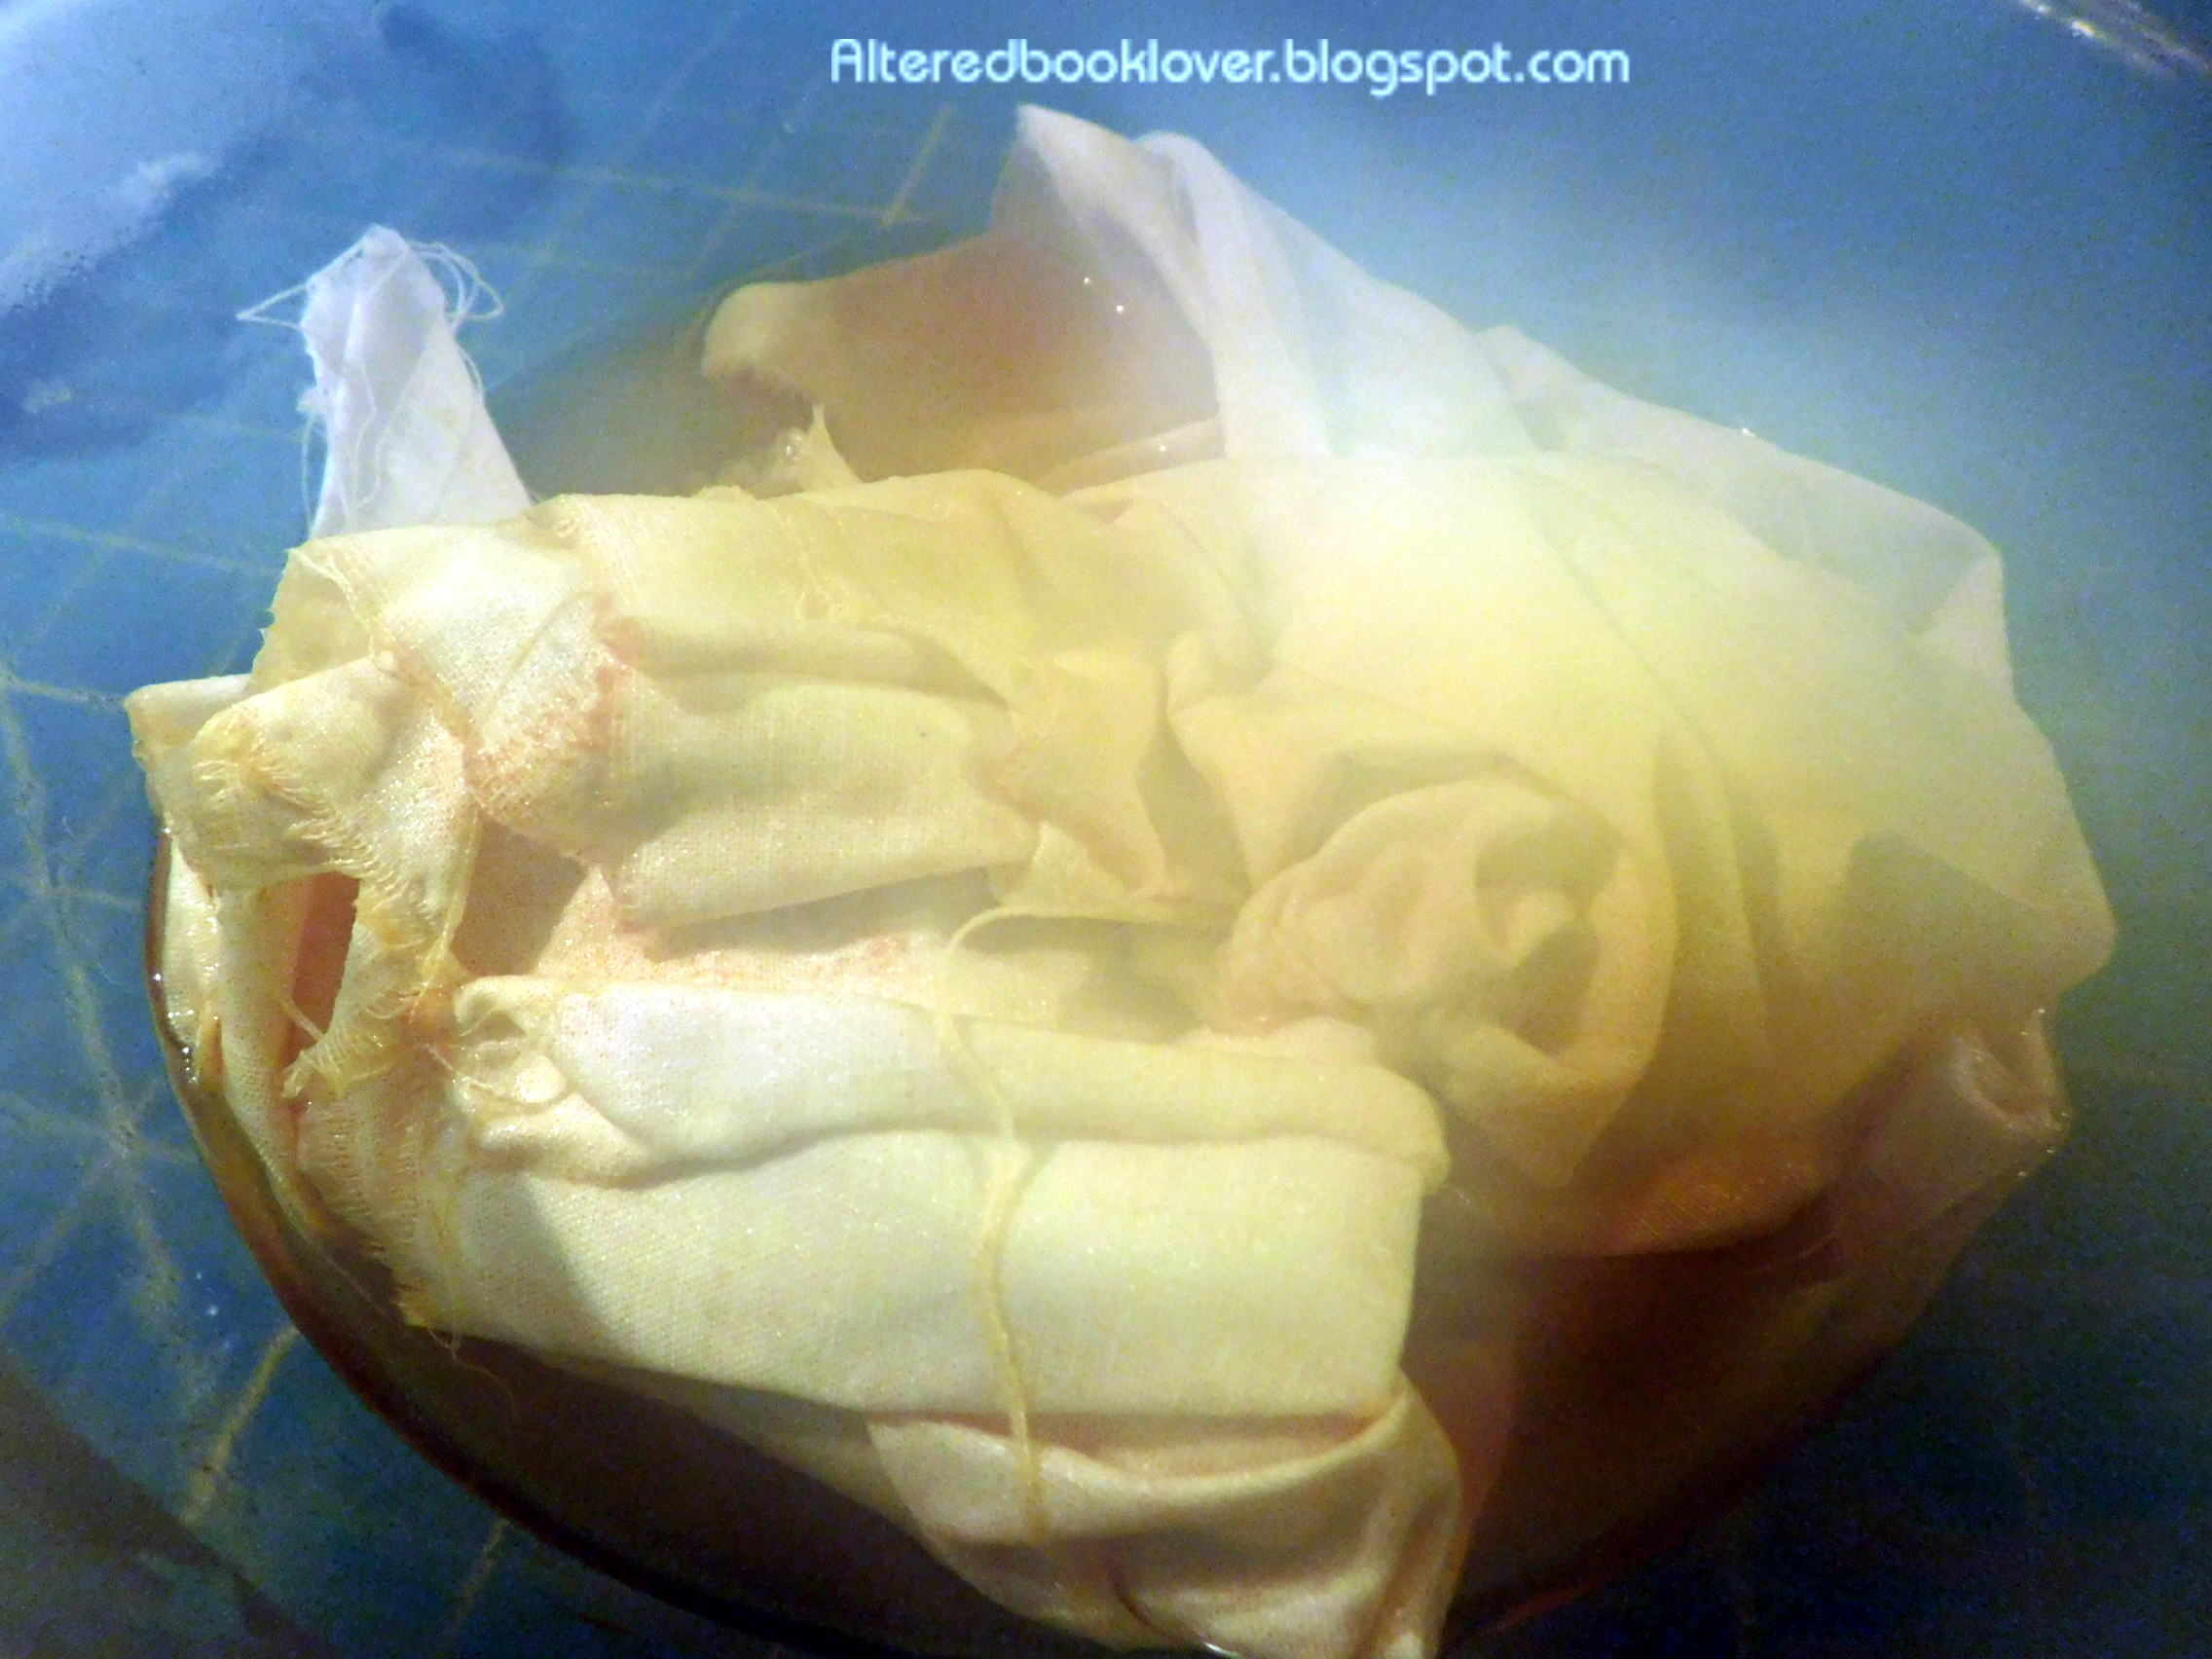


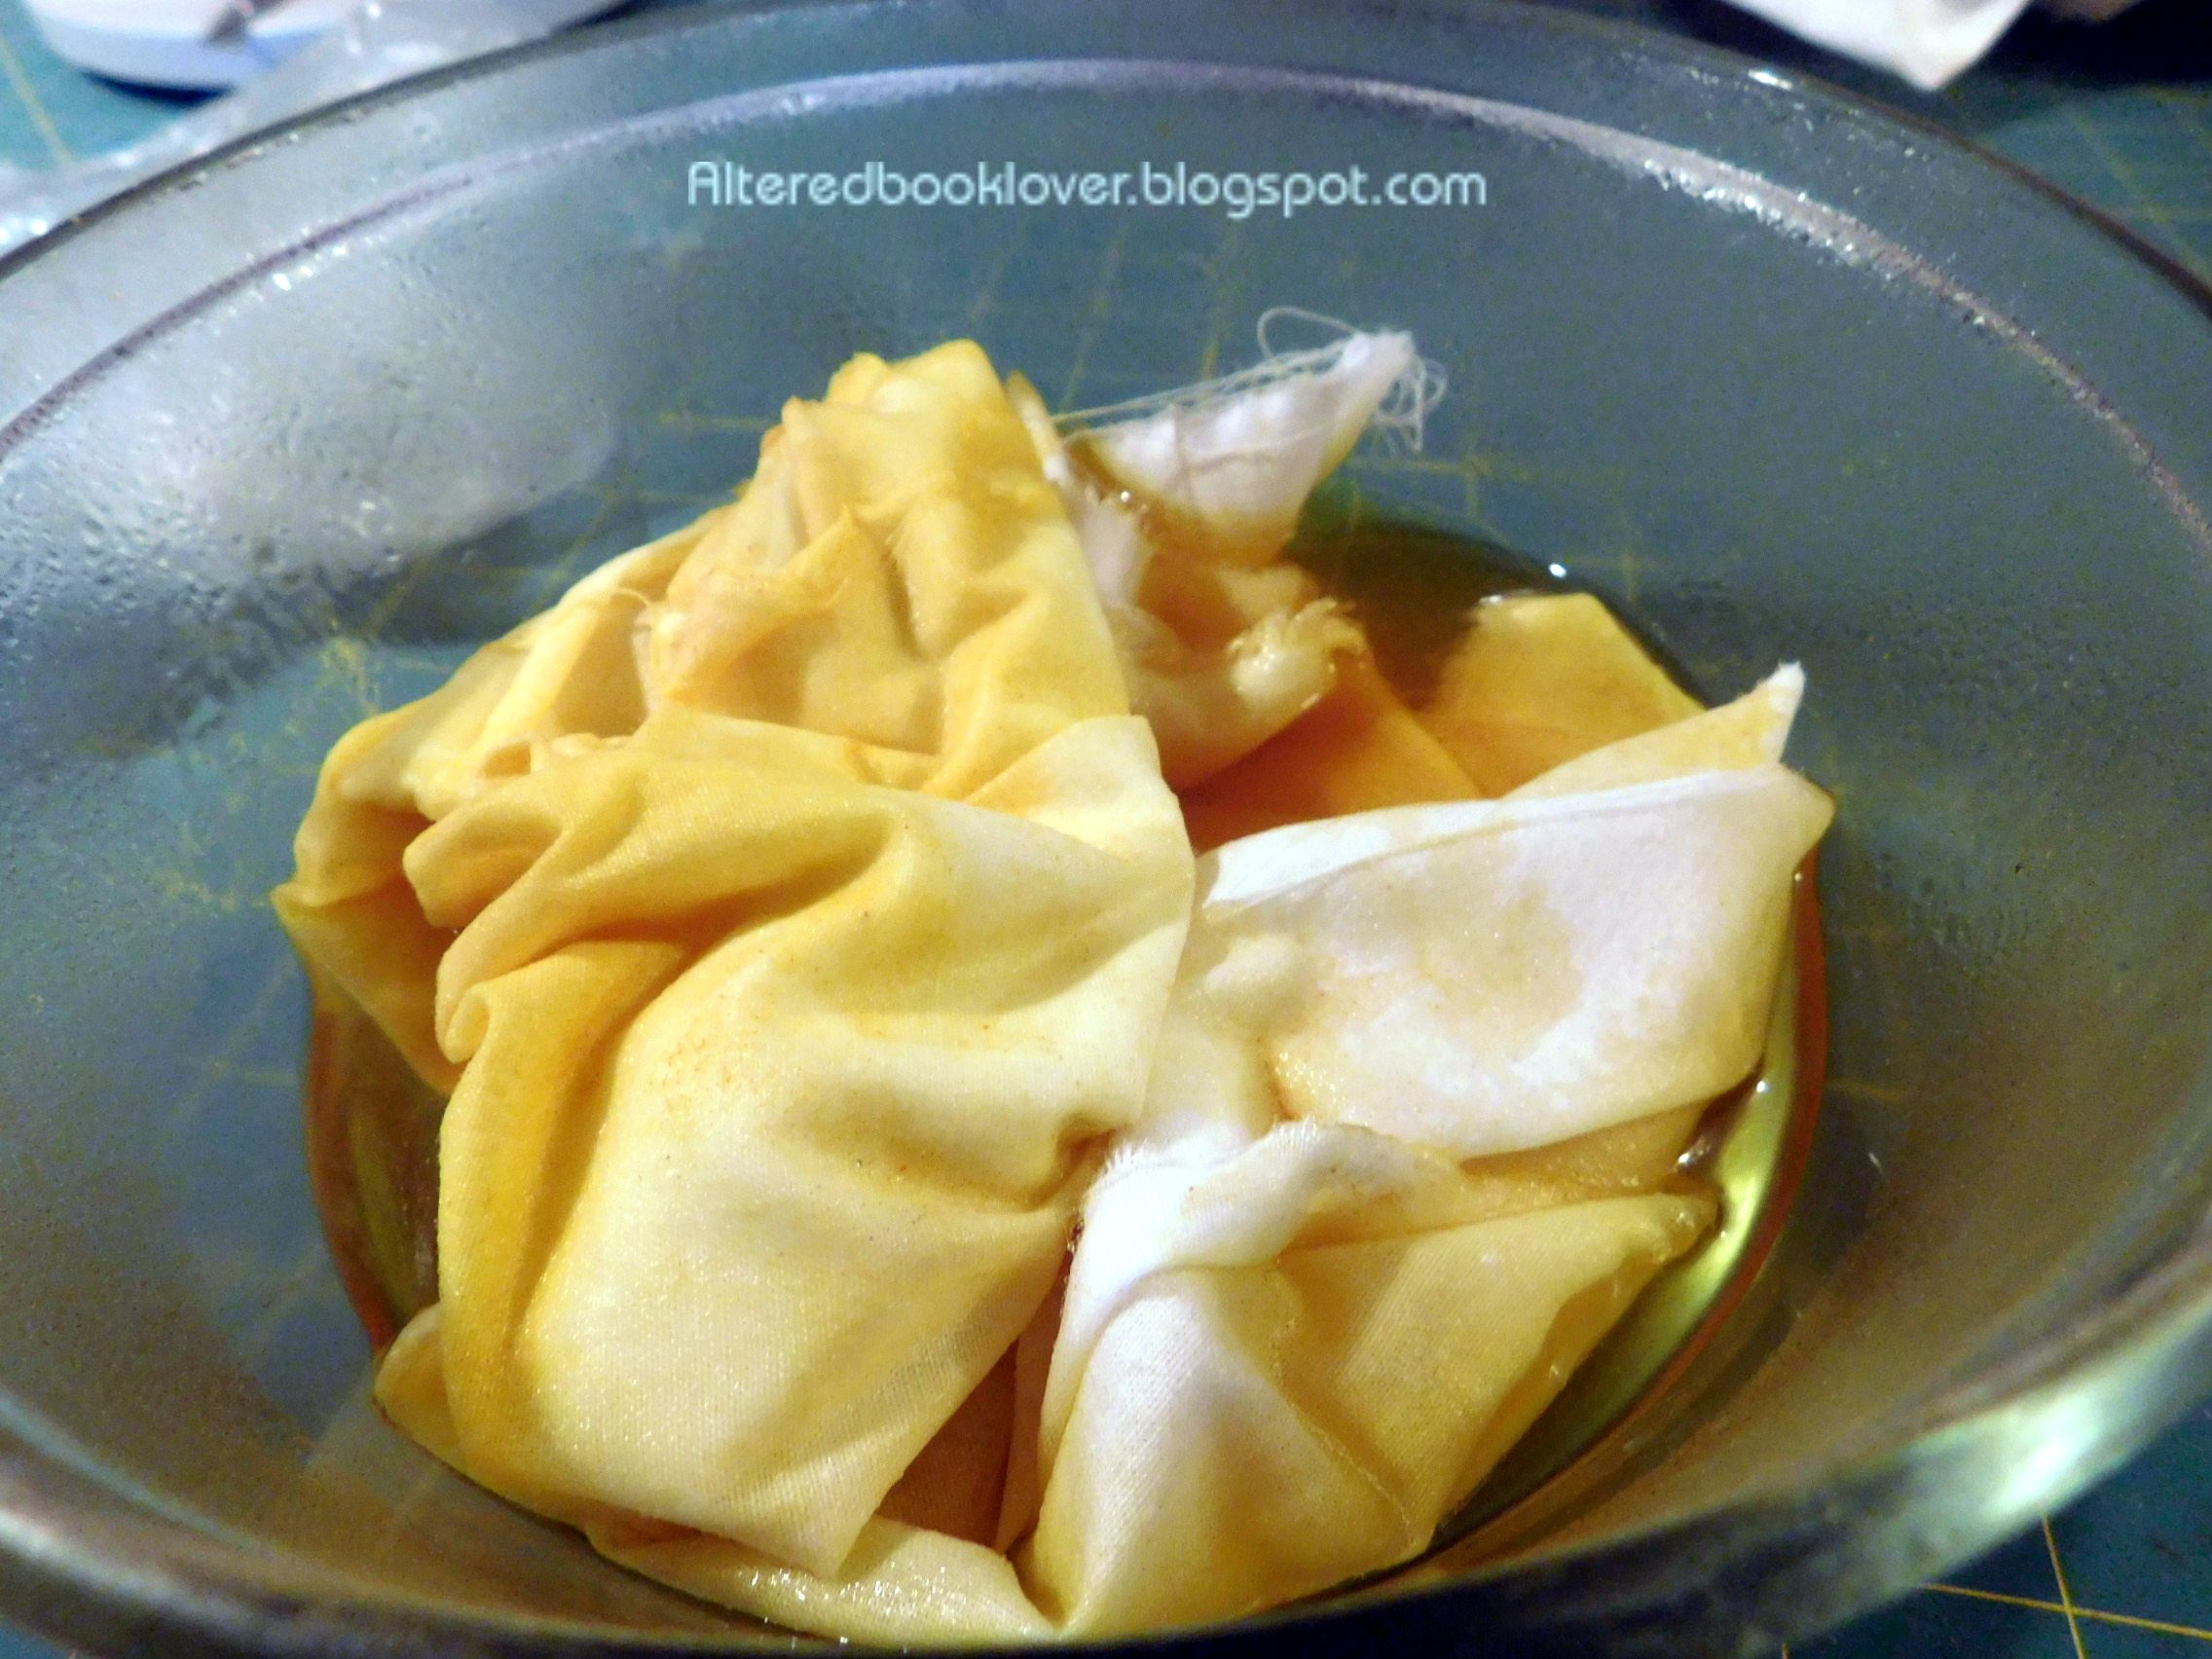










 Dollar Exchange Rate



