Showing posts with label tape transfer. Show all posts

Wednesday, October 28, 2020

Birthday balloons

Some of you may have noticed I've been offline for nearly three days.  Three separate times I lost electricity.  Each time, I was able to visit a few people before the electricity went out again.  The third time, I was leaving a comment for Valerie when I heard a huge BOOM and the windows shook and the walls felt like I was in an earthquake.  If you've ever been in an earthquake, you know what I'm talking about.  The bad thing is, the temperature overnight was about 25 degrees F (3,9 degrees C) both nights.  I huddled with the boys and stayed under three blankets.  My hands may never get warm.  Now I am back, hopefully in time to finish this post and publish it before I lose electricity again.  I'll be by to visit as time (and warmth) permits.  Now let's create some art, please.

I'm back today to share this Art Journal Journey entry using Chris of Pear Shaped Crafting's theme Hold the Line.

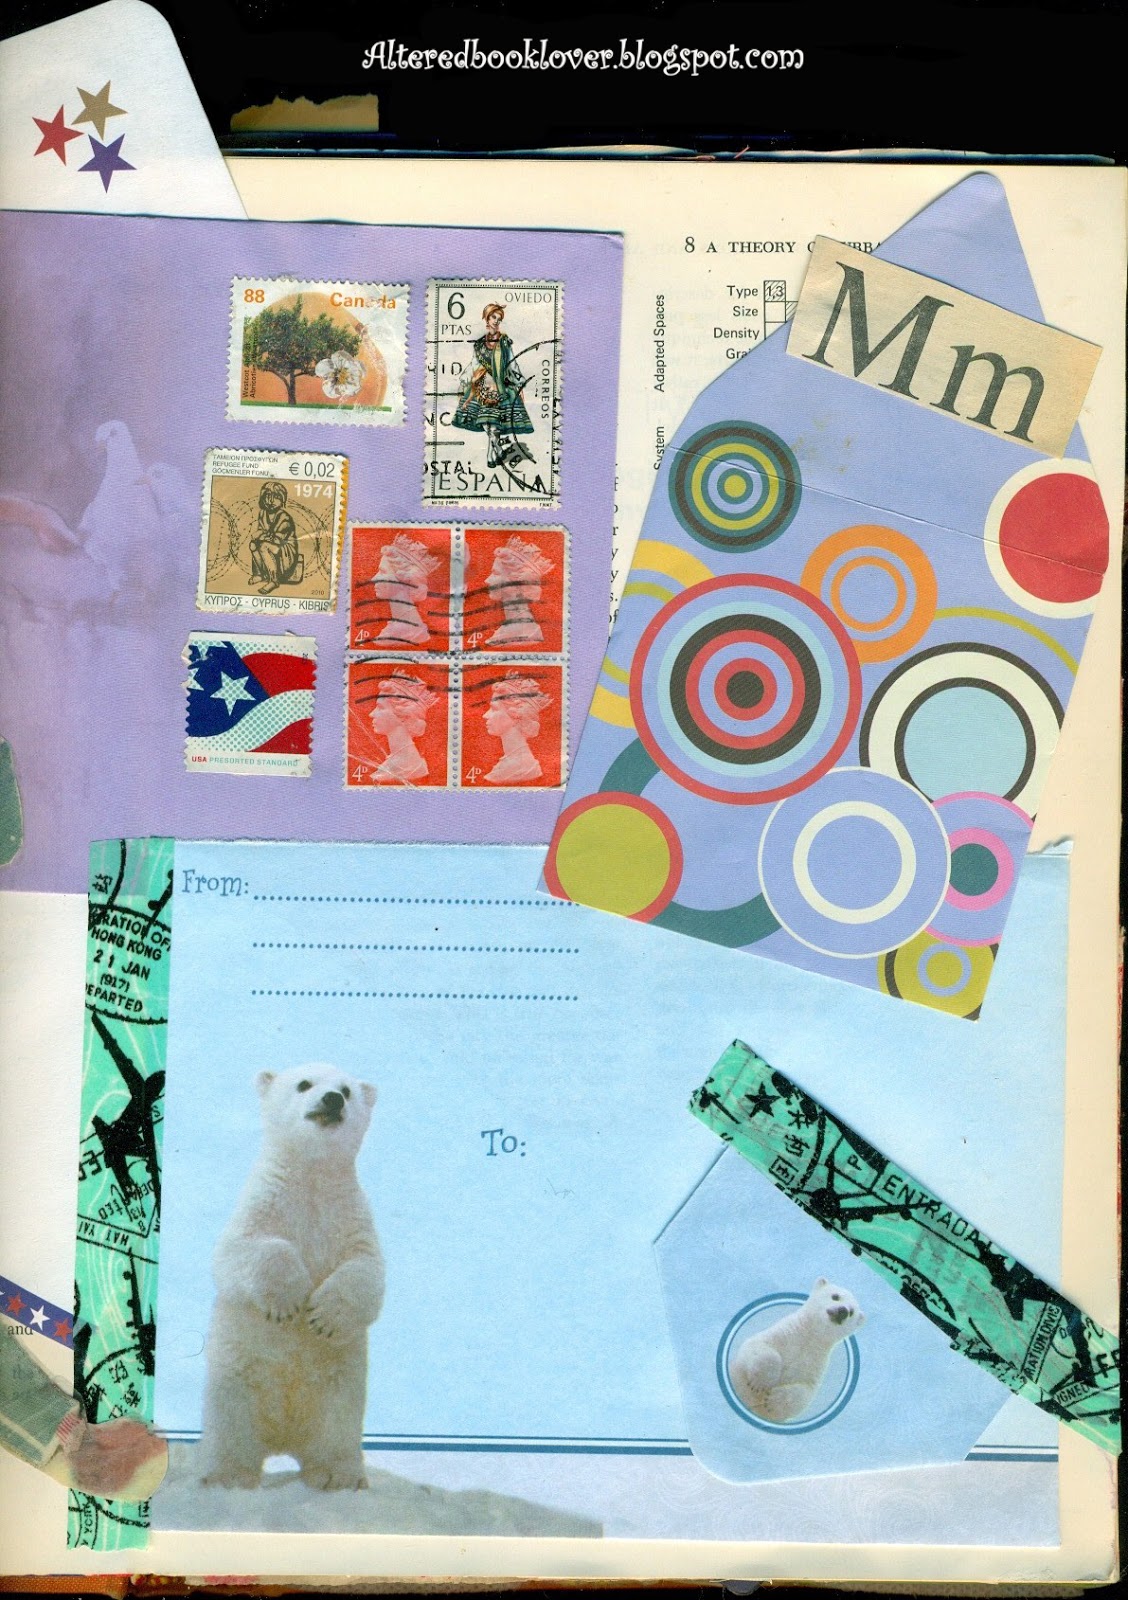
I call this Birthday balloons for obvious reasons.

This is a tape transfer

I sewed

to the book pages.

I began with 110 lb cardstock which I colored using two shades of green staz-on and 91% isopropyl alcohol.  I found the balloons in a book and created a tape transfer, which is rather hit and miss.  When I realized I was rubbing the lines away that held the balloons, I stopped rubbing so hard.  That's why the balloons show better in some areas than in others.  The lines holding the balloons are for Chris's theme at Art Journal Journey and if I lost them, there would be no reason to continue.

Next I sewed the tape transfer to the book pages.  BTW, when was the last time you read about adding machines?  Finally, I sewed the words Birthday balloons to the page.  All sewing was with variegated threads that matched the colors of the balloons.

I really appreciate your visit today.  Please also join Bleubeard and me at Art Journal Journey.


Monday, October 26, 2020

Clinging Birds


Since I have a few hours between Monday Murals and T Time, I thought I would share another entry with Chris of Pear Shaped Crafting, our host this month at Art Journal Journey and her theme which is Hold the Line.

I call this one Clinging Birds.

Perhaps you can see how I came up with the name.

These woodpeckers certainly cling to whatever tree they are pecking into.

It's hard to get a good photo, though, because the woodpeckers are packing tape transfers.

The purpose was to show the paint through the back.

I think I accomplished that.  

It's obvious you can see the paint behind and through the bird tape transfer.

However, it makes it extremely difficult to photograph.
 
I had a hard time getting this in focus, too.
 
Perhaps I should focus on the sewing, instead.

I used variegated thread that I hoped picked up the colors of the paint.  I hope you can also see where I spritzed my handmade shimmering mists.

For this page, I started with a sheet of 110 lb. cardstock to which I painted strips of red and black.  I got a bit bored with the strips, so added some purple in areas where I intended to place the tape transfers.  I also spritzed some handmade shimmering mists on the top and bottom of the page.  I had to position the birds in just the right spot, because I didn't want black strips of paint under the birds.  However, after I added the birds, I felt something was missing.  I got out my variegated thread in gold, black, and red, and went to town sewing between the lines. 
 
I'm eternally grateful you stopped by today.  Please also join Bleubeard and me at Art Journal Journey.
 

Sunday, July 16, 2017

A perfect view on a perfect day


Today we're taking a trip to the beach 

where we find a perfect view on a perfect day at Art Journal Journey.  And because I used a tag on my page, it qualifies for Try it on Tuesday, where their theme this fortnight is tags.  I'm getting in just under the wire on this one.

It's too bad my tape transfer wasn't as perfect as the day I envisioned when I created this page.

Although tape transfers are hard to photograph, I obviously didn't get enough glue on this one.

I added the dimensional sand castle to add a bit of embellishment.

I liked it much better when I scanned it, although I usually prefer my photos better.  Materials used include white card stock I covered with two colors of green paint.  I attached a tag to the page, then wrote the sentiment.  I messed up the words, so three tries later, I glued the sentiment over the failed sentiment I originally wrote on the tag.  I added the transfer which took forever to remove the paper backing.   Finally, I added the dimensional sand castle to the page and called it finished.


Bleubeard and I appreciate you stopping by today as we host Art Journal Journey during July.  The theme, as I'm sure you know, is summertime love.


You'll also find Bleubeard and me at Try it on Tuesday, where their theme this fortnight is tags.  I hope to see you both places.


Saturday, December 17, 2016

Craft Barn's Penultimate Letter: M


Here we are at the next to the last, or as I prefer to say, penultimate fortnight, of the Craft Barn alpha dictionary letters.  This letter is M and there is no twist.  I'm hoping there's no twist next time, because I already have my final letter planned.

I had so many things I wanted to include this time, I needed both pages.  Of course, with the book larger (both wider and longer) than my scanner, I got the essentials only in the full spread scan.

Here is the complete left side.


Since it's all in the details, here is the required dictionary definition.  Wimpy, but to the point!

This little guy was so cute, I had to include this envelope and all its stars.   And because the stars matched the air mail gummed stickers I had that we in the states haven't used since forever (I got these in a trade), I had to use them.

Of course, all good mailmen make sure the stamps have post marks before they are delivered.

I think when this image, found in an old book, was popular, postal carriers were probably called mail carriers, or chauvinistically "mailmen."  But today, there are as many female carriers as there are male carriers.  And my carriers don't use whistles, either.

I tried to turn this into a tape transfer, but I got a bit too carried away in places like his face and cap, and not enough in his lower half.  Of course, the fact I chose a white background for part of the image didn't help, either.

This envelope was in with my Christmas envelopes and cards, so I used it.  The stars above the Christmas envelope are on the back flap of the cute dog envelope, and I just had to use it, along with one of the US star stamps.

For the right side of the page,

I tried to find as many international stamps as I could to show this girl and dove had been around the world.  Of course, I have all my wonderful international mixed media friends who send envelopes with stamps instead of metered mail to thank for these beauties.

I received this darling little envelope (and card seen on the left side) from a dear friend.  It was the perfect size for the bit of space I needed to cover the book background and paid homage to my dear friend.  It also holds the alpha letter, which, although apparently NOT mandatory, I've used throughout.

I had to find a way to save the flap on this envelope, so grabbed some washi tape that uses both airplanes and postage stamps.

One final look at my chosen word, MAILMAN.

Thanks a million for joining me today.  In case we get wrapped up in saying good-bye next time, I want to thank both Jane and Mickie at the Craft Barn for their support this year.  I've met many new artists and renewed several old friendships from when I played in 2014 (quotes and/or lyrics).  I've really, really enjoyed this challenge, and the twice monthly timetable was the perfect amount of time I needed to find the alpha word and illustrate it.  Again, I'm grateful to any and everyone who visits. 

Sunday, December 4, 2016

A tea inspired layered quiltlet


Today I'm joining two of my favorite challenge blogs with a single post.  Moo-Mania and More is asking us to make art of any kind, shape, size, or color as long as it's inspired by coffee or tea.  Likewise, although I'm almost too late for the party, Try it on Tuesday's latest theme is layers.  I may not have nearly as many layers as some, but I have a few at least.

This is my offering, a quiltlet, and I'm going to walk you through how I made it.


I began by creating a few tape transfers of birds.  I overlaid one tape transfer on a teabag holder.   Using Ultimate! glue, I then adhered those to the actual tea bag that came from the holder.

It's really hard to see the tea bag holder through the tape transfer in this photo.  I was also surprised how long it took the tea bag to dry so I could use it.

While the tea bag was drying, I painted a strip of white sheet I had torn to size.  I know how much the recipient likes these colors, so that's why I chose them.

Next I adhered the teabag and tape transfer assembly to the fabric.  So far, there are four layers.

To shift gears, I overdyed the grape juice fabric I made a few weeks ago with strong coffee and allowed it to dry.  By this time, my entire craft room smelled good.

Because I'm mailing this gift, I didn't want a lot of bulk.  Therefore, instead of adding batting between the front and back layers, I simply sewed circles around the back of the piece (a single layer) and added Bleubeard's and my names to the back.

Next, I sewed the two fabrics together using a zig zag stitch.  To make sure it would hang without flapping or flopping, I added a piece of Starbuck's stirrer stick.  You can see part of what I removed above the quiltlet.  Then I sewed it in place.

Finally, using my hole guide, I cut two holes using my Crop-a-dile and added the two fibers.

Once I scanned the piece, I was thrilled to see the tape transfer actually looked as good as it did in person.

Now all I have to do is send it flying on its merry way and hope it arrives on time.

Meanwhile, please join me at Moo-Mania and More for coffee and/or tea, and for a few more hours at Try it on Tuesday with your layers and layers.

Of course, I appreciate your visiting me, too.  You are always too kind and I am very grateful.

Monday, September 5, 2016

It's Labor Day in the USA


Labor Day is a U.S. Federal holiday.  It is celebrated on the first Monday in September.   It is the Monday of the long weekend known as Labor Day Weekend and is considered the unofficial end of summer.  Canada's Labour Day is also celebrated on the first Monday of September.

Labor Day is called the "unofficial end of summer" because it marks the end of the cultural summer season (summer officially ends at the September Equinox).   Many autumn activities, such as school and sports, begin about this time.

In the United States, many school districts resume classes around the Labor Day holiday weekend. Most begin the week before, making Labor Day weekend the first three-day weekend of the school calendar, while others return the Tuesday following Labor Day, allowing families one final getaway before the school year begins. Some districts across the Midwest, those that rely heavily on tourist trade, opt to begin school after Labor Day.

The little old lady who lives in a shoe has looked forward to Labor Day all summer.

There was an old lady who lived in a shoe,

She had so many children she knew exactly what to do.

The day after Labor Day she sent them back to school.

I think we can all empathize with her.

because she definitely has a brood.

Materials used were an image from an old nursery rhyme book that I turned into a tape transfer.  I colored the background with some of my handmade shimmering mist, but it doesn't scan well.


Thank you for visiting.  I'm very grateful.  I hope you'll join Bleubeard and me as we celebrate Labor Day and join us at Art Journal Journey where we're celebrating Back to School. 


And because this entry also qualifies for Try it on Tuesday's children theme, I'm joining them, too.