Showing posts with label Summer of Color. Show all posts

Wednesday, July 15, 2015

Summer of Color, Week 6: Orange, Orange, Blue and my SOC 5 wrap up


For our final week, Kristin at Twinkle, Twinkle Like A Star has chosen

two oranges and blue.  I decided to go with the blue pan pastel, but when I took the photo, I hadn't really decided which blue I would use.

I started by painting my sanded plaque with the orange paint.  I added a bit of water to the paint to show as much of the wood as possible.

I spent a lot of time coloring these white flowers, which I was sure I had photographed before I colored them.  Obviously, I didn't because they were not on my card.

This pan pastel orange is quite close to the paint color.  I just hope it comes together.

Here is Week 6's entry.  You can see how the shadows around the flowers show how orange this really is.  For the details I added baby's breath and ribbon for filler.  I also added beads from an old necklace to a few of the flowers.

Moving it to a different spot didn't help much.  I assure you, this is dark orange, like you see in the lower right of the plaque and around the shadows of the flowers.

In case you can't read the quote:

I will be the gladdest thing
Under the sun!
I will touch a hundred flowers
And not pick one.
                           ~Edna St. Vincent Millay

On the back, I painted a piece of white bed sheet orange, then sewed my name to the fabric.

Here is a washed out view of the back.  I hope the side shows how orange this plaque really is.

Here are all my SOC entries for 2015.

These are the backs after I added my name.
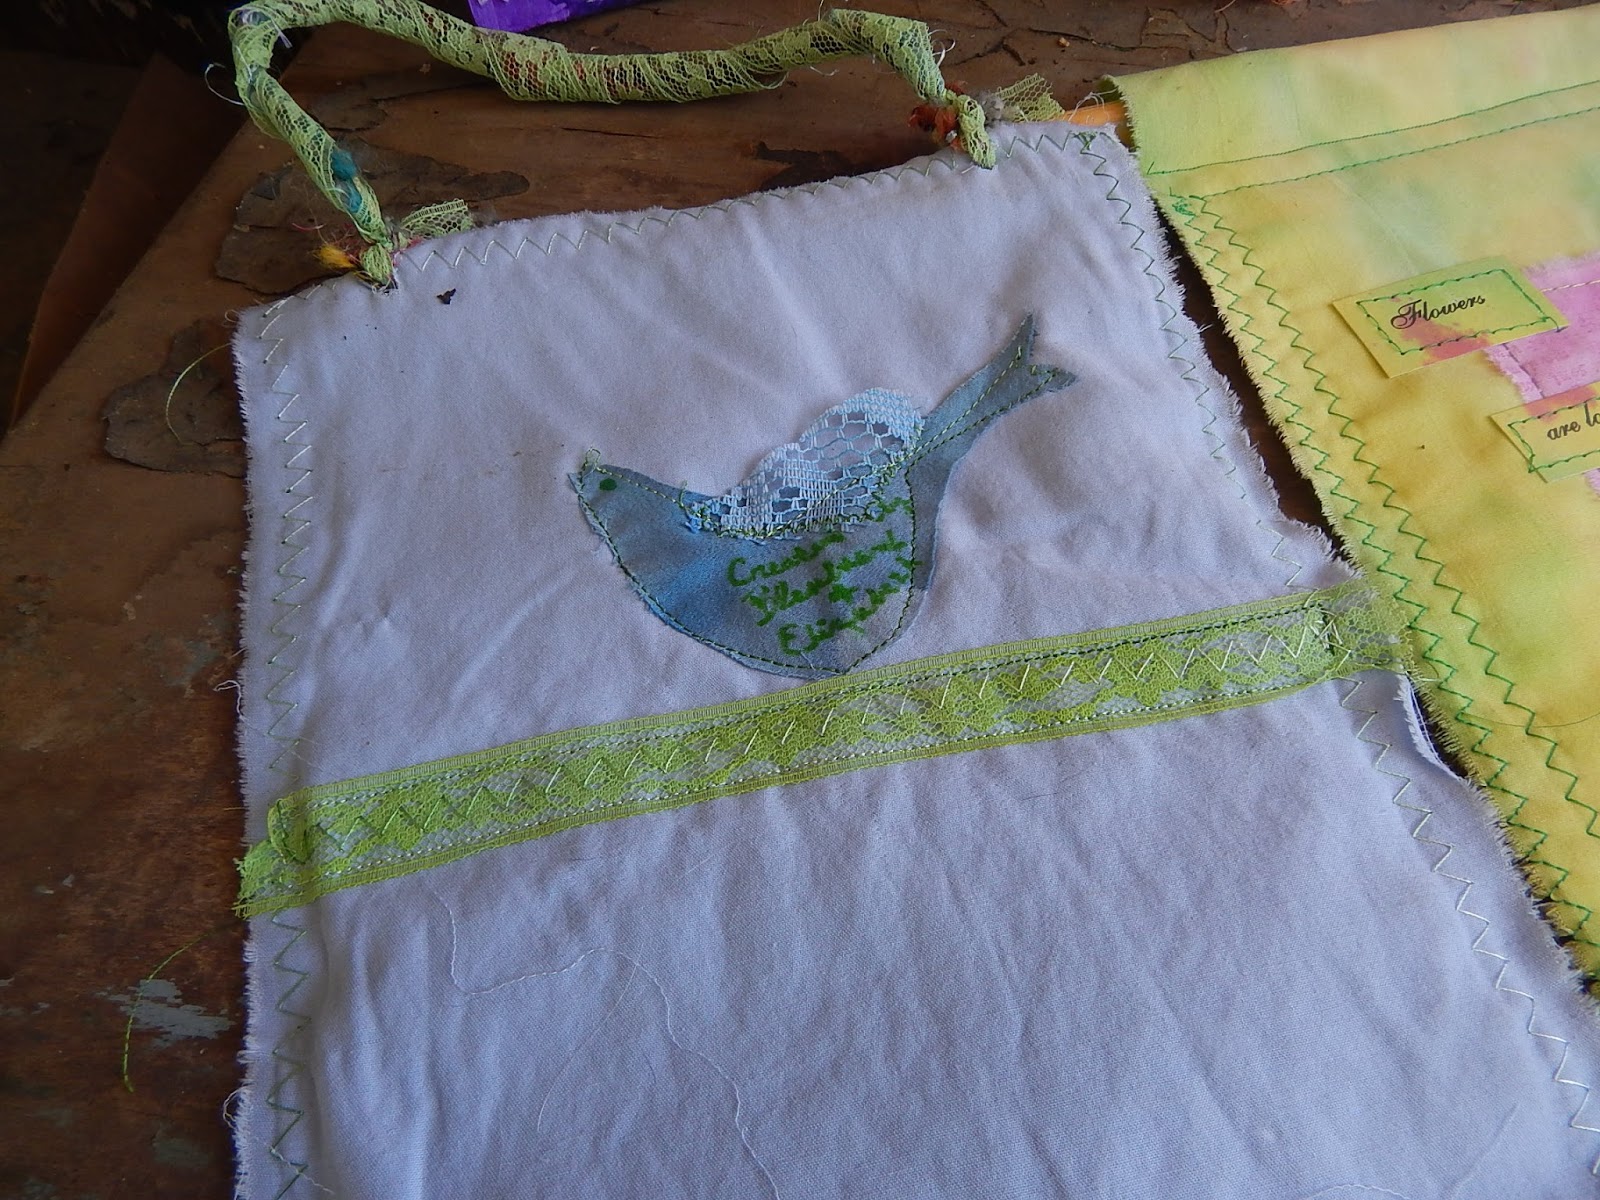
I had this back completed when I showed Week 1's entry, but I didn't have the hanger in place.

Week 5's entry still doesn't seem to be complete.  I forgot to write my name on the back, although I have added a place for it.

Week 4's entry got a gold stenciled gear added to the bed sheet I colored red.

Then I sewed my name to the fabric before I attached it to the block of wood.


Week 2's colors were sewn and layered before adding it to the wood block.

For Week 2's entry, I dyed a piece of bed sheet yellow.  Of course when I added it to the purple wood base,  the purple bled through.  I also sewed a piece of lace I dyed, along with my name.

Here's a final look at the six SOC 5 entries.  Feel free to enlarge this photo.

I was able to visit everyone last week and hope to do the same this week.  I'm simply overwhelmed by all the talent and the diversity of projects I've seen over the past six weeks.  Be aware, though, if you are on Flickr, Instagram, Facebook, Tumblr, Pinterest, and some G+ blogs, I can't leave you comments.

I hope you enjoyed this week's entry, as well as my look back at the pieces I made over the Summer of Color.

And finally, I must thank Kristin for putting this together each summer.  Kristin, you are the BEST:  the most generous, incredibly talented, and simply the sweetest hostess.  Thank you beyond belief for six fun weeks of color each summer.

Wednesday, July 8, 2015

Summer of Color, Week 5: Green, Green, Pink


I'm once again joining Kristin at Twinkle, Twinkle Like a Star for week 5 of SOC 5.  I can't believe how fast this summer has gone.  Seems only yesterday we were contemplating what Kristin had in mind for SOC 5 colors this summer.   And now it's nearly over.

My colors of choice this week were taken from my handmade shimmering mists.  One is a nice dark green, the other is a lime green and my "go to" color when I want the shimmer to really show in a photograph.  Yes, this is another piece of bed sheet and I have plenty more where that came from.  I've always said if you want a lot of yardage for not much money, visit a thrift store, ask your neighbors, and/or raid your own linen closet for worn, old, or discolored bed sheets.

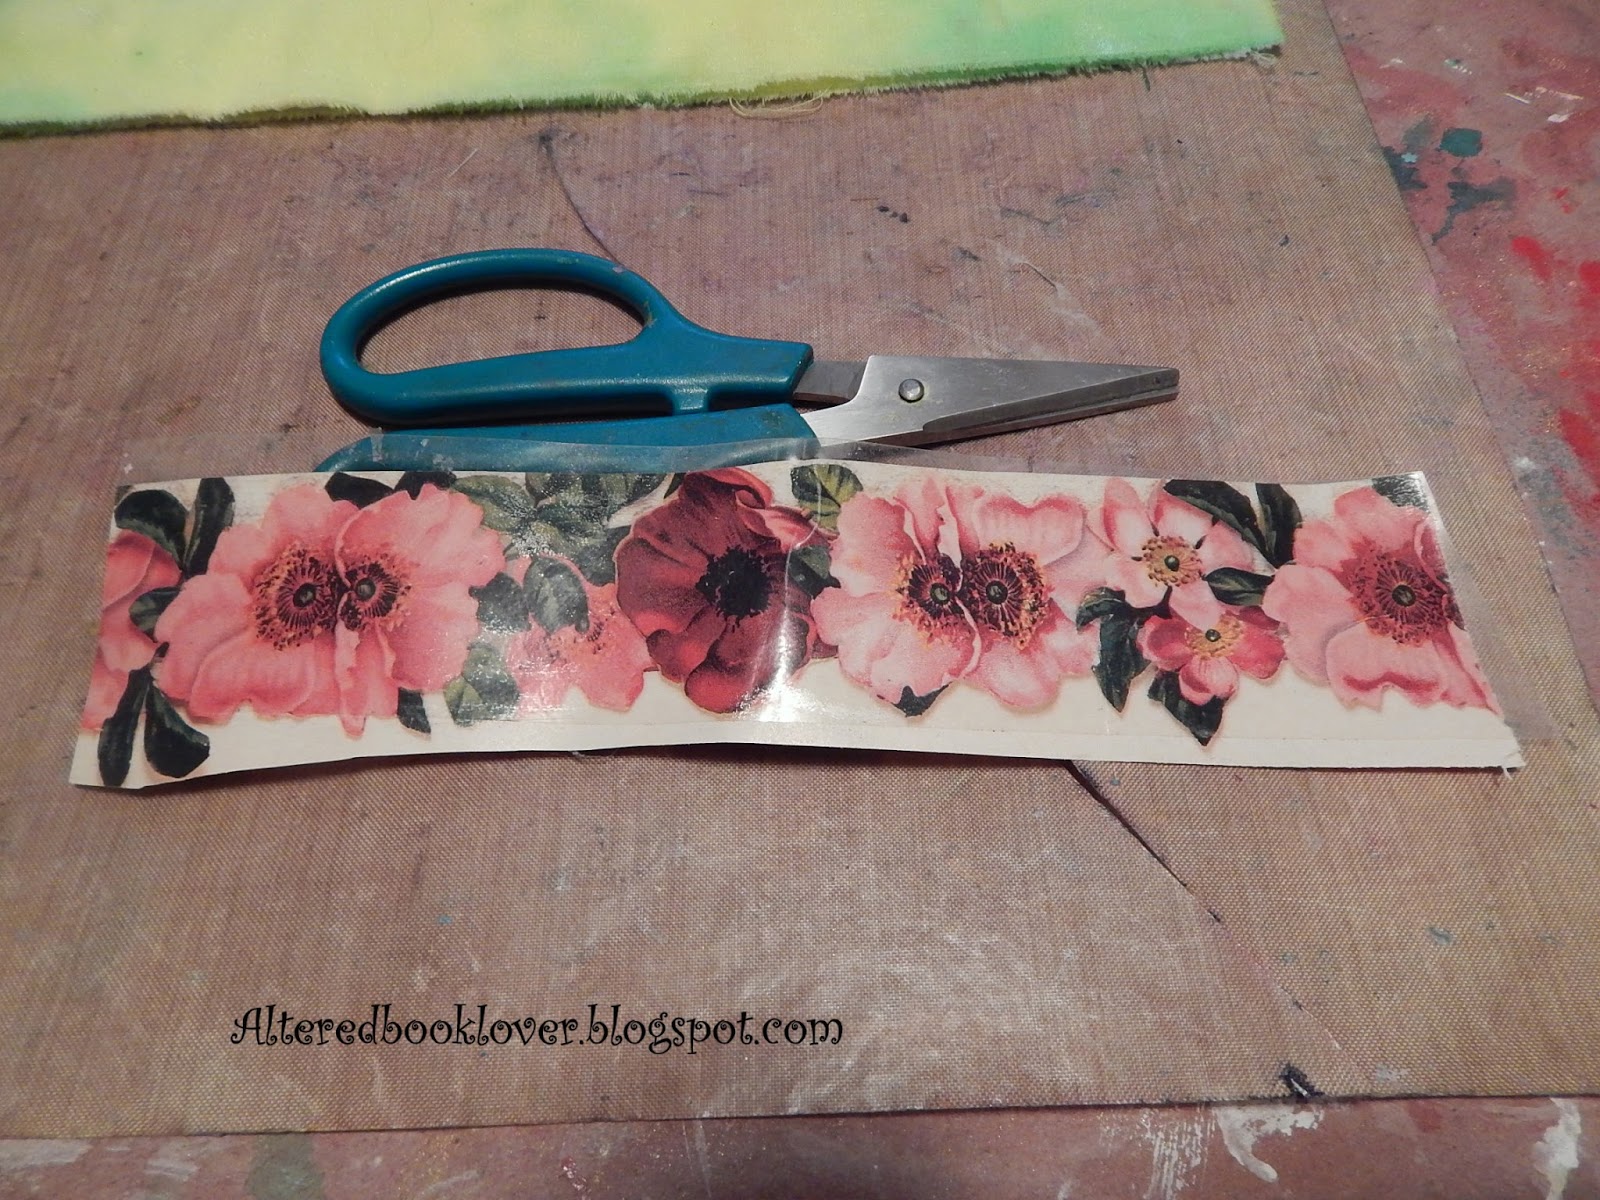
After applying the mists to the sheets and allowing them time to dry (you can see a bit of the green in the background), I decided to make a packing tape transfer.  Here you can see I've already added the tape to the image I found in an old calendar.

One thing I should mention is I laid the packing tape sticky side up on my craft sheet.  I know lots of people will tell you to lay the image face up on the table, then place the packing tape sticky side against the image.  However, I have found the image adheres better when placed on top of the tape.  I think it has something to do with static electricity (or maybe my magnetic personality).

Now it's time to burnish.  Burnish like your life depended on it, because the transfer actually DOES.  Burnish back and forth, right and left, then at a diagonal.  Burnish until your hand falls asleep.  OK, that was a bit facetious, but by now you should get the idea.

Place the tape transfer in a bit of warm water and walk away.  Walk away.  Walk away.
 
Take the dog for a walk, make other art, clean a closet, but please walk away. 
  
Once the paper part of the transfer has had time to absorb the water,

it should pull back easily.

Be aware, anywhere there is white on your image, it will now be clear.  Don't rub too hard as I seem to have on the leaf and the flower.   That could also be a sign I didn't get the image burnished well enough to transfer the color to the packing tape.  You will now need to remove the rest of the paper, but don't be too concerned if a tiny bit of paper still clings to the tape.  There are various products that claim to remove all the paper, but since I've never seen them, I won't advise it.  Just keep plugging away until you get most of the paper off the back of the tape.  If you want a grunge look, intentionally leave some of the paper on.

Once you have as much of the paper off the back as possible, remove the water to your yard, or a potted plant.  DO NOT UNDER ANY CIRCUMSTANCES, EMPTY YOUR CONTAINER DOWN A DRAIN, WHETHER SINK OR STOOL.  If it is winter in your area, add the water to a plant, strain it, or find a way to safely remove it somewhere outside.  I don't want anyone saying I didn't warn them when a pipe clogs from this mess!

Next it was time to add color to card stock, then add my sentiment.  These are the same colors I used on the bed sheets, but fabric and paper react a bit differently to these mists.

Although I believe it needs something else, here is the completed project for week 5.  Not as interesting as the previous weeks, but it's finished.  And in case you can't read the quote:
Flowers are love's truest language.

~  Park Benjamin
And because it scans differently than it photographs, here it is scanned.  It is my opinion the photo is closer to the true colors, even though the final photos were taken at night.  I assure you, there is no red in these flowers.

Materials used included a white bed sheet, shimmering mists, tape transfer (see above), pink pigment ink, pink stamp, variegated green thread, green thread, computer generated quote on shimmering misted card stock, and a tree branch to hang the quiltlet.

For three weeks I visited everyone, even though I can't leave comments on Facebook, Flickr, Pinterest, Tumblr, Instagram, and some G + blogs.  However, last week I got caught in a time crunch and Monday arrived before I even realized it.  I promise to do much better this week, and appreciate your continued support.

Finally, I realize there will be many accolades given to Kristin next week, but I want to thank her this week for all the hard work and effort she puts into each and every one of these entries.  I don't know too many blog hosts who have as many entries as Kristin has each week, yet still manages to visit each of us.  For that, I applaud you, dear Kristin.  Your SOC is something I won't ever miss as long as you are still up to the task. 

Wednesday, June 24, 2015

Summer of Color, Week 3: purple, purple, yellow


Once again I'm joining our dear hostess Kristin at Twinkle, Twinkle Like a Star.  This week's colors are purple, purple, and yellow.  I had lots of trouble with this combination, mainly because they are complimentary colors (across from each other on the color wheel), and as such can quickly turn to mud if not treated properly.

I don't have a lot of purple or yellow, so I drug out every medium in those colors I had.  I was hoping to make something where I didn't use bed sheets for a third week in a row.

I started by attempting to give my Gelli plate another chance, but you might be able to see all the problems I had.  First, my brayer wouldn't roll on the Gelli, as you can see on the far left.  However, when I offloaded the brayer to clean it on one of my used file folders, it worked fine.  It just wouldn't roll on the Gelli.  Add to that, I somehow damaged my Gelli before I had a chance to use it more than twice.

Even after I gave it a good cleaning, the circle was still on the plate.  I ran my hand over it, and the circle was sligthly raised.  I have no idea how it happened, because I've treated this plate like it was gold.  I cleaned the plate, turned it over, then added more paint.  You can see the circle must have gone all the way through the plate, because now I had two circles.

I was hoping I could work my way around the problem by using only part of the plate.  I decided to lighten the deep purple by adding a bit of buff colored translucent glaze, which would act as my third color.

That didn't work, either.

Again, I see nothing but mud, even though I allowed the purple to completely dry before I added the yellow.

I won't bore you with my two other experiments which I didn't bother photographing, none of which included painting or dyeing fabric.  I finally settled on these three colors.

I threw about 10 techniques at this piece, which took two days to complete.

I just kept adding more and more things to the wooden block until I was finally happy with the results.

I still have trouble getting the lighting right, especially since this is a color challenge.

I painted the back and sides of the board using the bingo dabber ink.  I colored a sheet of white scrapbook paper (12" X 12") with the paint on the right of the assembly and the bingo dabber color on the left.  There was a LOT of difference in colors when I checked them on a used file folder, but not much color variation when I applied them to the scrapbook paper.  One thing I was happy about was the color of the wood.  The wood grain showed through the ink and showed up best in the outdoor shots I took.  The purple color differences are also most obvious in those two shots.

I colored a doily using the yellow paint, then added the clock hands.  I was sure I was going to have to dye a button, but finally found one (albeit a bit too large) that was purple.

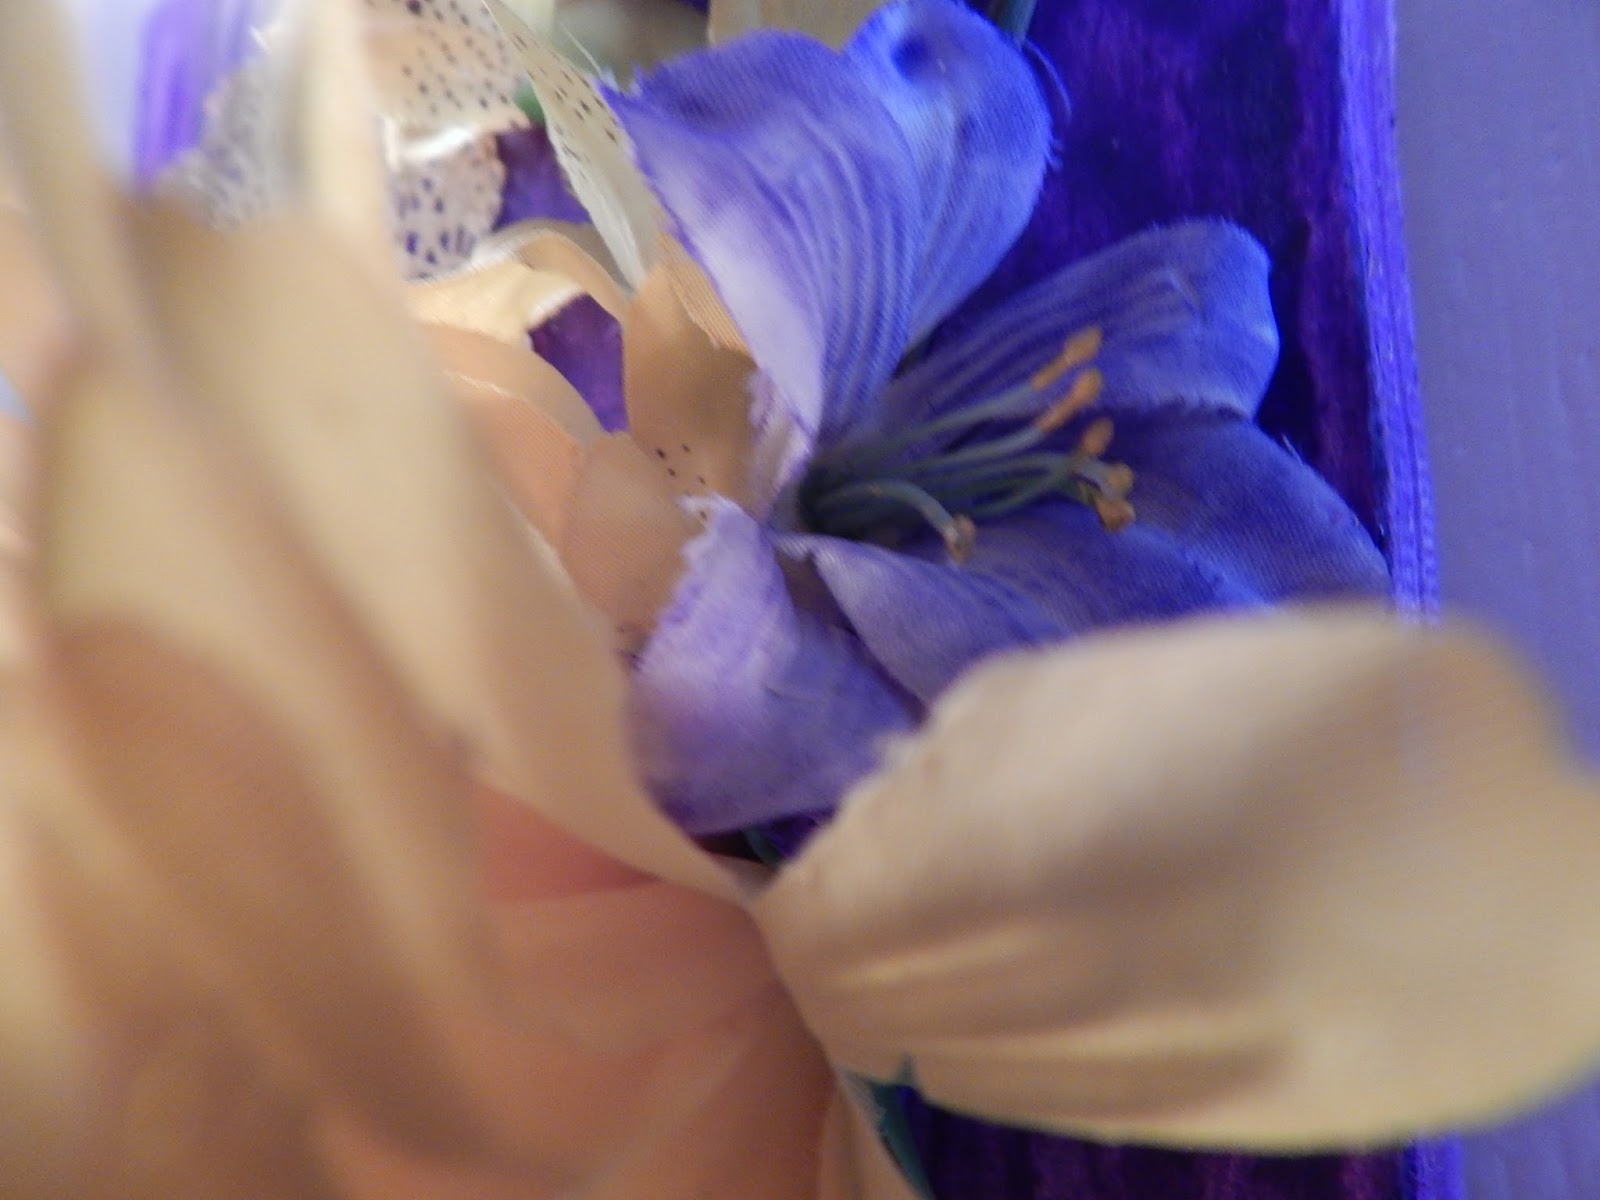
Silk sunflowers, lilies, white flowers I dyed lavender, and some genuine lavender from my garden made up the bouquet.  Bits of lace were used as filler, where I would normally add leaves. 

I bought this board on a clearance rack at Home Depot (a US big box home improvement store).  It was originally 8 ft long, but I cut it in approximately 12" lengths.  I say approximate, because the saw blade removes about 1/8" with each cut.  This board was damaged in that it had not been planed properly, so there was a rough "bump" on one side.  I hid that problem by first dyeing the side, then later adding a piece of yellow and white ribbon I ran the bingo dabber over before attaching it.


I used the bingo dabber ink to color the large lace purple and used the paint to color the small lace yellow.

I had purple wire and beads, but no yellow beads.

I made a few using yellow polymer clay I decorated using two Sculpey rollers.


I am so glad this latest color challenge is finished.  This is probably the truest representation of the color combination.  I hope you like it.   If nothing else, it smells fantastic!

I was able to visit all 119 entries that were available by the deadline last week and saw some amazing art.  However, as I have mentioned in the past, I am unable to leave comments if you posted on Facebook, Instagram, Flickr, Tumblr, Pinterest, and some Goggle + blogs, since I'm not a member of any of those social media sites.  I was even unable to view several Facebook entries because they were hidden.  But, I certainly appreciate those of you who dropped by and I hope you enjoy this entry as much as you seem to have last week's.