Today is the second Thursday in May, and time for my once monthly tutorial.

Nothing really new or unique this month, but I thought I would compare and contrast different printing plates. From left, acrylic sheet, Gelli Plate, mouse pad encased in a clear 3-ring sheet protector.

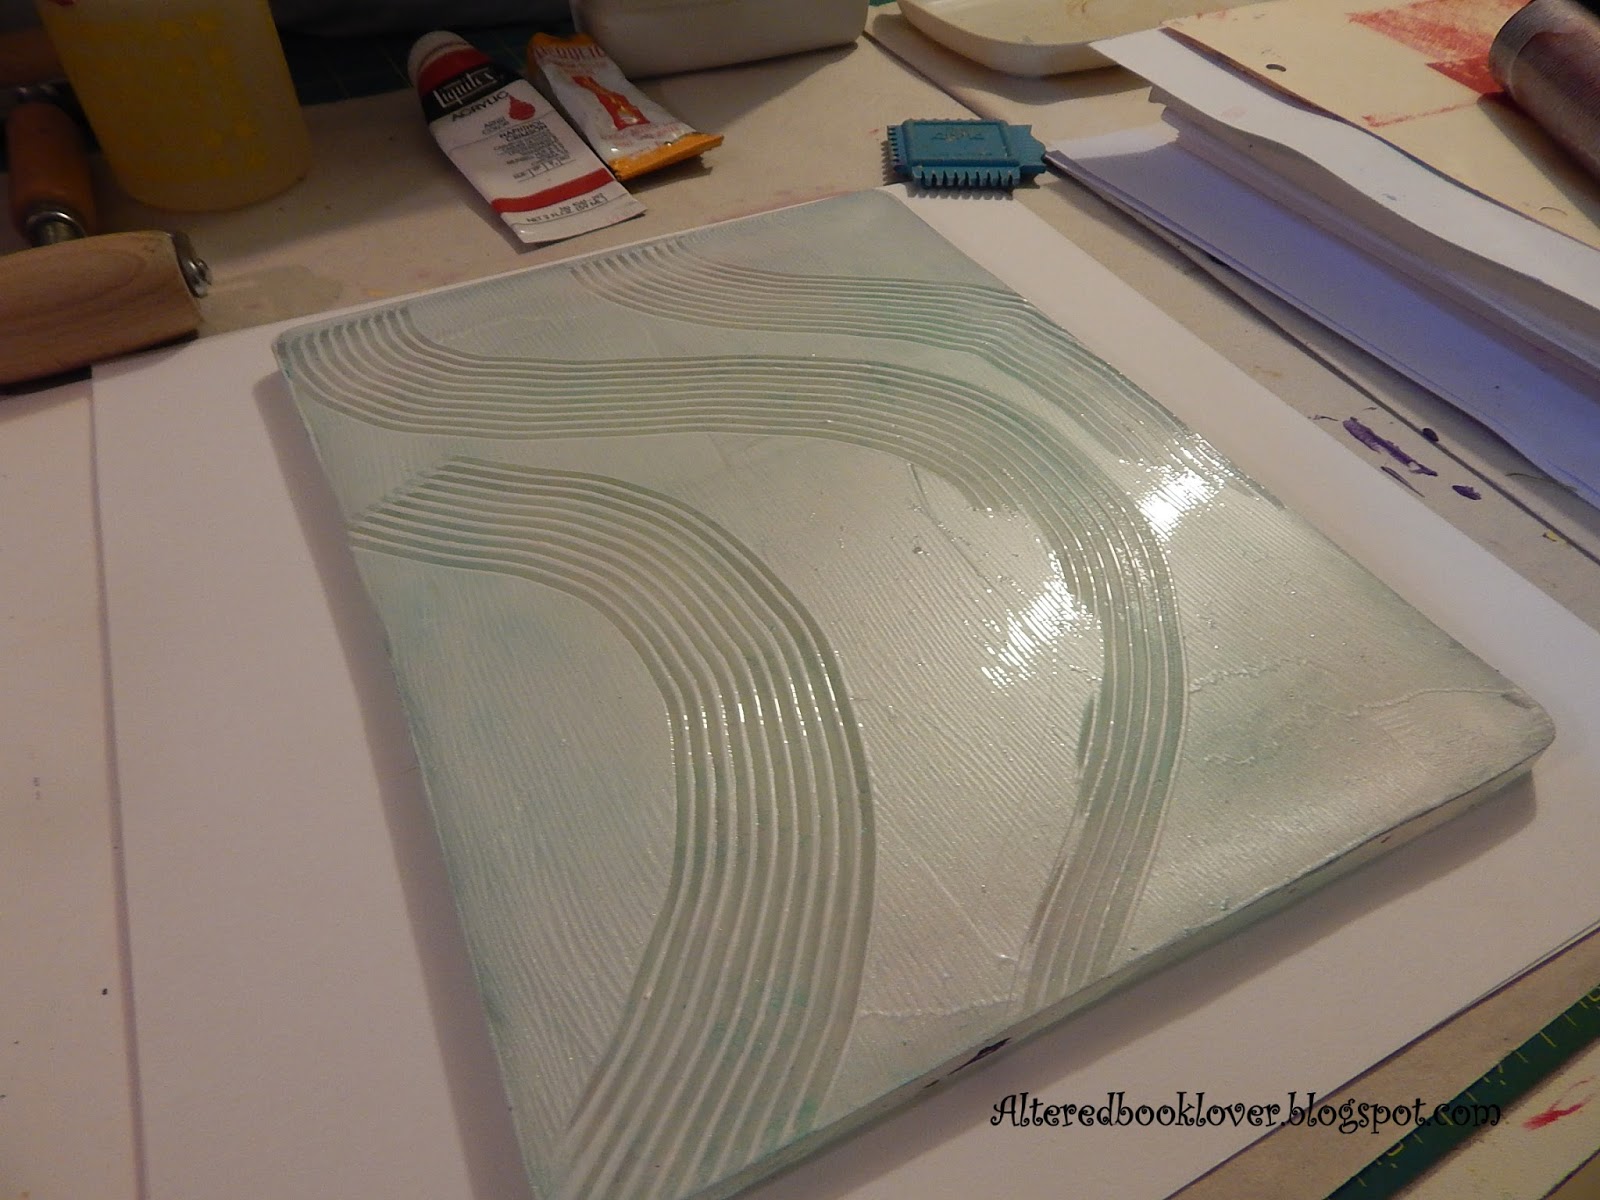
Let's begin with my favorite, which is a sheet of acrylic. If you don't have acrylic, you can use a piece of glass from an old picture frame. But be sure to wrap the edges with some type of tape, because glass can cut. Before I got my sheet of acrylic, I tried to use a piece of glass, but the tape I wrapped around the edges of the glass was just thick enough to cause the glass to bend when I used my brayer, which scared me. You may have better luck, though, and this is a viable alternative to the expensive Gelli.

I like to put a sheet of grid paper under my acrylic plate, or something the same size as the paper I'll be working on. That way I know where to spread my paint. However, be aware, it can slip if it's on a slippery surface, like a craft mat or a garbage bag.

I have all my supplies ready, but couldn't find my good brayer. I had to use my old one, which challenges me. Besides cheap craft paint, I also have wet wipes and a bamboo skewer. You cannot use the skewer on the Gelli plate, but you CAN use it on the acrylic plate.

Most Gelli fanatics will tell you that you can use ANY acrylic paint, but you have to be careful of drying time with these cheaper paints. When I used the Gelli, I added a glaze, which took the place of the more expensive extenders that are sold in art supply stores. I got my glazes at my local household hazardous waste swap and shop facility.

I seem to have better luck with the acrylic plate, because drying time doesn't seem to be a problem.
Although brayer challenged, I was able to draw some hearts in the three colors of paint. I would never try this on the gelli, because no matter how careful you are, the bamboo skewer can gouge the plate. Not the case with the acrylic plate.

Not the best piece I've made, but not the worst, either. This is 8.5 X 11 inch 110 lb. card stock.

I used a bigger piece of 12 X 12 inch 90 lb card stock to mop up the remains where I went over the edges of the paper.

Even though I was definitely brayer challenged, I continued to make more art. Clean up is quite easy. All I had to do was remove the excess paint with a wet wipe. Be aware, the acrylic plate will eventually get a few bits of paint on it that you won't be able to remove, no matter what you do. When I completely finish a session, I soak the plate in hotish soapy water for a few minutes, use a soft cloth to wash it, then dry and put it away.

I decided to put myself and my acrylic plate out of our misery and quit while I was ahead. This way,

I'll have a good base for if and when I find my good brayer. At least I know where it wasn't when I looked for it.

AHHH! Found it. It was hiding upstairs in my craft room where I was originally going to photograph this tutorial.

More cheap acrylic craft paint and I was ready to resume where I left off last time we visited.

After spreading the paint around,

I think I'm equally brayer challenged with this brayer, too.
The big difference between the acrylic plate and the Gelli is the "squishyness" factor. More similar to the gelatin I cooked for my first time gel plate, the Gelli has a squash factor, where the acrylic plate is hard.
I admit it's harder to get a good print on deli paper with the acrylic plate, but you can use any and all dyes, inks, or paint (even made for fabric), which, according to the Gelli instructions, is a no-no.

Let's plow forward and try the next technique. My friend
Susi told me about this technique months ago, and I was anxious to try it. From what Susi explained, you place any mouse pad inside a clear
Polypropylene three ring binder sheet protector. Mine loads the piece from the top, but I've seen ones that load from the side, too.

Similar to the acrylic sheet, you can use any craft paint, ink, or dye on the binder sheet.

It was harder to control the start and stop action of my brayer, but that only means I will need to cut these painted papers to size.

Clean-up was easy. All I needed was a wet wipe. Of course, I have a TON of these protector sheets, so if it gets too grungy, I'll simply pitch the protector.
I also wasn't afraid to use the bamboo skewer to draw words and images on the protector. If you like the squish factor the Gelli gives, then this set-up is probably for you.

I admit these are just the start as backgrounds, but I like them for their uniqueness.
Let's compare:
Cost:
Gelli is EXPENSIVE. Mine was $40.00 USD. They are hard to find unless you go online and order them or have access to a craft show where they are being featured.
Acrylic plate was free. It was given to me when a friend was going to throw it away.
Mouse pad and protective binder sheet were also free. I was given a bunch of the protector sheets and the mouse pad was a freebie I picked up at some trade show.
Squish factor:
Gelli has the best.
Mouse pad and binder sheet were good.
Acrylic plate is hard.
These can change the way your brayer behaves on each plate.
Ease of use:
Gelli plate scares me. I'm always afraid I'll leave a permanent mark or gouge the plate with my fingernails. Do not use watercolor paints as they are very thin and watery which causes beading on the plate. Do not use some oil based inks and paints, since they can soften the Gelli.
Mouse pad and binder sheet were easy to use, but hard to control because the mouse pad was much smaller than the binder sheet. Any ink, paint, or dye can be used on the binder sheet.
Acrylic plate is practically indestructible, which makes it the easiest in my world. Any ink, paint, or dye can be used on the acrylic plate.
Clean-up:
Gelli plate suggests you clean it with dish soap and water after each session, or simply clean with a wet paper towel. You can also use hand sanitizer. Wipe the plate with baby oil to remove any stains, then remove the baby oil with dish soap and water. Sometimes your hands can leave oil on the Gelli, at which time clean with dish soap and water.
Mouse pad and binder sheet are easily cleaned with a wet wipe, paper towel and water, or the binder sheet can be tossed after a heavy printing session.
Acrylic plate is easily washed by soaking a few minutes in dish soap, then washing with a soft cloth. Rinse and dry before putting it away.
Overall likeness factor:
It's no secret I prefer the acrylic plate, but I may not really know how to use the gelli to its fullest potential.
I hope this comparison of gelatin printing has been useful to those of you who don't own a Gelli, those of you who are thinking of getting one, and those of you who already own a Gelli, but might want to explore other alternatives.
Thanks for visiting today, and as soon as this goes live, it will be stored forever on my
Tutorials page under "Comparing gelatin printing plates."


.JPG)


 today's T post is all about a cup of summertime coffee. Of course it doesn't hurt to have a HOT hunk holding it.
 Enough said!
 Now this is what I call
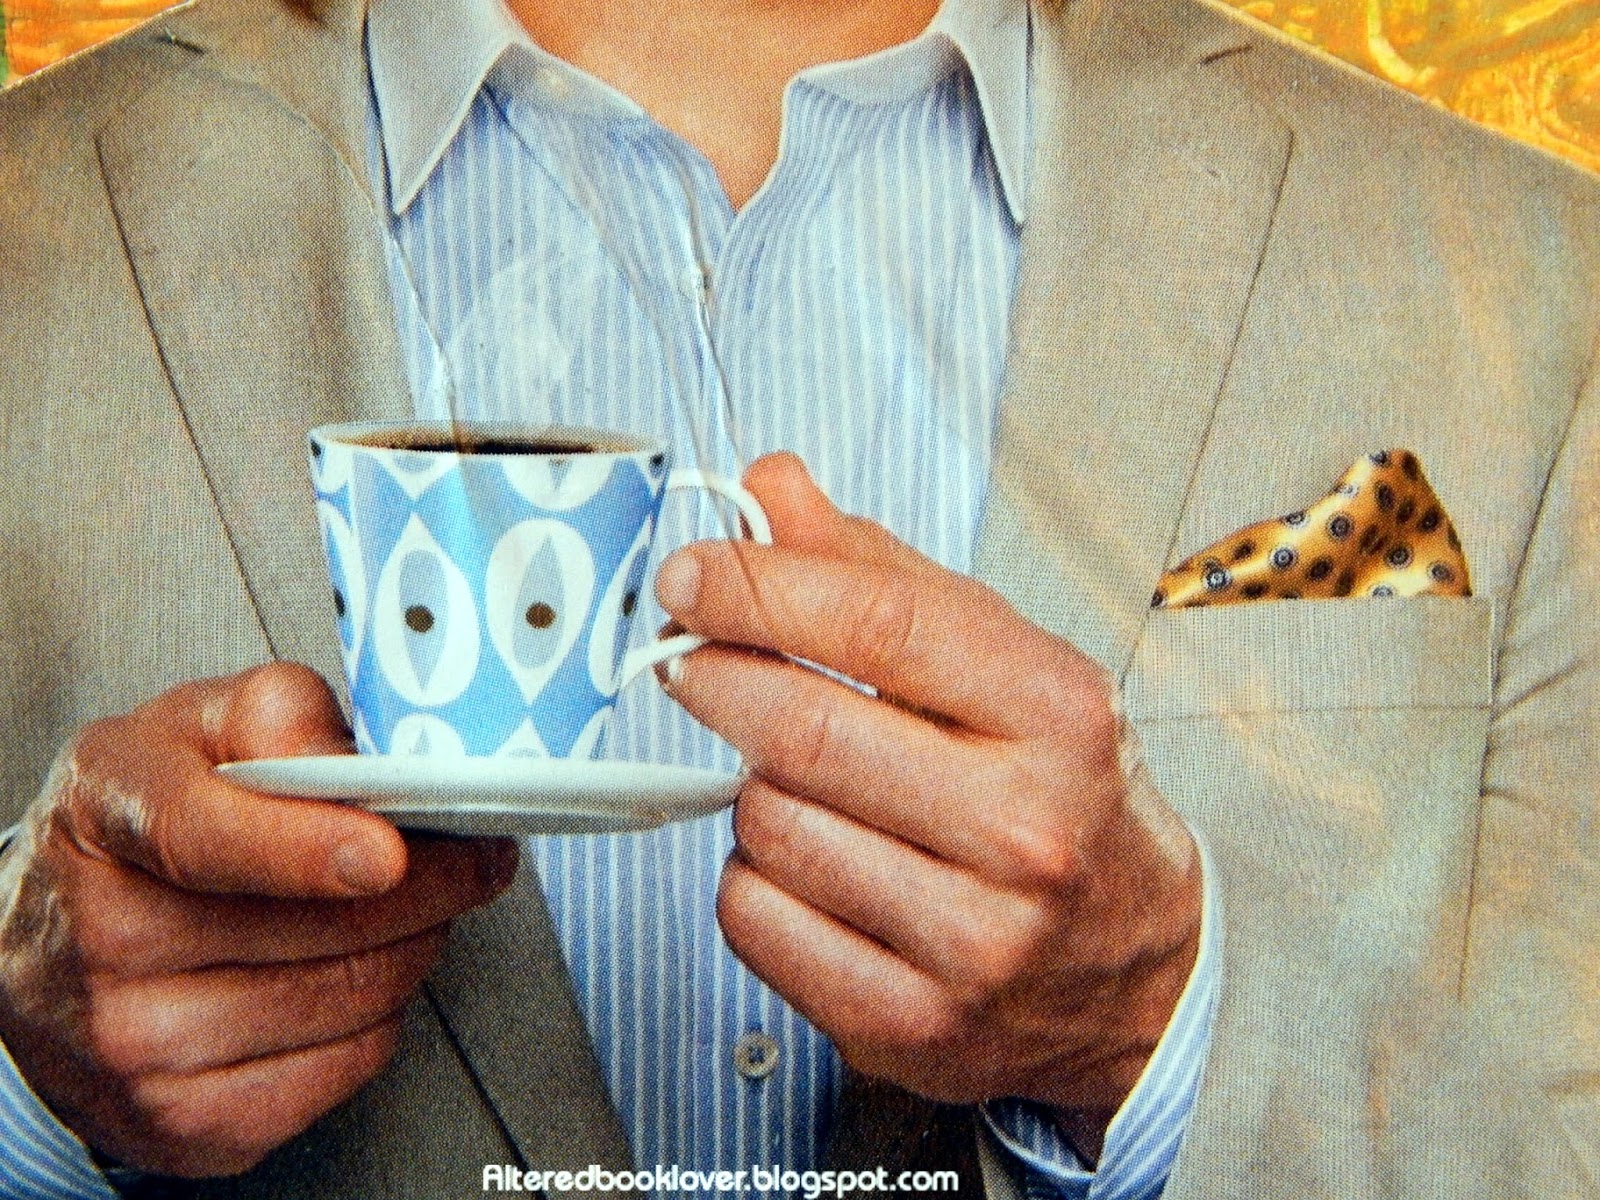 a good looking cup of coffee.
 Can't you just feel all that summertime warmth and love?
 I backed the
  I thought the hunk didn't need anything else, other than the background, which I created from a gelatin plate using a stencil gifted me by my friend Corrine Gilman.
 Materials include white card stock, gelatin printing, a gifted stencil, a paint marker, and computer generated text colored with watercolor crayons (the gift that keeps on giving).










 Dollar Exchange Rate



