


.JPG)


I decided to try something a bit different this April. As most of you long time readers know, I try to recycle something every day from the 1st to the 22nd of April. It is customarily known as Earth Day, but in my world, it is bEARTHday.
This year I got to thinking about how much most of us mixed media artists spend on the newest and hottest products and tools. They often sit in our studios until we no longer remember why we bought them, or we no longer want to try that technique we thought sounded so good when we spent all that money.
That leads me to my latest plan. I want to share a few simple backgrounds, so for several days this month, I will share background techniques that are inexpensive and most of us have all the products on hand. I assure you won't have to purchase a thing. If you don't have the desired item I used, feel free to improvise.

Brown paper bag
Spray adhesive (alternative is cheap hair spray)
Mica powder, color and brand of your choice
Colored chalk, color of your choice
White chalkboard chalk
 Carefully open the brown paper bag. This took the longest time.
 Once open, scrunch the bag. If you don't believe you have scrunched it enough, feel free to open it and scrunch in a different direction.
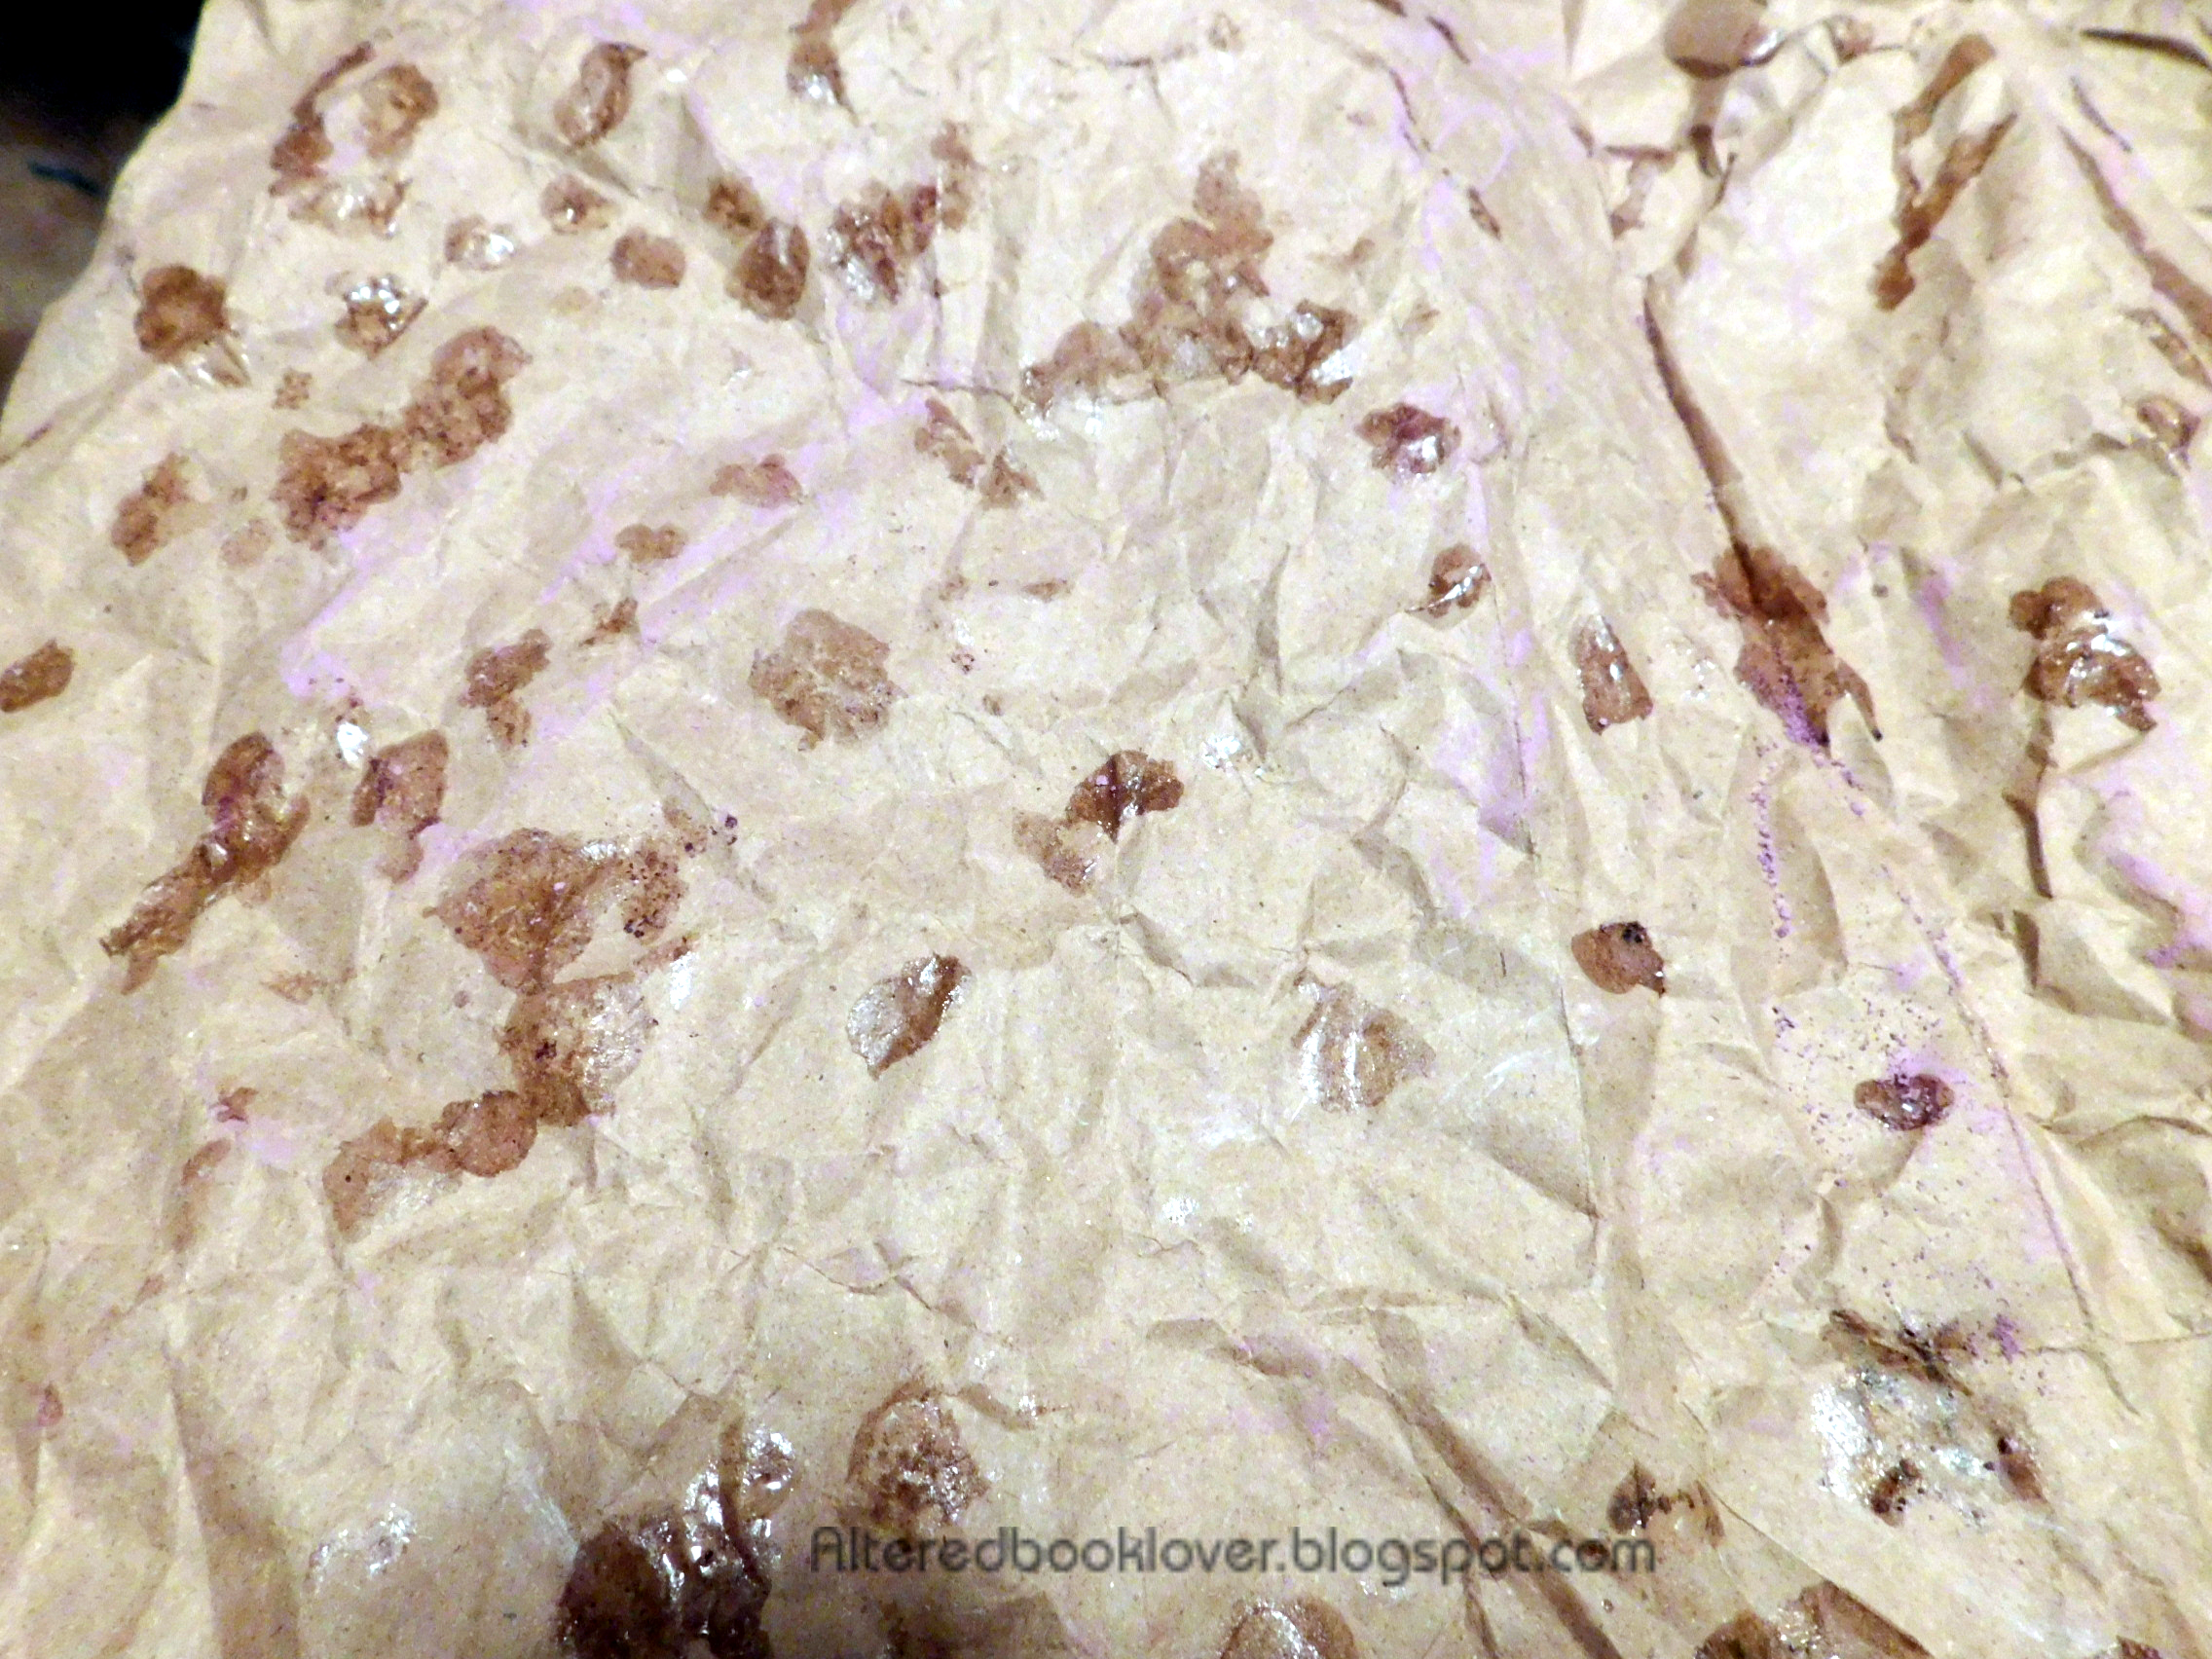 Unfortunately, my spray adhesive didn't spray Instead, it drizzled out a few drops onto the paper bag. Not a good sign, but I refused to be deterred. I added the colored chalk and hoped I had enough adhesive to keep the chalk in place.
 I then added the mica powder and white chalk. By now, you could barely see the colored chalk.
 I used my heat tool and "set" the mica powder.
 Other than the shadow from my camera, I thought this turned out gorgeous.
 I thought it looked decent scanned. I'll probably need to iron it before I use it as a background. Unfortunately neither the scan nor the photo showed the true beauty of this background, but the photo was closer to the actual finished product.


10 thoughtful remarks:
What a brilliant initiative.
...and I thought that you were talking about lunch!
Very creative
That turned out nice, dear Elizabeth. I would have had no idea how to do that.
Thanks for sharing this interesting technique
Another very nice idea! I am back home since today! Hugs, Valerie
You are so right! I´ll give some art-stuff away now cause I never used it!
What is next, what will you do with the background?
See, still learning here - you helped me so much and I´ll never be done learning! :-)
I've not heard of a heat tool!
You are inspiring and creative!
It looks like you had fun. It's always fun to recycle materials and see what you get. I'm curious to see what your next background is going to be made from. hugs-Erika
I love the idea of sharing background techniques, Elizabbeth!
Post a Comment