


.jpeg)


.JPG)


My sincere apologies to those of you who are waiting for T Tuesday. I started this at 8 a.m. I uploaded my photos at about 11 a.m.. I have been fighting the slowest internet in the world. Sometimes it took up top 3 minutes to left adjust. I hope you didn't think I had forgotten you. Now for the tutorial on making your own envelope. Once this goes live, I will add this to my Tutorials page.
 Today we are going to deconstruct a large envelope. This is the largest envelope you can send in the states and it still is considered a regular envelope, rather than a small package. It is 6 inches wide. I am NOT going to convert to metric measurements, because each country has its own rules as to your largest allowable 1st class envelope. This is called a Catalog envelope.
 It is 9 inches long. Ignore the flap.
 This is my drink reference today, and if you were here last week, I made a HUGE mistake. These wonderful goodies came from Lisca. I had to pay nearly $50.00 for 250 envelopes like the one above, so I decided to deconstruct Lisca's.
 Unfortunately, I didn't realize Lisca's was different from mine. Hers opens
 from the side. I thought I took a photo before I deconstructed it, but I have no time to look for it now. You can see the width is greater than 12 inches, which means you will need more than one 12 inch square scrapbook page.
 This includes the top flap and the bottom that flips over. The length is OK.
 The side flaps are OK, too.
 Today I'm going to show you how to make this envelope two different ways.The first is very easy. It will take less time. Most of us have leftover gift wrap. It can be Christmas, birthday, graduation, or any type of celebration.
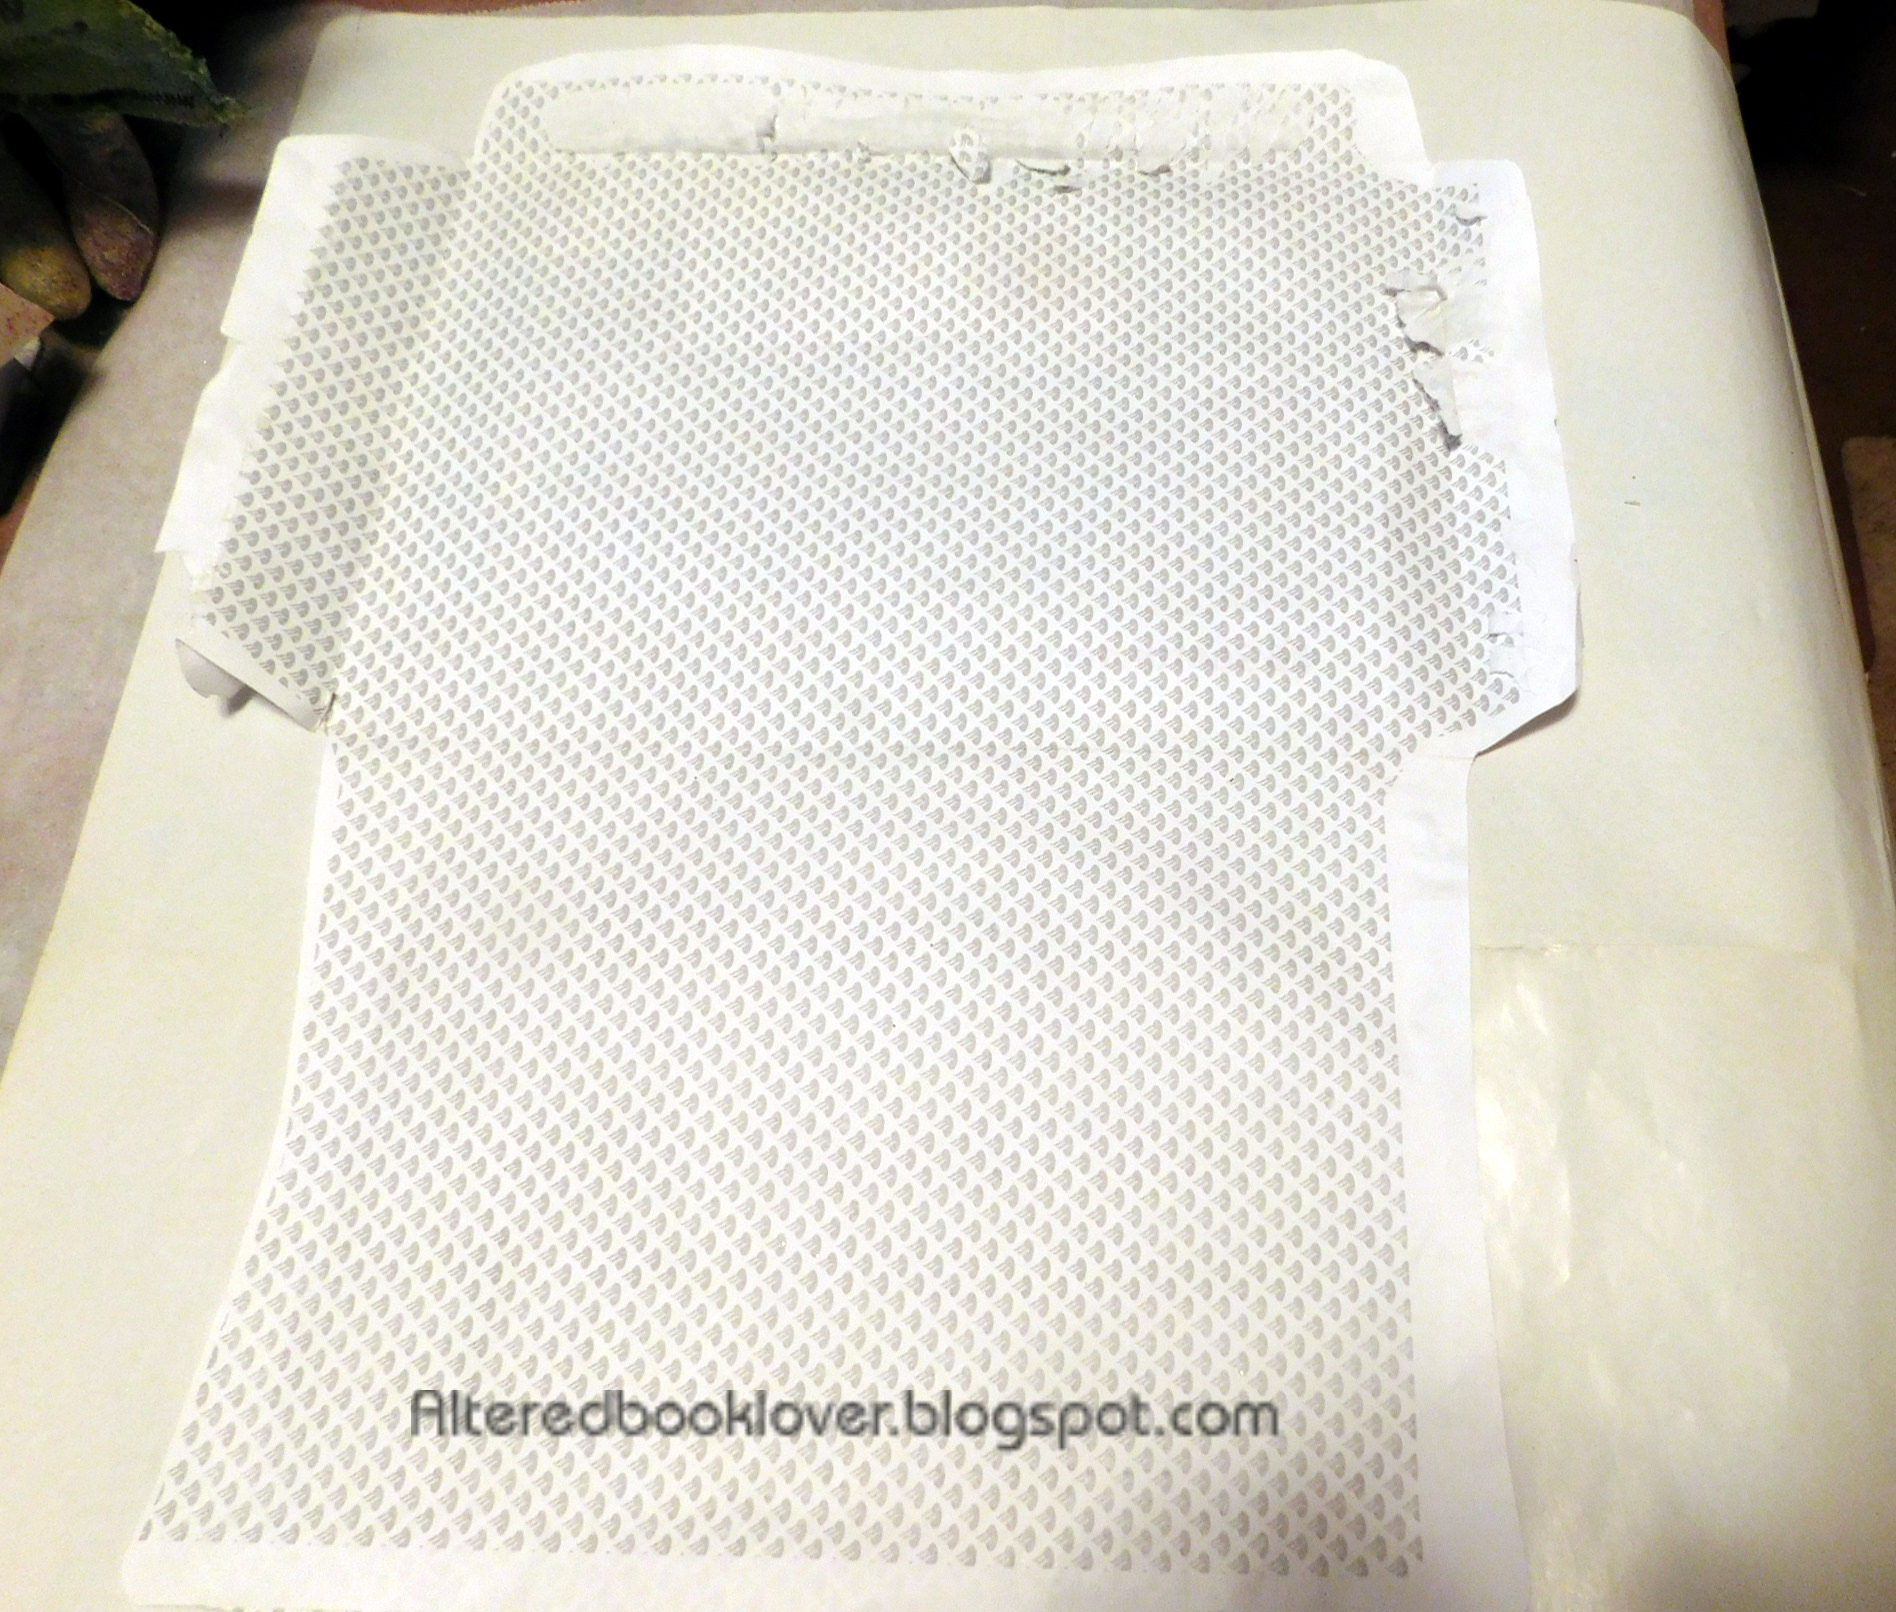 You will need enough gift wrap paper to cover the deconstructed envelope.
 In addition to the envelope, you will need a pen or pencil, double sided tape, and scissors. In lieu of double sided tape, use a PERMANENT glue stick, not one that reads "washable."
 Cut the gift wrap into a manageable size and lay the deconstructed envelope on the gift wrap.
 Use your pencil to trace around the envelope.
 When I realized you couldn't see the pencil mark, I switched to a Sharpie.
 Outline the envelope with your pen or pencil.
 Make sure you have outlined the entire envelope,
 then cut it to size, staying inside the black lines.
 Now for the more difficult envelope. For this you will need at least ONE 12 inch square and a matching or contrasting strip that must be about 6 inches wide by 9 inches long.
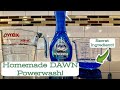
 Place the deconstructed envelope on one side of the scrapbook paper. DO NOT USE cardstock weight.
 Note part will be too long. That's OK.
 I used my other envelope as a template and
  increased the width of the envelope.
 Do this for both sides.
 Be sure both sides are similar in size.
 I was fighting time, so didn't measure.
 Cut the envelope along the inside of the lines. DO NOT USE a permanent marker like I did.
 Fold the sides and the bottom flap in place. You can see something is wrong here.
 Measure the flap.
 Measure the sides. Make sure they are no more than 6 inches wide.
 You may have to make some adjustments.
  That is why you do not want cardstock.
 Measure the inside insert. I decided on 4 inches by 8 3/4 inches.
 You can use the contrasting paper on the insert,
 Sorry this is out of order, but no time to change it.
 or the matching paper. Use double sided tape in the areas where I have marked with my watermark.
 Use a label or write the address on the front by hand.
Now it's time for you to share your own drink. By now you know the rules. I also have a tentative count on those joining the napkin swap.
As of today, I have Sharon, Jo, Elle, Chris, Lisca, Deb, Mia, Erika, and Elizabeth. If you want to join, it MUST be today. Everyone entering the napkin swap will also receive an ATC from me signalling our 9th year of T Stands For Tuesday.
I will also be taking a few days off after T Tuesday. I will be back on Saturday with my ICADs.


26 thoughtful remarks:
That looks like a well-thought-out process for making an envelope.
best… mae at maefood.blogspot.com
Wow this is a process to make an envelope. Thank you for sharing the step by step. Have a great day today.
Wow this looks complicated but I am slow when it comes to projects like this. I did buy an envelope maker a few years ago-I need to get that out of the box and try it out.
sorry for your slow internet-perhaps from the extreme heat we are having-mine has been slow today too
Happy T hugs
This is quite a process for making an envelope, but a great tutorial. I will probably stick to buying envelopes since I don't need that many anyway.
How frustrating that the internet is so slow. (My computer is slow too, but it's the computer, not the internet).
Interesting tutorial for making envelopes. I think the wrapping paper method is the easiest.
I have some templates to make envelopes but nothing for that particular size.
I think the envelope I used was one from the bank.
Happy T-Day,
Lisca
Loved seeing your process for deconstructing and constructing an envelope. I will have to look into this size as I had no idea it uses regular postage. That's great news considering the costs on packages are outrageous.
Happy Tea Day,
Kate
$50 for envelopes- oh my:(! Your tutorial for making your own is very well done and detailed. Thank you! I have taken apart an envelope and traced it on decorative paper but it fit the paper. And I still own a few envelope templates but really haven't used them in ages...
love how you got the drink related bit in for T day:). Happy T day!
Thanks for sharing the envelope project with us. This is good to know. I actually quite like your ruler with the deckle side and the straight side. I haven't seen one of those before. That looks like a useful tool. I hope you have a great T day, and your internet speeds up. That must be so frustrating. Hugs-Erika
Thank you for such detailed instructions on making the envelope... I believe i will use a bought envelope though.. So my napkins are ready and my envelope .. the only thing missing is your address...?? Am i missing something? Am i suppose to know where to go to get that?? Anyone know? Sorry to hear your having internet trouble.. Is there anything more frustrating? Enjoy your days off! Hugs! deb
congrats on 9 years
It sounded rather harsh how you informed us you´re not going to convert to metric, LOL - I get your reasons, though, and told my teamleader, too, I think "Gruß" sounds not nice either. Looking forward what he´ll write next time.
To inform us about his holiday plans he wrote, "My dears...".
I like your tutorian anyways ;-) Happy T-Day and sorry for that internet. Reminds of the 56k-modem times!
Such detail and care!
Slow internet can be very frustrating. Thank you for sharing the tutorial for making envelope.
Thank you for this very detailed tutorial. Sigh at the internet.
Excellent tutorial and I love your Alice in Wonderland tea reference. Happy T Day
Cool!. I've made envelopes but not this larger size. This is a very clear tutorial. Nice.
Back from staycation and happy to be at T Tuesday again :)
You are a good teacher. I have learned so much from your tutorials-thank you!
How cool! Hope your power issues are in the rear view mirror.
Hugs,
Very nice tutorial. I've made a stack of envelopes in a very similar fashion. Nice way to use up scrapbook papers that you aren't all that fond of.
Happy T day my friend.
It's a great way to make a unique envelope.
Such a great tutorial! I love how you created the envelope, thanks for sharing 😁. Wishing you a very happy T Tuesday! Hugs Jo x
I've been trying to comment several times and get the read only box. Had a senior moment (or two)and forgot that the only way I can comment on your T posts is on my old tablet. I loved seeing how you made your envelopes. That's a lot to pay for envelopes! They are cheaper here but I did love the idea of using less loved papers! Hugs, Chrisx
Great tutorial Elizabeth!
$50 for envelopes. Yikes!
Hope your electricity stays on and your AC is humming.
Hugs,
A slow internet connection is so frustrating.
Many thanks for persevering, the tutorial is very good.
All the best Jan
I bought some envelopes too but maybe I will make my envelopes using gift wrap next time. Thank you for the lovely tutorial, Elizabeth. Kisses!
Post a Comment