


.jpg)


.JPG)


Today we will be making FAUX alcohol inks. I know that some of you have an unlimited craft budget, while others of you are like me, and struggle to keep up with the latest products. That's why today, I'm going to use things you already have in your home to make faux alcohol inks or AIs.
 I hope you have at least one or two of the items I am going to use to make faux AIs.
  From the left: Rit dye, coffee filter, dead or dying ink and felt tip pens, Soft Pastels, Decorating Chalks.
 From back left, clockwise: Printer Replacement Ink, Food Coloring, Needle Nose Pliers, Syringe, Alcohol Inks (two brands).
  From left: Mixing Tray, Alcohol, 91% Isopropyl, two felt tip markers, Scissors.
 In order to create anything, you MUST have alcohol. Use 91% if you can afford it. I've read there is 99%, but I've never found it in stores where I shop. If 91% is too expensive for your budget, get 70%, but NOT 50%. The higher the number, the faster the alcohol will dissipate, which is what you want when working with alcohol in crafts.
 To my knowledge, these are the two types of AIs you can find in stores in the states. You may be able to find more brands on the internet.
 These tiny bottles, each 0.5 fl.oz or 15 ml (Adironack) or 14 ml (Pinata) cost between 4 and 6 dollars (USD) each. These are current prices at Amazon. Granted, the results you will get from Faux AIs will not be exactly the same as what you get in the genuine AIs, but for the price, I'll accept that.
 Please note I have placed freezer paper on my table. We will examine the benefits of freezer paper more later. But for now, let's start with a dead Highlighter. We all have them, I'm sure. Especially if we were ever in school or worked in an office.
  Place the Highlighter in a bottle with the felt tip down.
 Add a bit of alcohol. Unless you have a very tall bottle, you will not be able to close the lid, so expect some evaporation over time. Leave these felt tip markers in alcohol at least overnight.
 If you have a Sharpie that still works, but you need just a touch of color,
  squiggle (not to be confused with one of the fur babies that live here) some of the Sharpie into your plastic mixing bowl.
 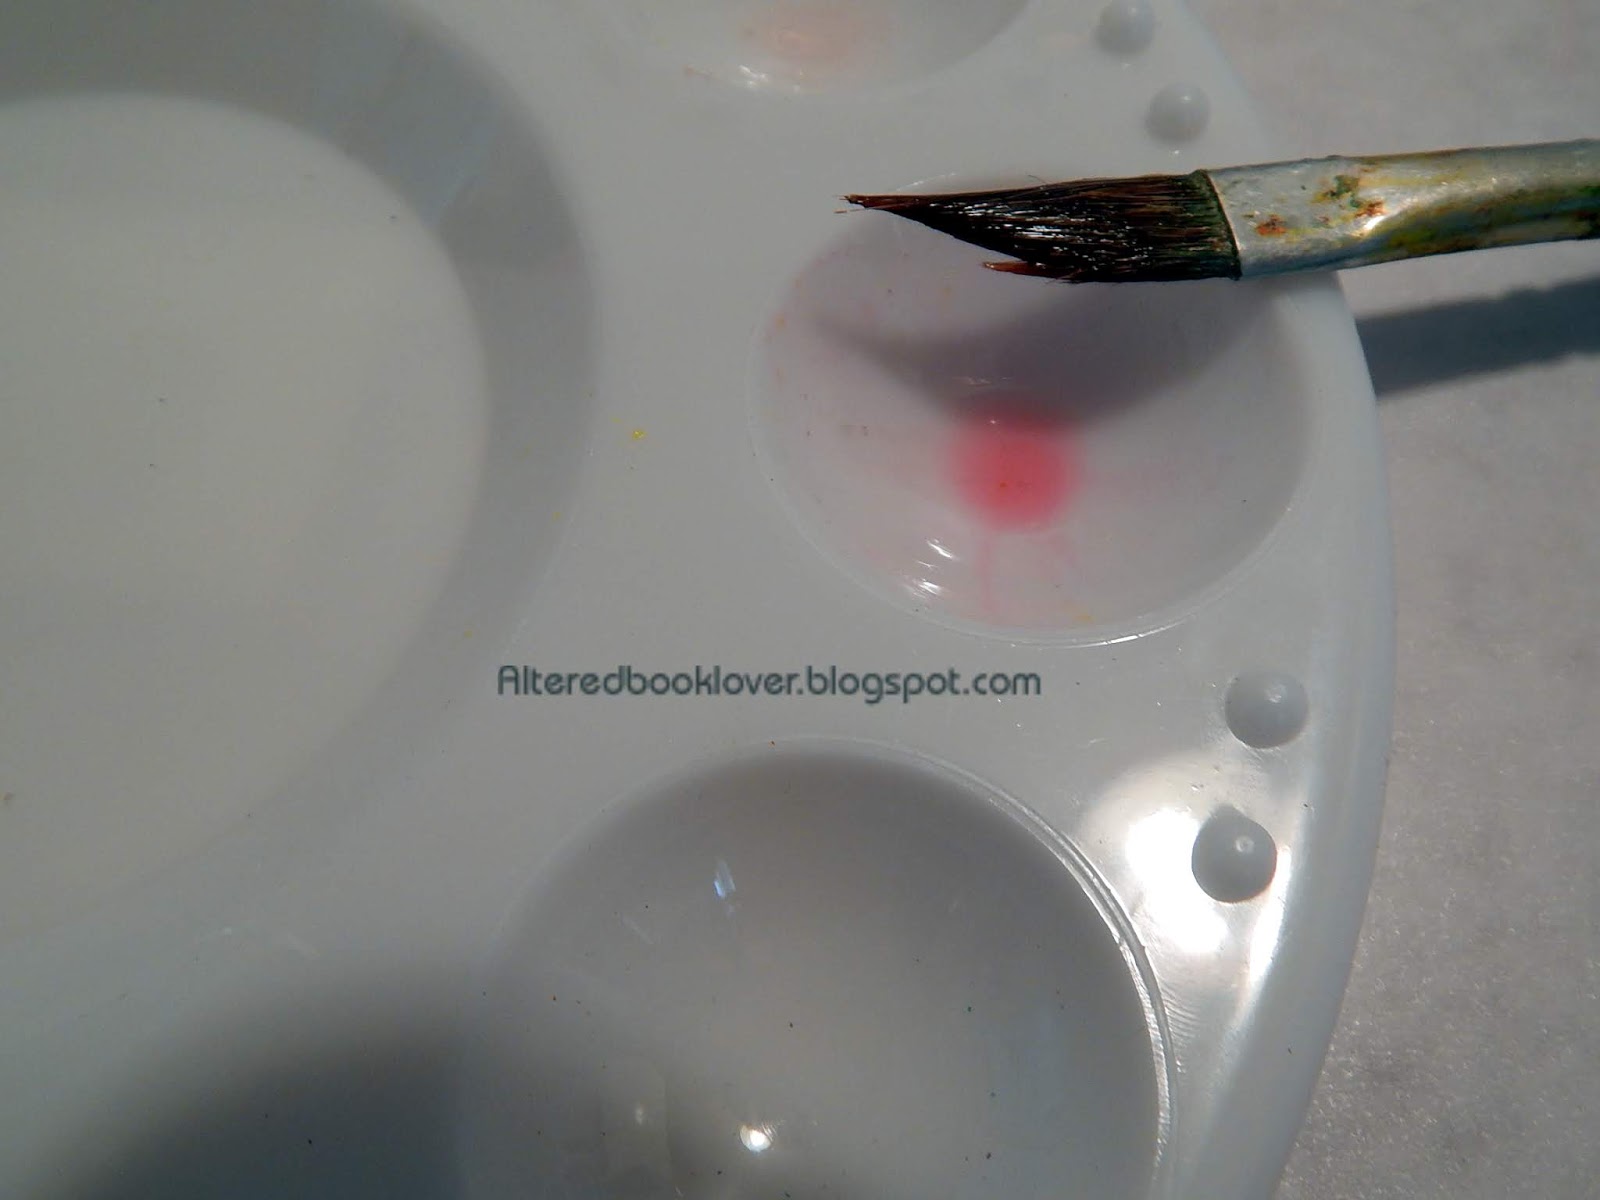 Add a drop of alcohol to the mixing bowl
  and apply the mixture using a brush. I got all this from the bit of Sharpie and alcohol. You can use your good Sharpie AI to touch up items that need a bit more color. However, I would NOT suggest using your Sharpie or any felt tip pen that still has lots of ink in it to turn it into an AI like I have with the dead Highlighter.
  It even looks like an AI.
  Let's use our chalk pastels next.
  Cut off a tiny piece of chalk pastel and place it in a container.
  Add alcohol. Place a lid on the mix and shake, shake, shake. Allow to sit overnight for the pastel to completely absorb the alcohol.
 Now lets get some instant gratification, since the last two techniques need the alcohol to absorb in them. I started with green food coloring. Don't we all have food coloring?
 Add a bit of alcohol and you have a great Faux AI.
 Wow, if only I had used a felt pouncing tool like Tim does to spread his AIs.
  Next, I decided to make my own green AI using yellow and blue food coloring.
  This green reminded me of a forest.
  Although it was lighter than I anticipated, you can see it is quite different from the green food coloring AI.
  Next it was time to add some decorative chalks. If you were ever a scrapbooker, I bet you purchased some of these. If you are a mixed media artist, you are probably asking yourself why you purchased these in the first place.
  Like the pastels, these chalks take time to totally dissolve
 because they leave bits of chalk on your brush and your paper.
  Suddenly, I realized I was running out of mixing jars.
  This is what I had made so far. Seems there should have been more, though.
  It was time to head to the grocery and dollar stores.
  My freezer paper is by Reynolds. It is longer and has 150 feet. I think this is probably a better deal than I got because I paid about $15.00 (USD) about six years ago. I use mine for everything craft related, but not to protect food against freezer burn.
 Regardless what size you purchase, freezer paper is plastic coated and can be used in place of the very, very expensive glossy paper some people use to make their cards. Even if the only thing you make are cards or ATCs, there is so much more footage to work with than the pricey glossy paper.
 Next I headed to the Dollar Tree, where their slogan is Everything's a Dollar. I think there are Pound Shops in the UK that are similar. I couldn't find these, so asked a sales person who looked with me. Unfortunately we didn't find any. She went to the back and found these three sets, which appear to be all that are left. What they appear to be selling now is a five piece travel shower and bath kit. I hope you can still find these at your local Dollar Tree.
  Now that I had bottles, I could continue to create more Faux AIs. In case you are wondering, the faux AI on the right contains the remains of the highlighters. When I decided to take the pink highlighter apart, the felt fell away from the plastic outer area. What was left was this really dark red Faux AI and a long piece of felt.
  I was hoping this would work. This is ink jet replacement ink.
  Wow, that is beautiful.
  Before I cleaned out the bottle (note how much product I lost when I tried to change bottles)
  I decided to make green using Cyan and Yellow.
  Cyan
Cyan  and tons of yellow turned the ink green.
  When I added the alcohol, this is what I got. I lost a lot of the Faux AI when I moved the mix to a small bottle.
 For some reason, I thought if I added magenta to yellow, I would get lavender. Imagine my surprise
  when I got pink.
  I decided to stop here.
  I had opened my second bottle of alcohol, and still had techniques I wanted to try. But time was of the essence and I'd already had a few setbacks.
  To review, I didn't work with the Rit Dye because it also must sit overnight, then must be strained through a coffee filter. I also didn't use the syringe to remove ink from dead ink pens. I may do that next month and also share my favorite use of alcohol.
Thank you so much for joining me today. Your continued support of these tutorials keeps me going. Once this post goes live, you'll be able to access it anytime on my tutorials page under Make your own Faux Alcohol Ink.


18 thoughtful remarks:
Great to see you online again. Looks like you had a lot of fun playing here, thanks for sharing, Valerie
I must admit I never heard of freezer paper before! We only have bags, always too big or small, I´ll have a look!
With the bags you always get freezer burn, too!
I love your style of writing, you made me giggle :-)
Looking forward to see what you do with the Faux AIs (never heard of that, either).
Wow, an amazing tutorial Elizabeth!
Thank you for sharing.
Happy day, great that all got fixed with the squirrel drama.❤
What a fascinating post, Elizabeth... this is like a proper chemistry lab or alchemist's study - so exciting to see the various inky effects. I rather like the chalky granules adding texture, and some of those colours are really pretty. Thank you for sharing all your experiments in such detail - great fun.
A squirrel, eh? Who'd have thunk it?!
Alison x
Wow, this is fascinating. I didn't know you could do this. I have a couple of older bought ones, but I have never quite figured out how to use the inks other than splotches (the splotches are cool though) so I never really got into buying/using them. But I didn't know about making them this way. I do know Sharpie ink dissolves in alcohol, but who knew all the other substances. I like how they look too. Do you get a different effect by using them on glossy paper than matte paper? Thanks so much for showing this. And glad you are back on line for sure. Hugs-Erika
This was a fun tutorial. Sadly, I can't find the liquid food coloring anywhere. Stores here seemed to have gone to gel food coloring.
wowww the results are really wonderful Elizabeth !! I love your experiments with inks. I have to try someone more, I just did one, that´s I put the inside of old markers into a little bottle/glass then added alcohol, waited and conserve the alcohol inks, no more, so I have to experiment more. Thanks so much for sharing with us. Can´t wait to admire to lovely artcreations you´ll do. Love your last green.
i wish you a very nice day, and send big hugs,
Caty
Wonderful results! I love your experiments. Although I don’t have an “unlimited” craft budget I have to consider my time in the equation given my work schedule, so I think I’ll stick to the purchased AIs. Also, I am one person who does not have food colouring! :)
Glad you are back online. That was a fluke thing with the squirrels! I was at a quilt retreat held at a wooded campus one time. Overnight the squirrels got into my car and chewed the AC connections. That was costly! This is interesting- I didn't know this could be done. Thanks for showing us the options.
This is a great tutorial. You certainly sent my mind spinning like the strong man on wheel of fortune. Keep smiling and creating, thanks for sharing.
This was very interesting Elizabeth and I am going to bookmark this-is it ok to pin this to my pinterest? I will definately try one of these out for sure-thinking the chalk and the rit dye would be something I would work with-just add alcohol and let sit overnight? thanks much-so glad you are back online hugs
This is very interesting because I never thought of making my own. I love the greens that came out of your mix. I think lavender would be blue and red with white. I know, no white. I like that you can even use chalks for colour. great ideas!
bleu N squiggles; ya noe, if we dinna reed thiz post
title all de way a cross.. we coulda said Elizabeth waz makin her own..... alcohol ;) ☺☺♥♥
Good to see you back and hope the squirrel problem is solved.
This is a fantastic tutorial. the colours and products you used got amazing results. I'm sure you will be enjoying using them soon.
Yvonne xx
An amazing tutorial …
All the best Jan
Thank you so much for the tutorial, Elizabeth. I will definitely try to make my own alcohol inks (starting by food coloring). Hugs, my friend.
These are VERY cool. Now, my question is have you tried them on silk or fabric (like the scarves you did with the sharpies eons ago) and how do they wash up? Can you wash the fabric without losing the ink? Is it permanent on the paper? This is SO cool, I might have to try it!
What a great tutorial! I'm all for saving money(more to spend on stamps!!) on background colouring so will give some of these a try! Chrisxxx
Post a Comment