Wasn't that a fantastic T Stands For Tuesday birthday/anniversary party yesterday? I'm not sure if I'm reeling from the excessive heat warning I'm under until Friday night, or if I'm flushed from all the fun we had at the party.
If you visited Dianne's blog and T post yesterday, you saw the tip-ins I made for her. But we must go back even farther than that to see how these pages began.
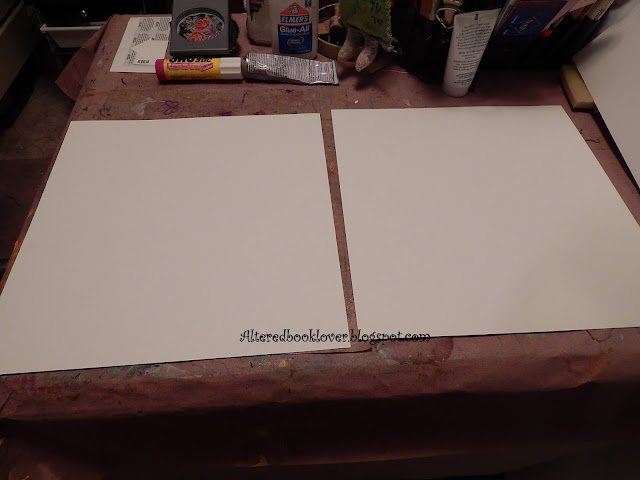
 I started with several 12 inch X 12inch pages of heavy card stock,
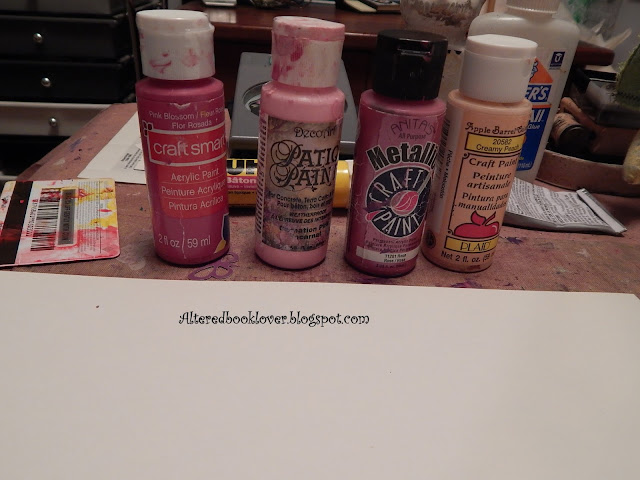
 PINK paint, and a faux credit card.
 I swiped the pages with these colors and allowed them to dry.
 Since I was already sick of pink (and had only just begun), I added some purple to the mix.
 Next I added some silver dots using the end of a new pencil eraser.
  Then I added green circles of paint. Next it was time to cut these to size of 8.5 inches X 11 inches and turn them into tip-ins I sewed in half. Dianne asked for 5.5 inches X 8.5 inches for her page size, so by creating both sides at once, I was then able to sew the halves together.
 This envelope was photographed at my local post office right after I made sure it wasn't too thick to be considered a large envelope. Most of these postage stamps are no longer in circulation. The Mark Twain ones may still be, but that would be all. I suspect we'll see these in Dianne's art over time. Now let's get to the tip-ins.
 I shared this page in a sneak peek last week.
 I included the tag in the pocket. Some may remember I made the sunflower shrink plastic when I was showing how to use your decorator scissors.
 This is the back side of this tip-in. I dyed the background paper using Staz-on reinkers and rubbing alcohol. I painted the cardstock I stamped on using the faux credit card. Even though I tried to match the pinks, they were not similar. I shrunk the one stamp, but when I shrunk her face, it shrunk more in one direction than the other, which is indicative of Number 6 plastic, but not true shrink plastic.
 I tried to emulate Dianne's favorite artist Lynne Perrella, but I'm not sure I got as many layers as she would have used.
 I used some of my hand painted background paper, then cut paint chip samples and stamped the woman three times. I thought she needed a crown, too.
  A (for apple) to
 Z for zipper. Thankfully not much pink on this two page tip-in. One thing I need to explain is, if you ever see my handwriting, you know I add a cross line on my 7s and Zs. It's a result of my computer programming days. So the metal zipper is the Z and the plastic zipper is the cross line.
 I had these paint chip samples that looked like sandpaper, so I punched circle windows out of four. I cut more circles from other paint chips and added them to the windows. I actually thought of the saying before I created the page.
 I shared this as a sneak peek last week. I explained I dyed all the fabric, lace, and seam binding before I sewed the piece together.
 Dianne's theme was words and letter play in the vein of Alphabetica. Although I had no first hand knowledge of the book, I thought paying homage to some of the letters of the alphabet would be a good idea.
  Lots and lots and lots of R words were used, but the backgrounds always had pink somewhere. Yes, I actually got out the rubber stamps and did a lot of stamping on these pages. And you KNEW I would find a way to add rockers to the R mix!
 Next I paid homage to the letter B. I had this beach scene stamp and tried to use embossing powder on the really slick card. It never quite worked, but I used it anyway.
 I was happy with the "beautiful butterfly,"
 but not the embossing powder on the boat or beach. The background for this page was spritzed with my handmade shimmering mists. Look closely, though, and you will see pink mist in the mix!
 Lots of balls on this page. I had to add the bit of pink, too.
 I got the idea for this page when I wanted extra space. I covered a piece of heavy chipboard with sheet music on one side and pink hand painted paper on the other. Not sure you can read the flash card dates, but they are copyrighted 1952. I got lucky when I found them!
 Dianne is a big fan of Halloween, so I hope the symbolism of these smiling pumpkin raised letters, gifted me by Erika of BioArtGal, wasn't lost on her. In order for the flap to work properly, I left about 1/16 inch between the two pieces for clearance.
 I went from Halloween to Christmas by the flip of an extension. I had to jockey the letters (also gifted me by Erika) to fit on Dianne's small page, but finally got the word metal to work. I was so lucky to find "A Christmas Song" which fit nicely with
 my copper metal Christmas tree.
  My friend Kathy and I each made one of these one year while trying to emboss the copper that was left over from another project.
 I confess I sort of
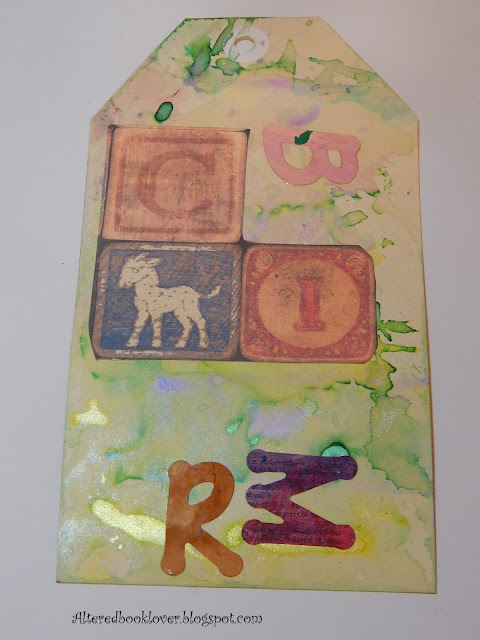
  The pocket was created using more of my handmade shimmering mists. The building block paper was Graphic 45.
 I filled the pocket with lots of flash cards.
 I used some of the G45 paper on the front of the tag. I spritzed the tag with my shimmering mists.
 For the back of the tag, I used some die cuts, a stamp, and added my information where my watermark is in the photo.
 The tag's fibers were added later, along with three pen nibs.
Thanks for following along with me on this voyage of how I created these tip-ins. I know it was a lot of words and images. And thanks, too, for your wonderful and continued support of my art.


.JPG)


9 thoughtful remarks:
What wonderful pages you made for Dianne, you had so many brilliant ideas here. That zip is just genius! Well done on making such a fantastic set. Yes, the party was fun! Have a great day, hugs, Valerie
Well this is one big post on some great ideas for tip ins. I see a whole lot of PINK invading too! Thanks for the visit today. (My one hold out is half and half for my coffee - I refuse to give it up. Girl's gotta have some fun in life right?) I'm with you on that. xox
I have enjoyed seeing all the detailed photos of the pages you made for Dianne, you had so many awesome ideas.
It was a good day yesterday, thank you for inviting me to your celebration.
Yvonne xx
These pages are fantastic Elizabeth. I don't know which page I like best? The zippers? The paint blocks with the circles? The child's blocks? Hmmmm. They are all pretty amazing. I think you outdid yourself on these and on the other pages you have made for this swap. And been busy. But its great to see all the art involved. An yes, it was a great year 3 party. Glad I am now part of the fun. And I also want to mention a comment you left on my blog, about the photo I took on the feet on the steps underwater. You mentioned it looked like your basement. Oh no. That was a lot of water. No wonder why the shelf fell over. Were you able to make any improvements because you can't have that happening over and over,but not more water in the basement talk. I promise. Hope your week is going well and its not stormy, wet or too hot. Hugs. erika
Fun to see your great tipins from start to finish E!
You incorporated so many of your special touches.
Your stitching is always a delight and your rubber stamping is adding some really special highlights too.
You gals all really outdid yourselves in this swap!
Thanks for sharing and stay cool.
AND thanks again for T Tuesdays...I know so many of us look forward to them weekly.
oxo
This is just AMAZING! Wow!
You made fantastic artwork for Dianne!
Wow, what fantastic swap goodies you created - Dianne is very lucky! The party was so much fun, I really look forward to our weekly get togethers, thank you so much for being such a wonderful host! J :-)
These pages are fabulous and you have used such brilliant techniques! I especially love how you started them! I wanted to wait until I could see your posts at a 'proper' size but now I am so far behind and under a bit of pressure - your will see why next Monday! I sent you an e-mail but it was returned as unable to send so I have written to you instead! Hugs, Chrisx
Diane must have been over the moon with her pages. They're wonderful -- and lots of them! That's a commitment -- and you did over the top with it!
Post a Comment