


.jpeg)


.jpg)


.JPG)


 Do you remember this mug I showed a few years ago to which many felt they could relate?
 The last time I was at The Spice Merchant, I found a mug to which I could relate.
  This is one mug I really would love to own. Yes, I'm a math geek.
  I love all these formulas I learned (mostly) in Calculus and Differential Equations classes. Of course, like everything in life, if you don't use it, you lose it.
 I had forgotten so many of these formulas and this mug brought them back to life for me.
I've shown you mine, now it's your turn to share your T entry this week. The rules are extremely simple.
Your drink related post may be anything
from a photo of a
glass, cup, or mug, to an actual drink. You may choose to share a sketch or a digital,
hybrid, or traditional page in your scrapbook, art journal, or altered
book. Maybe you'd prefer to share a tag, or wow us with your photography. You might
choose a postcard or decorated card. You might even draw an image on a used tea bag. Or
perhaps
you prefer to review a place you visited, a movie, or book. It makes no
difference as long as it's drink related. And don't forget that the
more unique and outside the box it is, the better we like it. Please tie
it back here, and please link only to your T post, not your entire blog. When you link,
Bleubeard, the T gang, and I will be by to visit. Bleubeard
would also like to remind you that your photos may be taken any time. This link will be active until Thursday, 2 July at 12 a.m. my time.


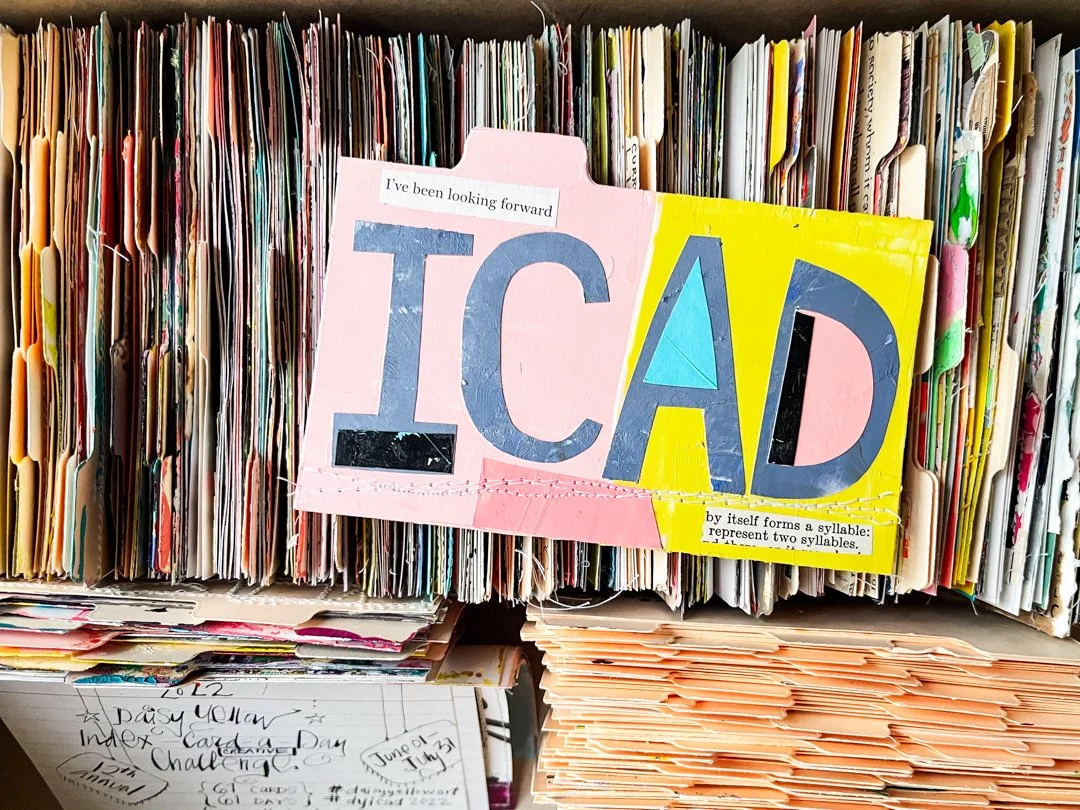 I'm
creating ICADs but am not on the sites where Tammy posts. Therefore,
this is the only place you will find Bleubeard's and my ICADs.
I'm
creating ICADs but am not on the sites where Tammy posts. Therefore,
this is the only place you will find Bleubeard's and my ICADs. 


