


%20(2).jpeg)


.JPG)


It's the second Thursday of the month and today we are going to do some fabric dyeing. You don't have to worry that you need special products or a mask. You might want a pair of disposable gloves, but that is it. When you rinse the fabric, it won't hurt your sewer or septic tank like some of the fabric dyes can. So, let's get started.
 The supplies are a bit hard to see because I have so many other things going on right now in my basement studio. It's gift making time and the pieces are spread out everywhere on this table, even though I tried to pick a few things up.
  I finally got my step stool out and was getting ready to name the supplies I would use, when I realized the light was behind me. As much as I tried to correct the problem, it was either that or try to create art in the dark.
 Let's start in the lower left and work our way clockwise around the photo:
Cups to mix dye with water
Pipette
Rit Dye (more on that later)
Empty plastic container
Clean ziplock bag
Two fabrics
Scissors to start the tearing process
Plastic bags to keep the dye off the work table
I wanted to see if Rit Dye was sold around the world because many of my International viewers might like to try this liquid fabric dye project. The Rit web site was not helpful, only stating they would ship worldwide, but international postal charges would apply. It is also sold on Amazon, but I have no idea if there are extra costs if you live outside the U.S.
 Rit Dye comes in both liquid (as shown here) and powder form. I didn't want to mess with the powder, because I would have to prepare the entire package. I may do some overdyeing in the near future, and a package of Rit powder might come in handy. I have tons of all these, and I've had them for a gazillion years. It's finally time to figure ways to use them up. Full disclosure: I am not being paid or get any type of compensation from Rit for this tutorial.
Rit is a HOT PROCESS dye. It needs heat to complete the dye process. So the first thing I did was heat a cup of tap water in my basement microwave dedicated to crafts only.
 I was in the process of wetting the fabric with the heated water through my pipette when I remembered to take a photo. Note I have already torn the fabric to the sizes I needed and secured the dyes I wanted to use. Although I have a lot of dye colors, they don't exactly excite me.
Both fabrics had been freshly laundered, and the bed sheet was old and well used. The leaf fabric was washed again because I wasn't sure I had washed all the oils out of it before. The leaf fabric is 100% cotton and the bed sheet is a cotton/poly blend.
 I began by placing the pipette in the peach colored dye and got a small amount in the pipette.
 I did this several times, but the color simply wasn't there. I wondered if it was because I diluted the dye when I added it to wet fabric, so I removed the fabric
 and placed the DRY fabric on the work table. What color you see was left on the plastic bag and bled through to the dry fabric.
 Before I applied more dye, I replaced the cap and shook, shook, shook the dye. Goodness, all the dye solids had settled to the bottom and I was now getting a beautiful color.
 Next I added black. I had not added any water until after I removed all the colors onto the white sheet in the background I planned to use to make small quiltlets for Christmas. The water was added by me trying to get the last of the dye out of the pipette.
  I then donned disposable gloves and scrunched the fabric up. You can see how much dye and water were left on the black plastic sheet I used to protect my work surface.
 Next I placed the scrunched fabric in the plastic bag.
  I returned to the sheet I had worked on earlier and proceeded to see if it would look better now that I knew I needed to shake each dye container before using it.
  Although dark colors all look black when you apply the dye, I added some deep purple (Rit calls it Wine) to this one. Not much, but a small amount to keep the two fabrics a bit different.
  Another scrunch and the fabric was ready to head for the microwave for two minutes. Even though it doesn't show it in the photo, the bag has not been closed. It needs a bit of air and sealing the bag would not have worked.
 Wow, this was looking promising. I felt the black was a bit more intense than I intended, though. When cool enough, I took these to the basement bath and began with slightly warm water, then added more and more cold until the fabric color ran clear. Next it was time to launder both fabrics, which I did by hand. Then I threw these pieces in a hot dryer and returned to the basement.
Next came the disaster. I colored the length of the white bed sheet with every dye color that had been on the table. I placed the fabric in the now used plastic zip bag and set the timer to one minute. I "assumed" the fabric was smaller and would need less time to process than the two minutes I used for the other fabric.
Suddenly, I began smelling something that smelled like it was burning. I headed to the microwave and shut it off. It had only been on 42 seconds, but the plastic had melted onto the fabric.
That was not the worst of it. When I tried to pull the fabric out of the plastic zip bag, I was overwhelmed with smoke. I finally got the fabric out and found it was ON FIRE!! Seriously. It was on fire. I thought of the Fire Blog, but not until after I had put the fire out. Thankfully, I had not yet thrown the water away I had in my drink cup, so poured it quickly into the plastic container.
 As I put the fire out, I took this photo. I was sick, because the colors would have been beautiful.
  Nothing was salvageable, including my lungs at that point. There was no way I could continue because the room was quickly filling with heavy smoke. I headed upstairs and turned on the whole house AC to help remove the smoke from the air. Even after I showered, I could still smell smoke (real or imagined) on my hands and in my hair.
 Once the fabrics were dry and I could take a breath without coughing, I ironed these two pieces. Here is the one with all three colors. Looks like I didn't get out to the edges, but I still was pleased with this fabric and the process.
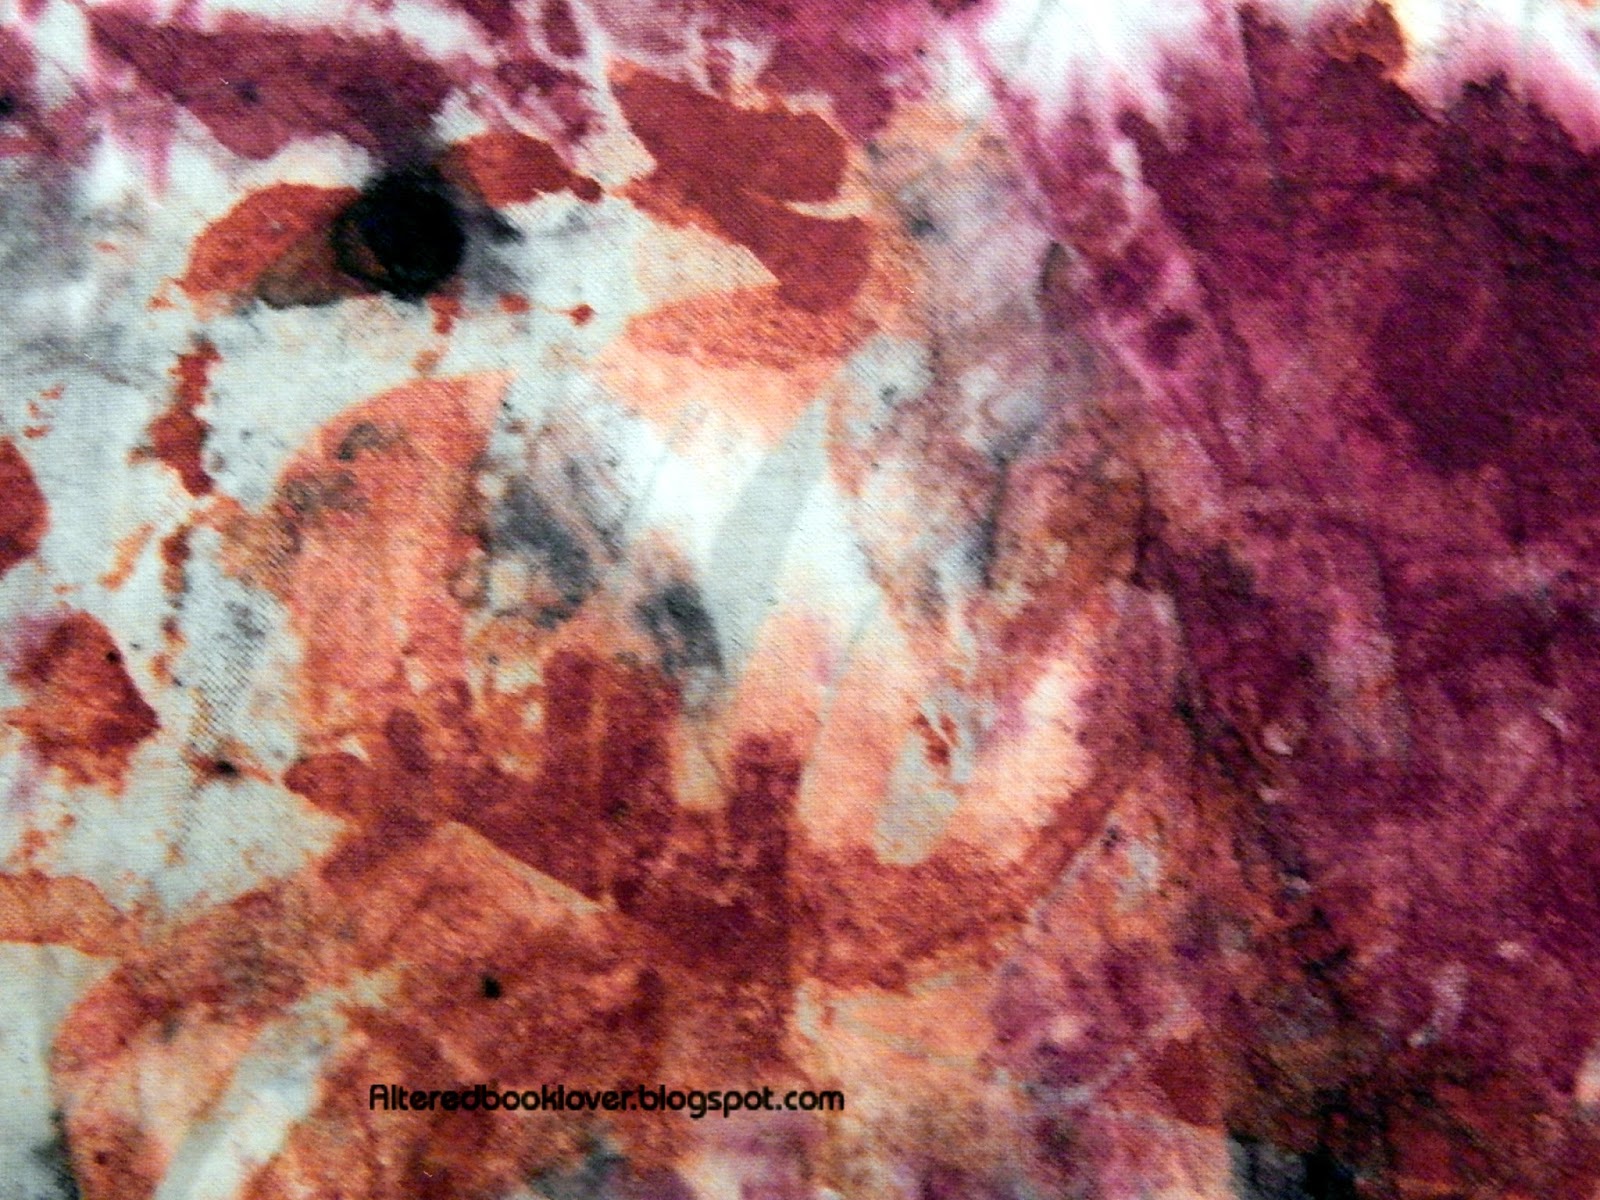 Here are a few up close and personal shots.


 This is the two color piece. It appears some of the wine color from the other fabric leeched in.


 Aside from the fact I nearly burned my basement to the ground, and failed to initially shake the dye to get the color I needed, this was a fun experiment and I got some delightful results.
One thing I would like to add is, if you live outside the U.S. and want to try this experiment, look for Fabric Dye using the Hot Process Method. It could be either powder or liquid, but it's the hot process that sets it apart from cold water bath processes like the Procion Dyes.
As soon as this post goes live, you will find it in Tutorials under Rit fabric dyeing experiments. I plan to make more of these, but the next time, no more zip bags, just microwave safe containers with a lid loosely placed on the container.
Thanks for joining me today. Your visits make this worthwhile. Please don't tell my insurance agent, though!


16 thoughtful remarks:
I hope your insurance agent doesn't read blogs!Good that you were able to quench the fire before it got worse, but that must have been a nasty scare. Glad you got some good results from the pieces you dyed, so the day was not lost. And if you dye some more, please be very careful....Have a great day, hugs, Valerie
yikes! a near miss there.. great results from the pieces you didn't burn to a crisp, though; lol! stay safe....
Glad you're okay.
I think the fabric looks great too!
thank you for sharing your experience.
Gosh Elizabeth - a bit of a close shave there. Love the results you did get, but please be careful when in your "chemistry lab"!
Gosh Elizabeth! You are an adventurous artist! Nothing bad happened in the end and this is the major prerequisite to keep on with the dying adventure ! Great results - I am looking forward to seeing the beautiful dyed fabrics again when you show quiltlets with them!
Happy Thursday!
Good Grief Elizabeth - talk about living dangerously! I don't have a microwave here at our apartment and I don't think I would risk it at the caravan!!!! The results are wonderful though especially the ones with black in!
Still trying to catch up!! Big Hugs, Chrisx
I wonder what was in the fabric or dye to make it catch on fire in the microwave? It looks cool in the end, but fire is scary. What a dramatic dyeing story. Good thing you were there otherwise you might have burnt the whole house down. Glad you're ok. I had to read this twice because it is quite the tale. Stay safe. Hugs-Erika
What a harrowing time that was supposed to be experimental and fun! But we can all learn from this- no zip-lock bags in the microwave for this, shake the dye bottle to blend, and a little black goes a long way. Results are nice! But oh my, what you had to deal with to get them.
Good save there! Way to be on your toes! And I love your results, such good color and pattern.
Oh Elizabeth -- I love it when you experiment but the plastic bag/lungs/mess -- well, you have my heartfelt sympathies on that one!
The other experiments turned out quite nicely and I hope you are pleased. The colors are very fallish and make me feel good!
A quick note of thanks for your way wonderful comment on my recent post. I'm not sure I'd be smiling about the plastic bag and micro, though! (I will be posting a similar "don't do this with a plastic bag" soon!) I feel your pain!
elizabeth...whoa......I'm glad you and the cats and your home are safe; that had to be scary.....for what it's worth the fabrics are totally awesome !!
I did have to smile at your account of the microwave. I am so sorry that your experiment did not turn out quite as you expected. Smoke is an awful smell to have clinging to your clothes and the inside of your nose. But from what I can see, you have some very cool colors mixed together. Bravo to you for trying something that is time consuming and expensive.
Looking forward to seeing more of your (safe)experiments in the future!
Kate
Oh goodness Elizabeth, what a disaster with the microwave part of your experiments. It must have been traumatic for you at the time.
The smell and the smoke must have been aweful.
But good for you to continue to dye the fabrics, the results looked lovely.
Yvonne xx
Ohh you where on fire to work..great work..
Interesting project, look forward to seeing how you use the fabric. Stay safe and crafty, Angela xxx
I have never worked with rit dye-perhaps a couple times at home as a kid when Mom might use it to change up curtains or something like that. I also have never used the microwave to dye with I had read an article years ago that wools especially dyed in a microwave are not always colorfast--but for it all to turn into flames-wow-super scarey Elizabeth-I am glad you were able to put it out
I enjoyed reading about the process you are using though-next time safer dye fun hugs Kathy
Post a Comment