Showing posts with label low immersion dyeing. Show all posts

Thursday, February 9, 2023

Second Thursday Tutorial: Dyeing Fabric Using Orange Peels


As you can tell from the title, today I will be dyeing fabric using orange peels.
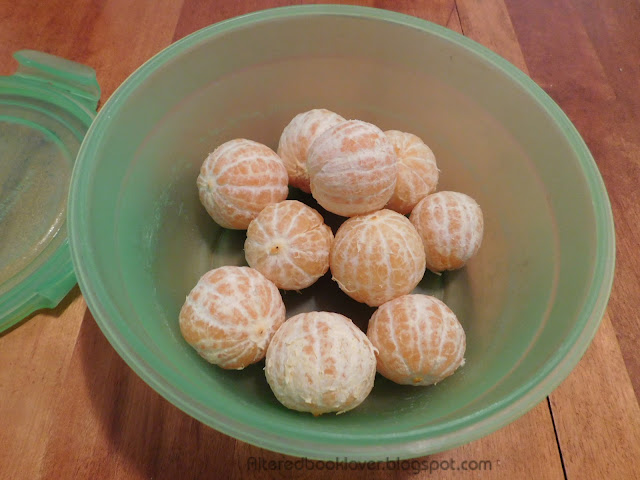
  Some of you have seen this bowl of mandarin oranges before.
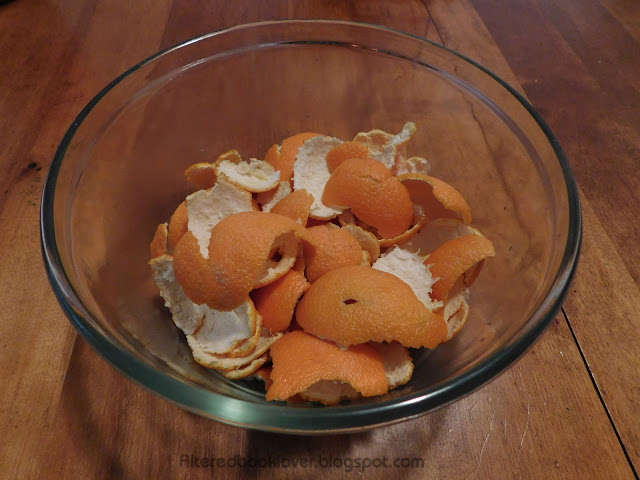
  You may also recall I purchased the oranges for the peels because their outer skins are much thinner than regular oranges.
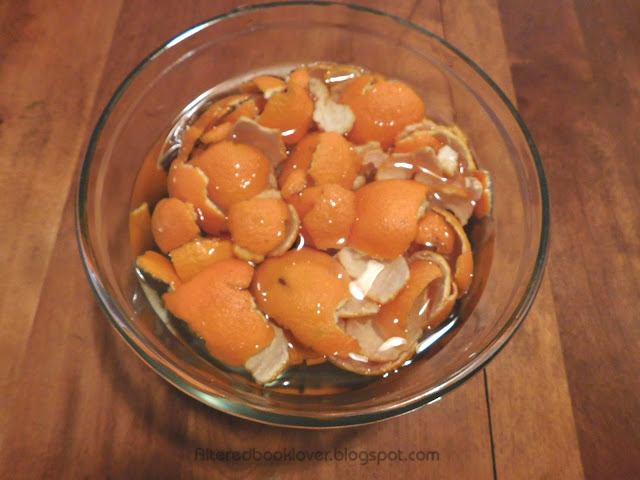
I added water to the peels and cooked them in the microwave oven for 30 minutes on 30% power.  I know ALL reputable web sites will tell you to cook them on the stove in a steel pot for an hour, but those sites also have a bigger budget than I have.  I am trying to conserve electricity, the cost of which is through the roof right now.  By using the microwave, I am hoping to 1) save on electricity and 2) achieve basically the same results.
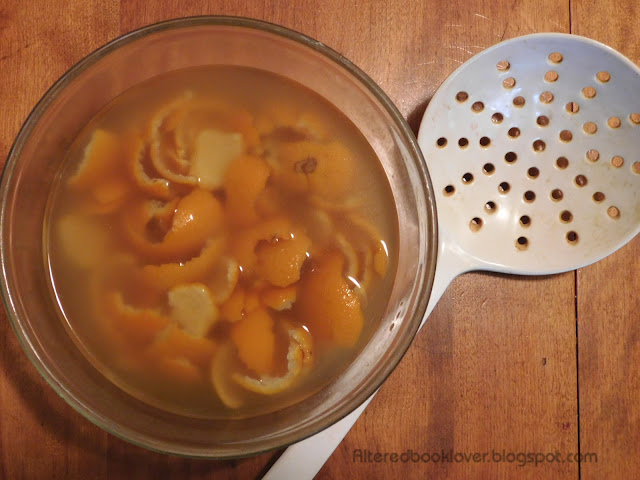
  As I mentioned earlier, I wasn't sure I had the right color, but I decided it was probably not going to get much darker.  Using a strainer dedicated to crafts, I removed the peels.  I wondered if I should have cut or torn them a bit more before I cooked them. 
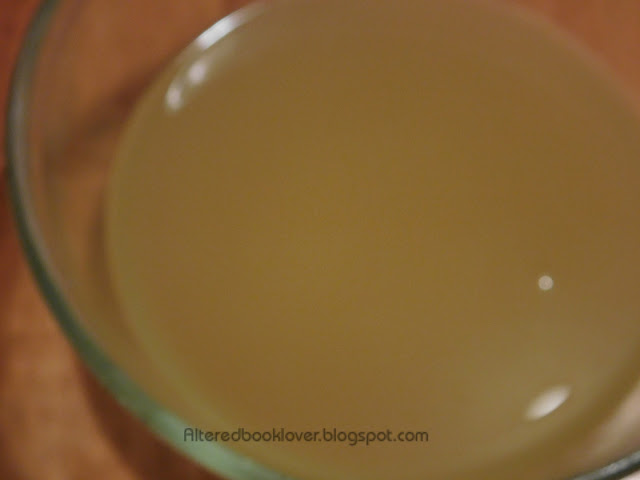
  At least they were easy to remove from the bath.
 
  I had to wait overnight until the liquid cooled sufficiently before I continued.  BTW, the spent peels went in my compost pile.
 
I took my orange peel juice to the basement and tore several pieces of old white bed sheet.  I left the fabric in my dye bath overnight.
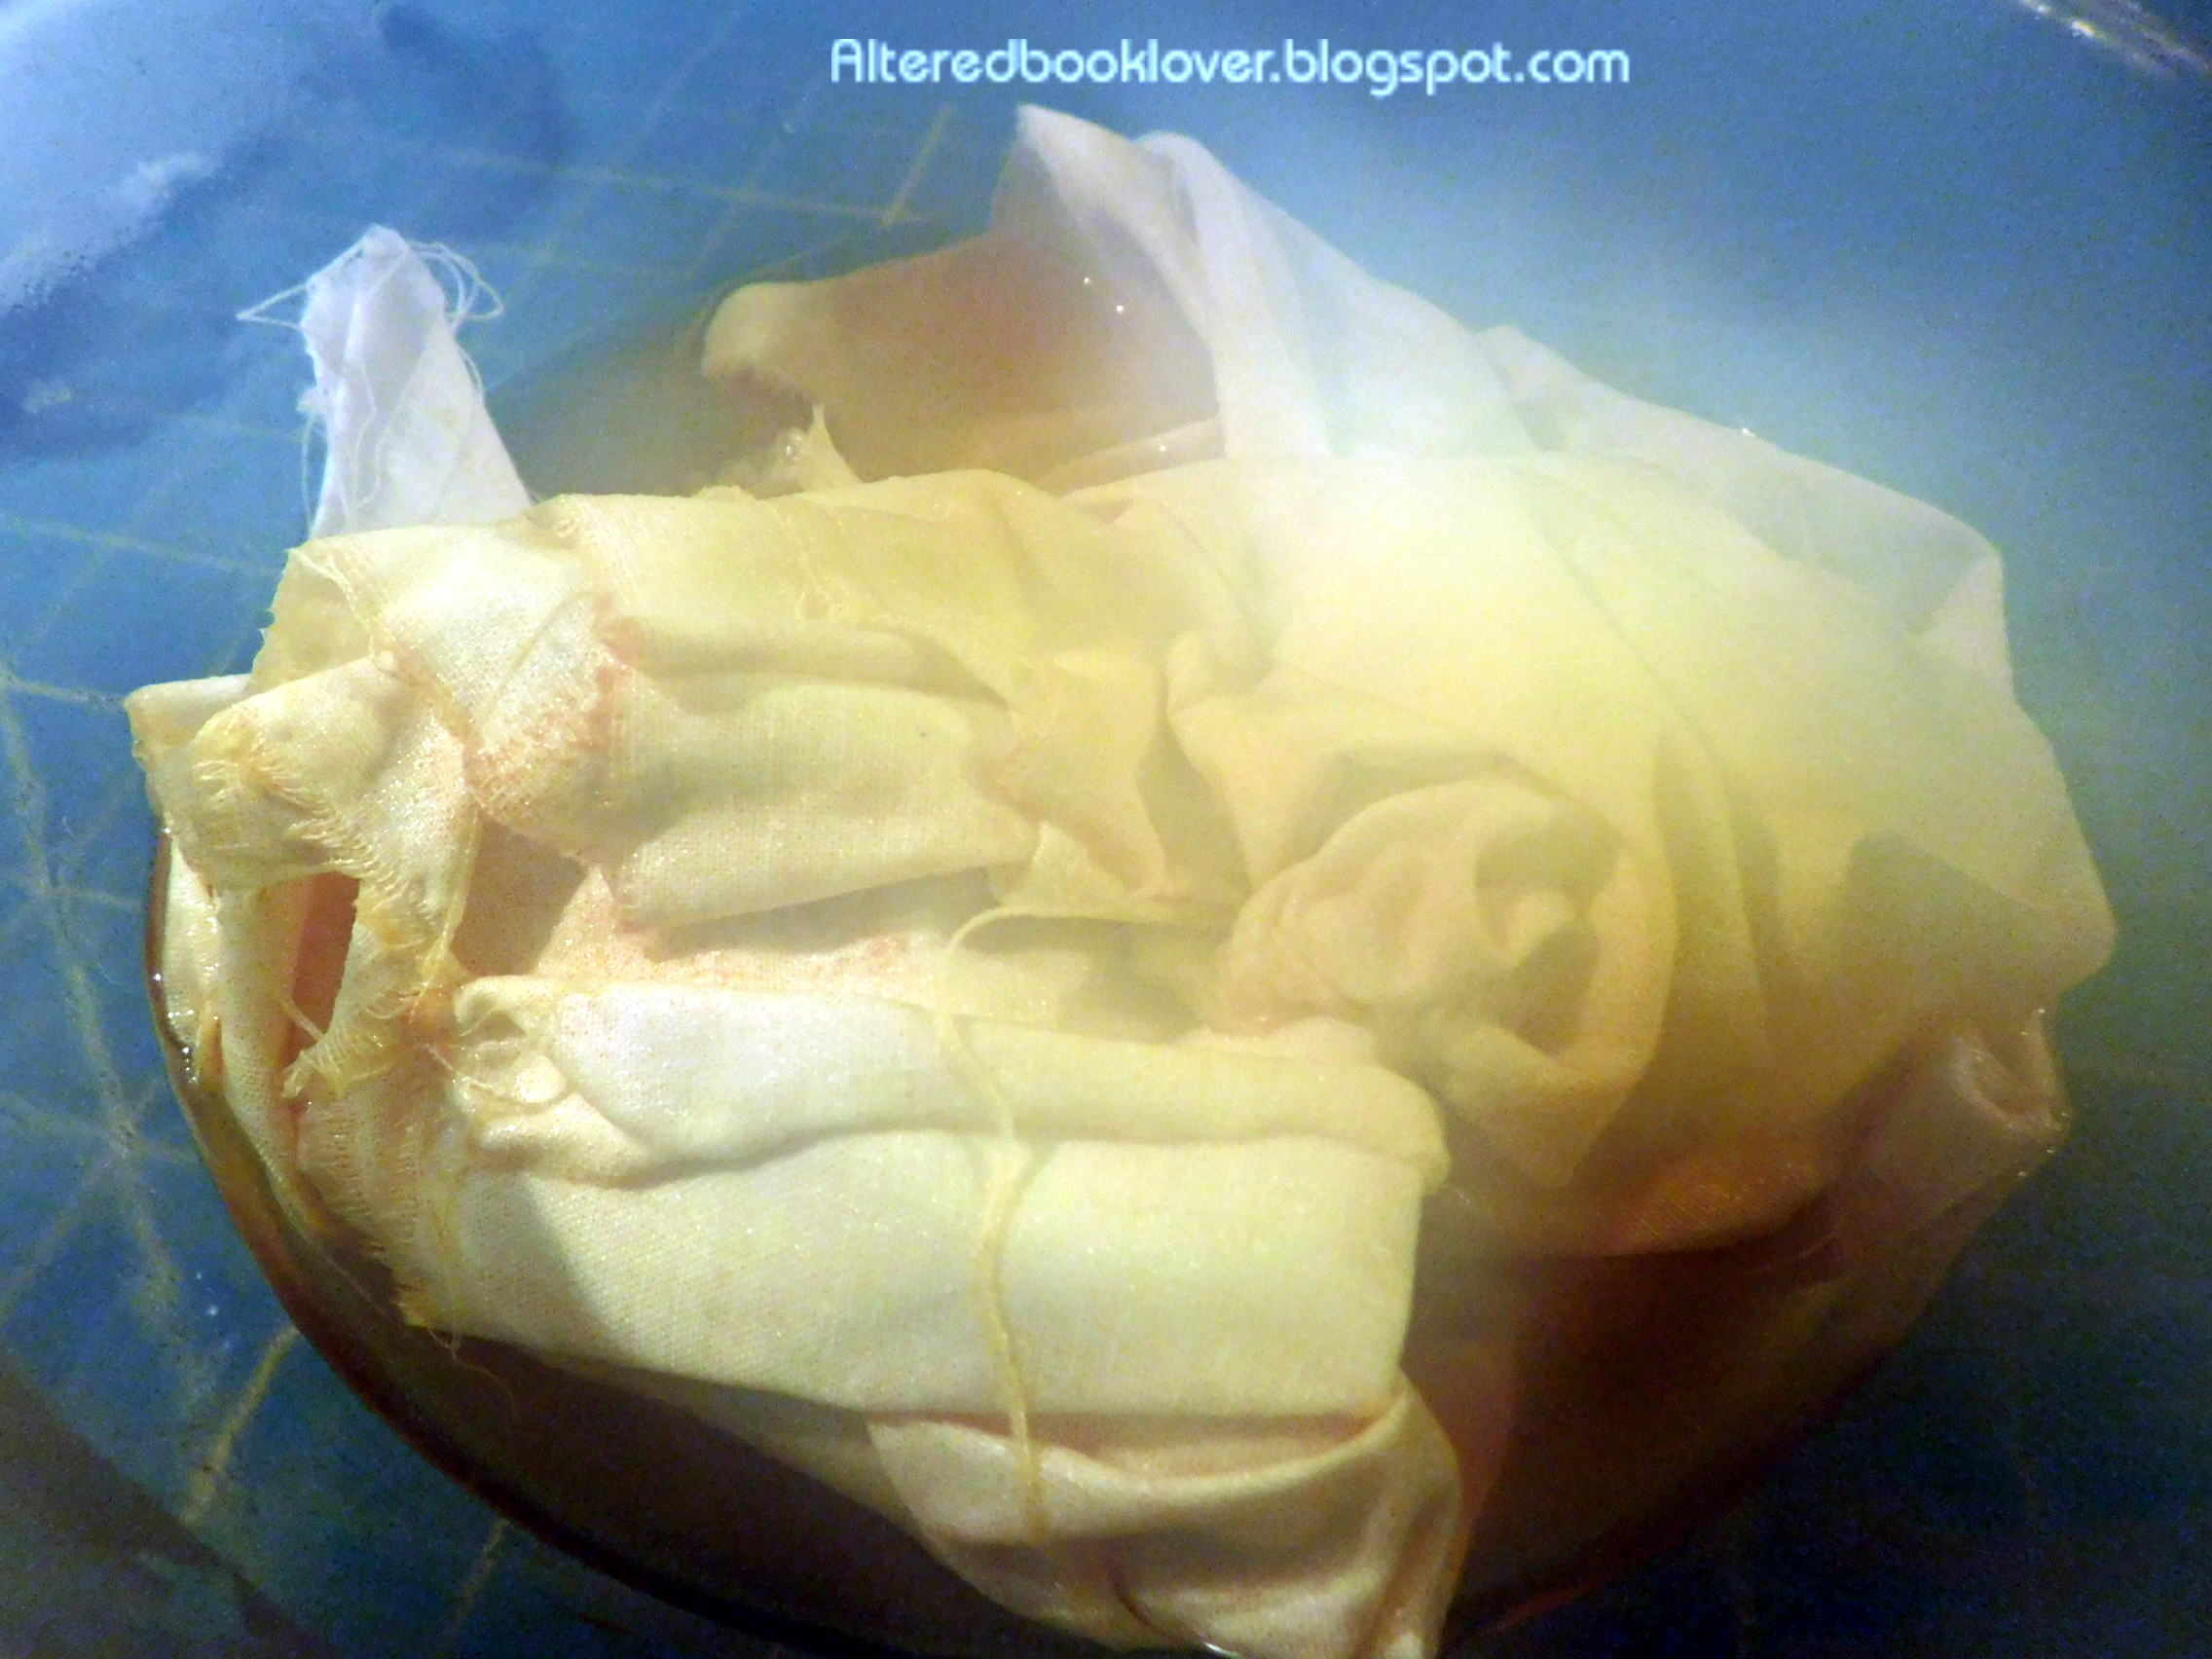
I then microwaved the fabric and dye bath for two minutes at 100% power.

 I had to clean my lens so you could see the fabric.

Two more minutes at 100% power.

Then I flipped the fabric over in the dye bath

and cooked it in the microwave for another two minutes.

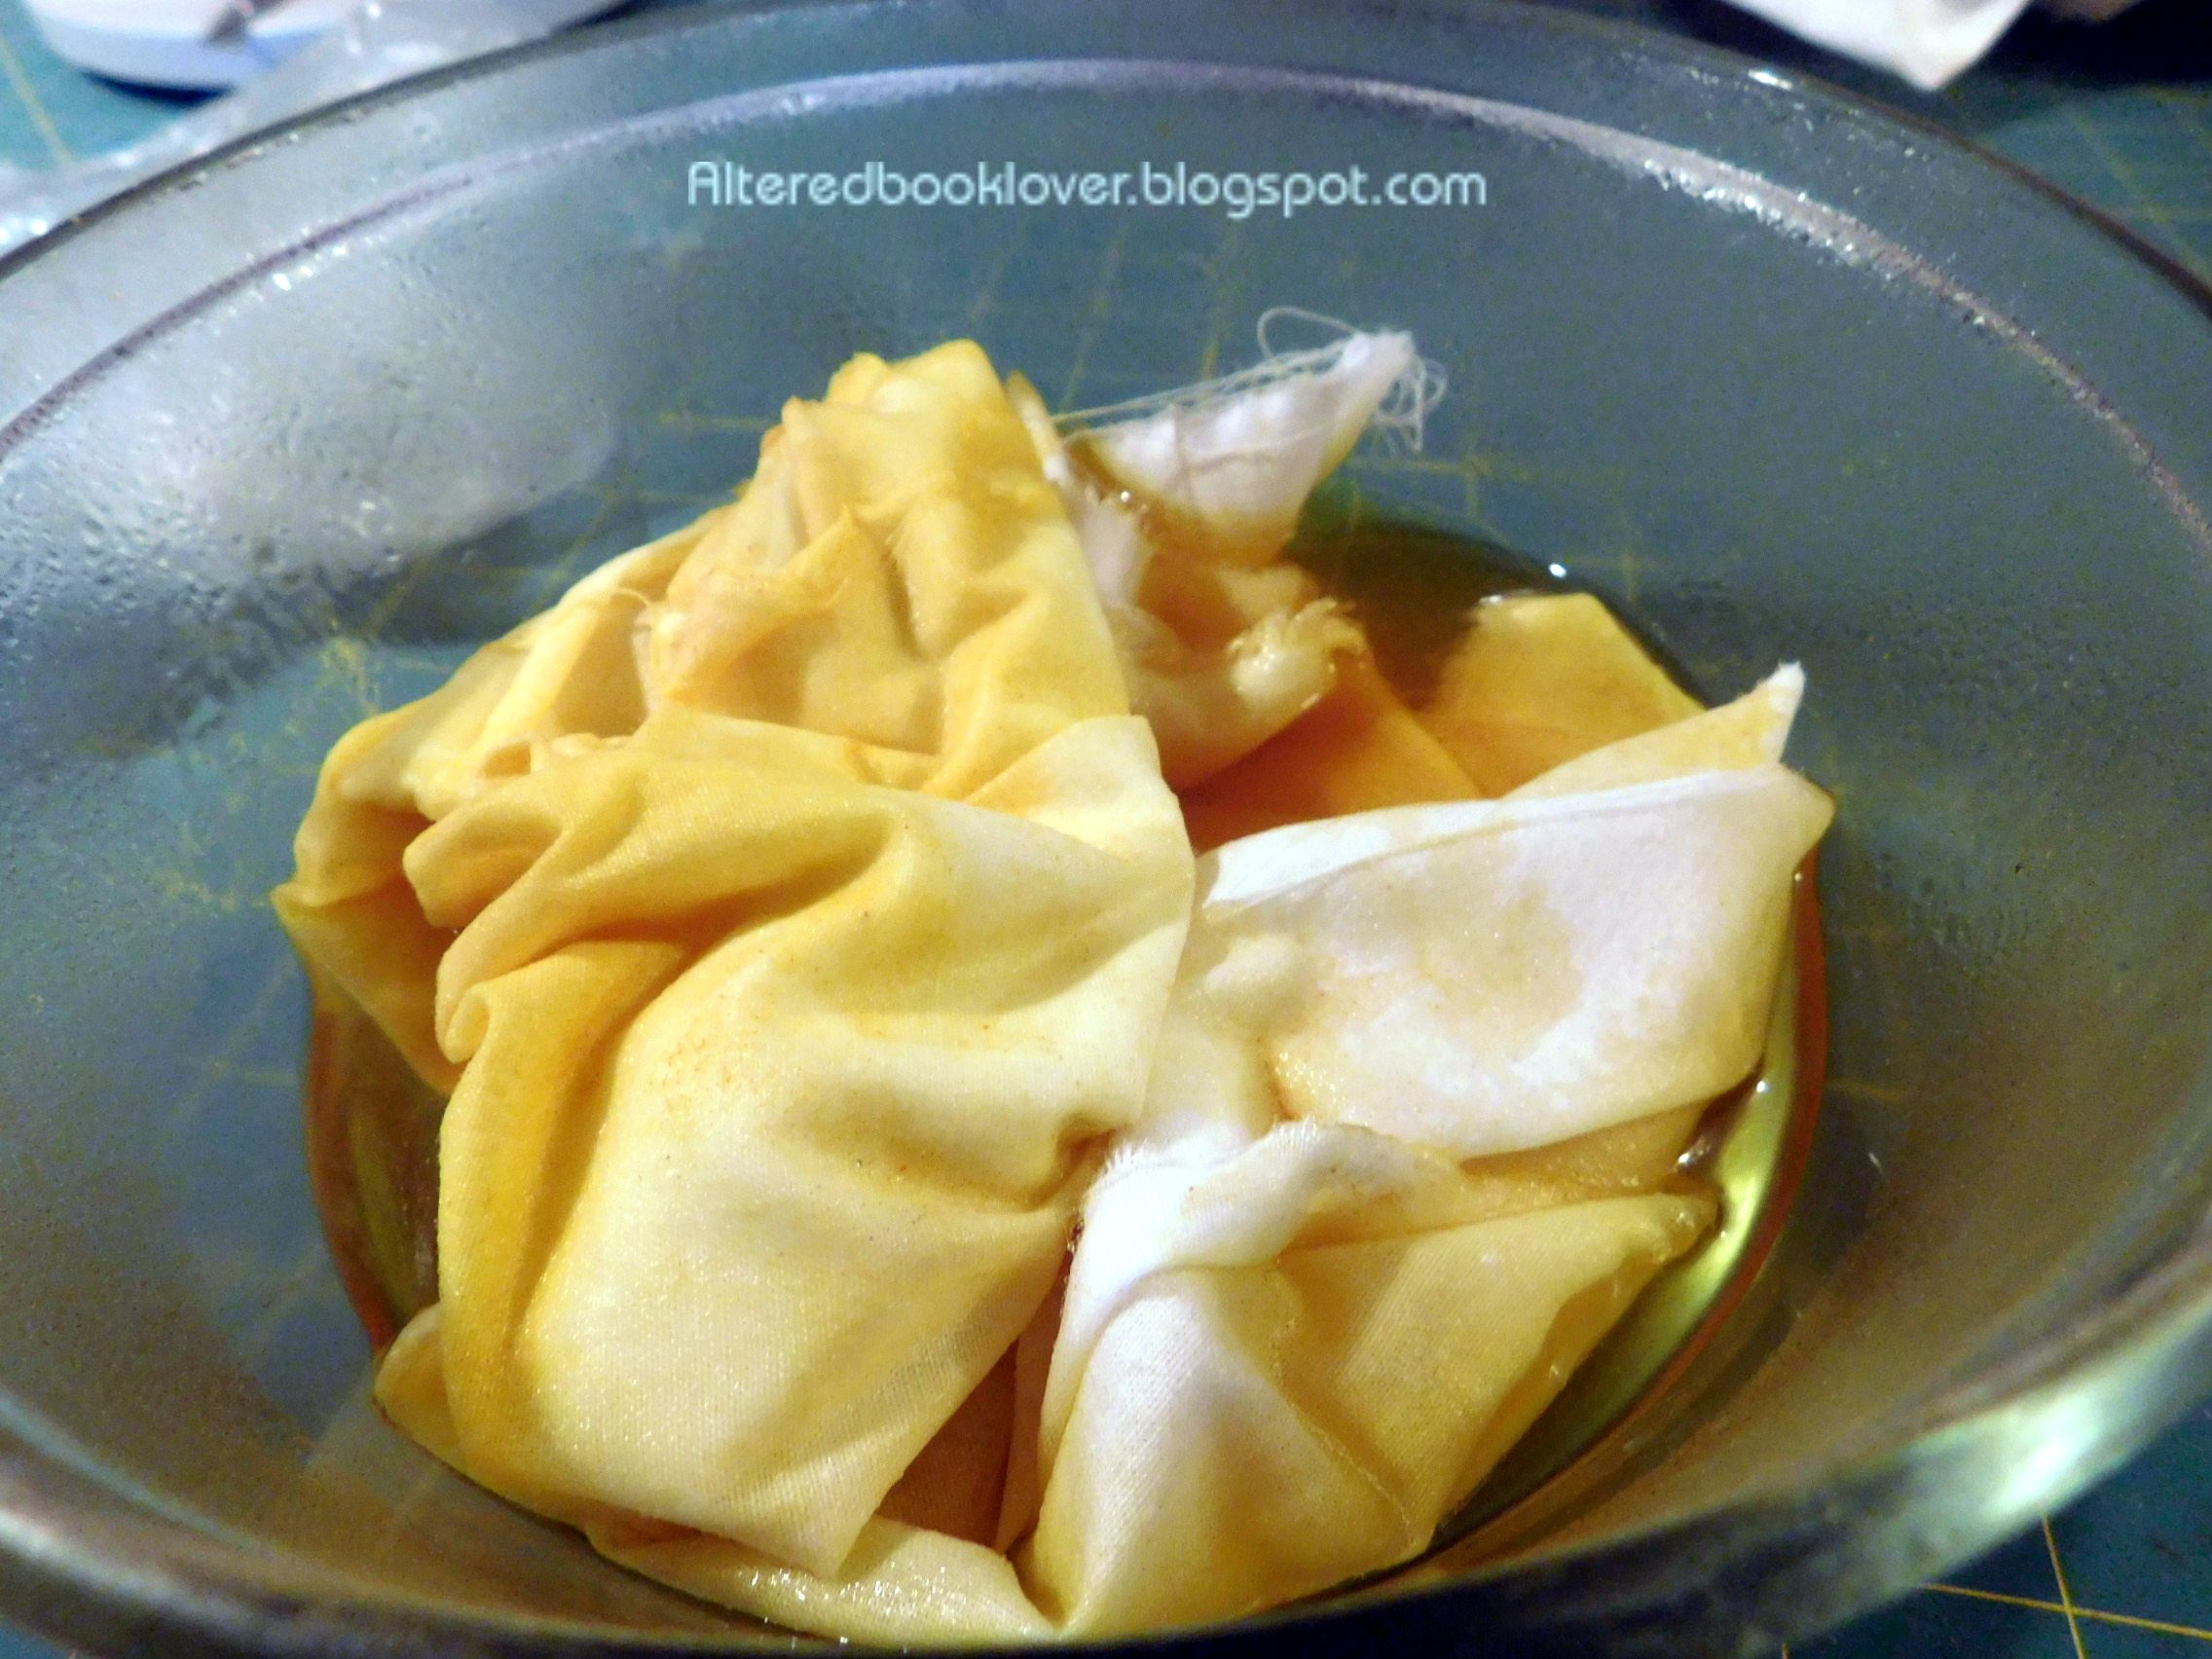
Then it was time to remove the fabric from the dye bath and allow it to dry.  The color is MUCH brighter in the photo than it really is.

After two days in my cold kitchen, the fabric was still quite wet.  I knew I had to iron it anyway, so I decided to kill two birds at once.

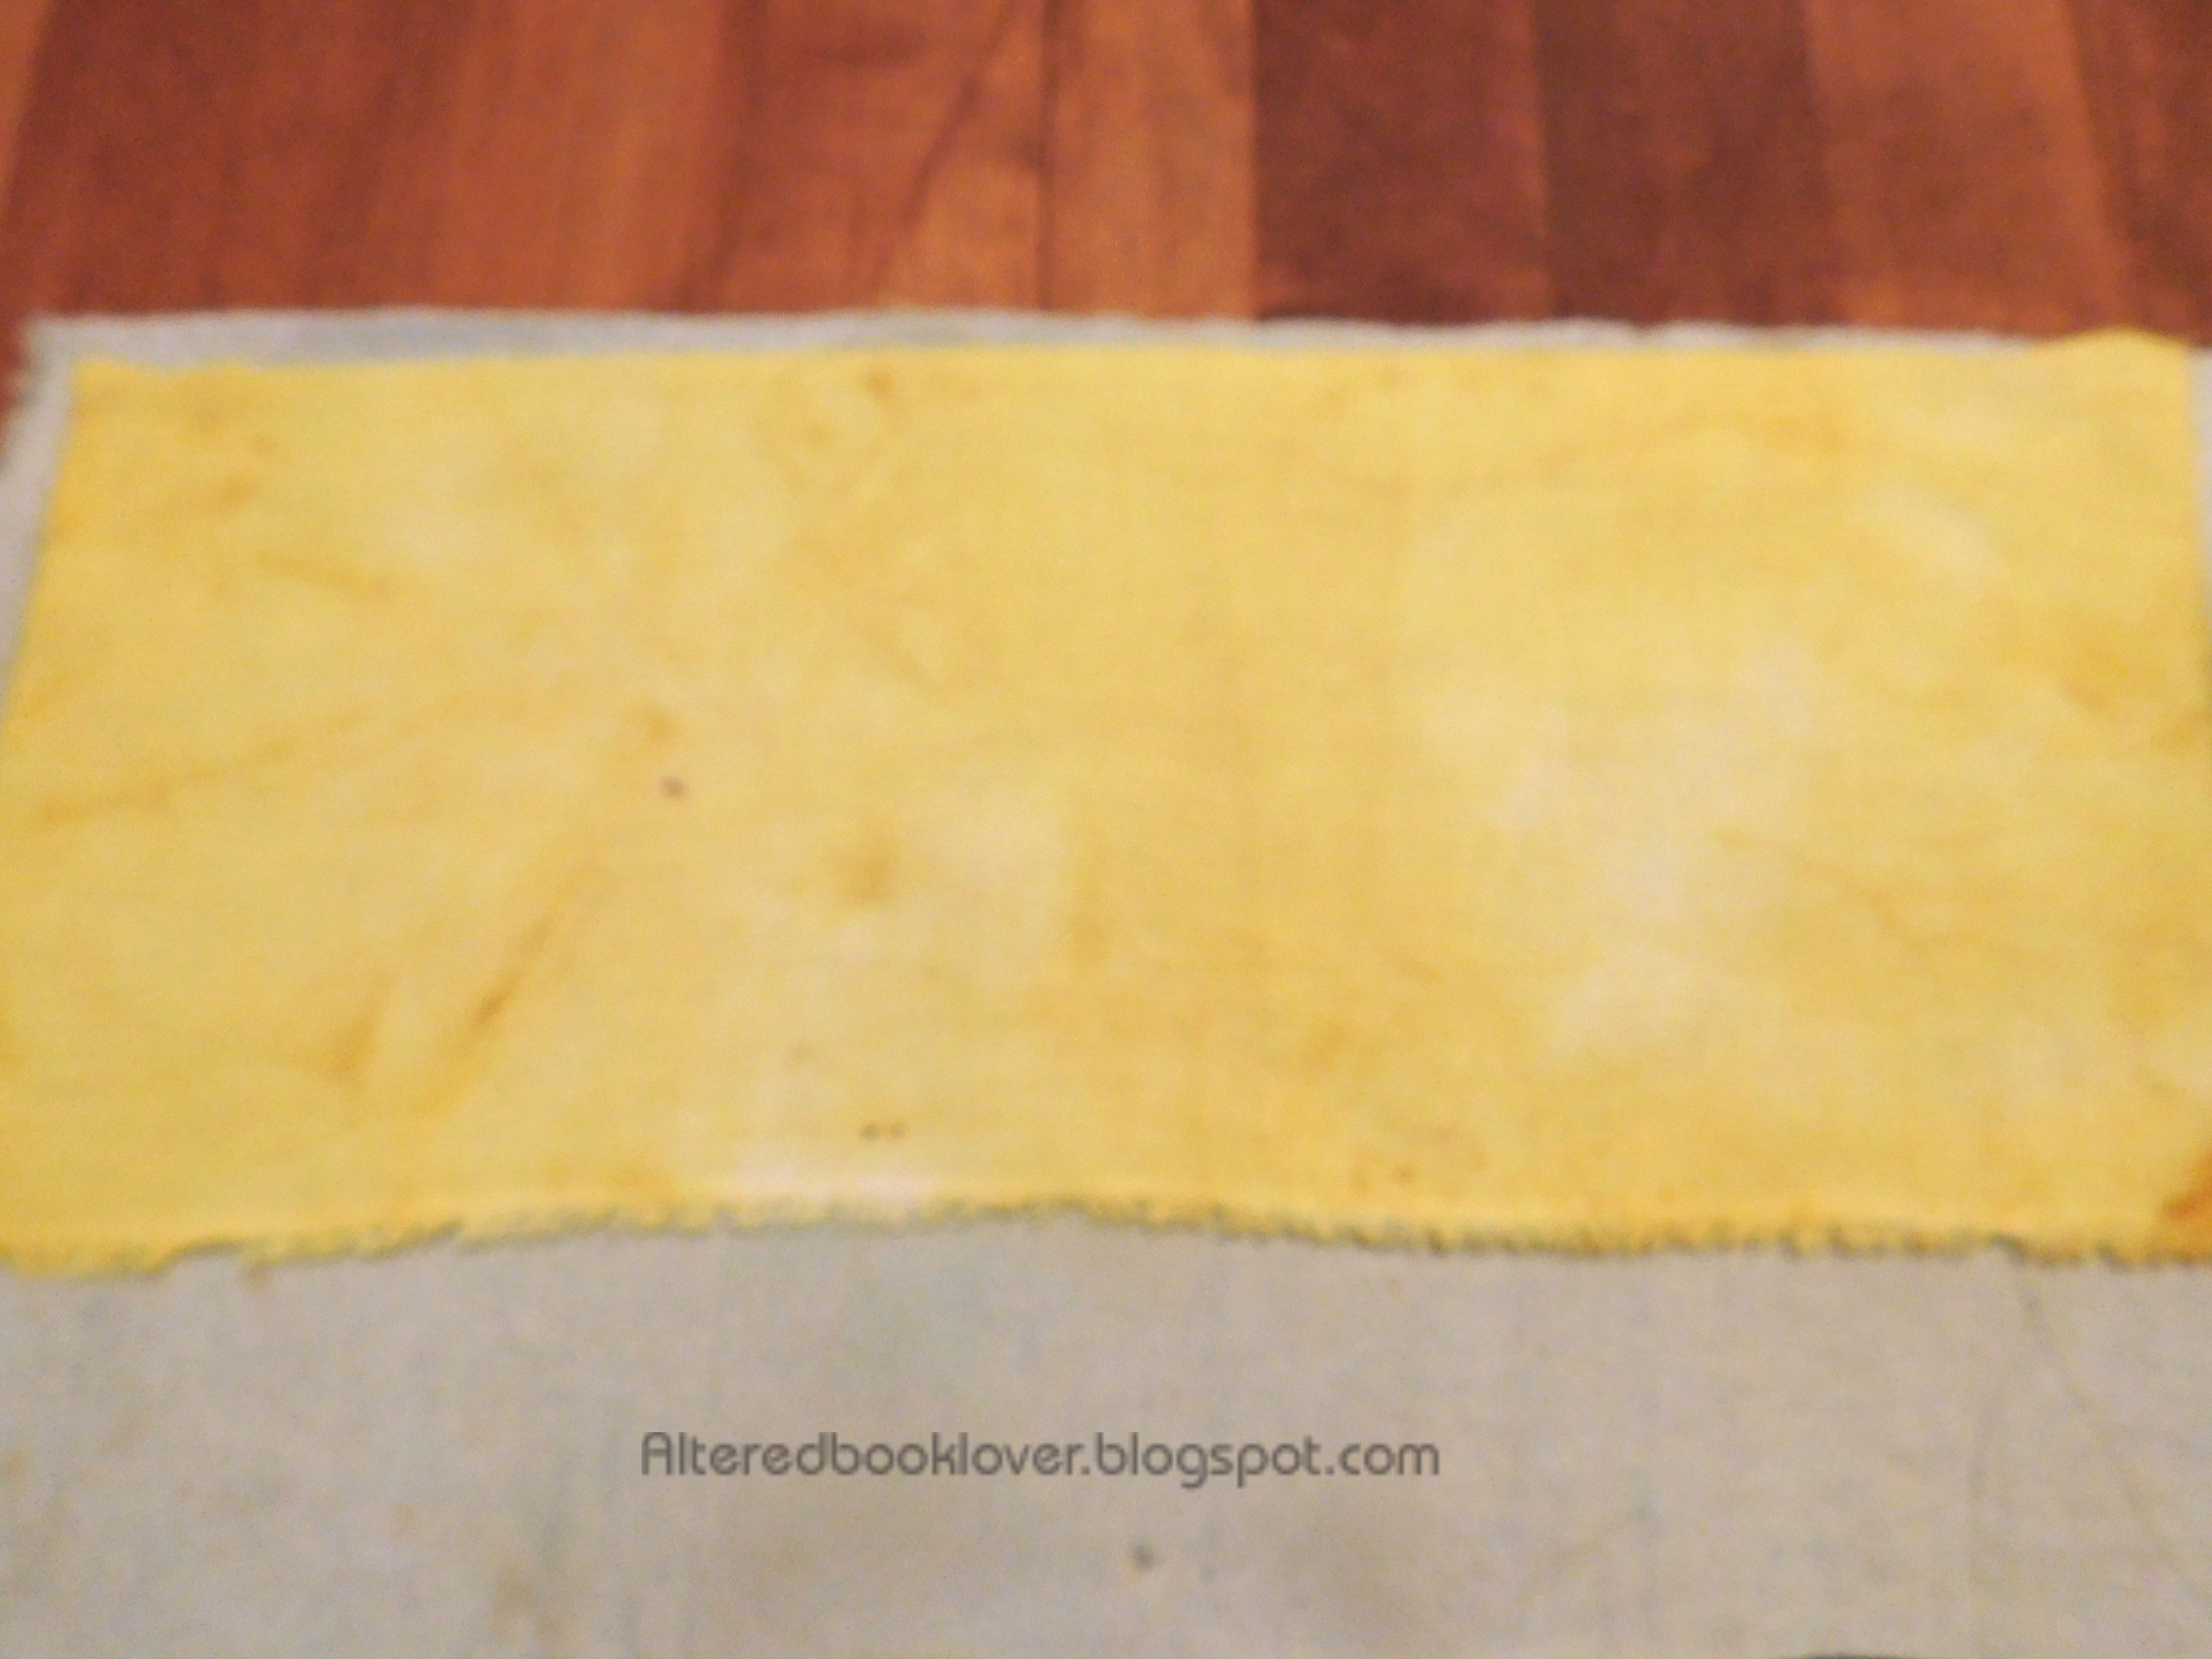
Fabric 1 is ready to iron.  The color isn't as vibrant as the photo suggests, but I love the mottled look I was going for.

Fabric 1 ironed.

Fabric 2 wet.

Fabric 2 ironed.

Sometimes the back side is even better looking than the front (of course, there is no real front or back, just one side or the other).

Fabric 3 wet.

Fabric 3 ironed.

Ruminations:

1. Orange peels should have been cut or torn into smaller sizes, which would have given a darker dye bath.

2. I wish I'd had more time before I had to publish.  I would have scanned a couple of the fabrics so you could see the true colors I got.  They are not as bright as my photos show.  However, they are mottled, which I love.

Thanks ever so much for joining me today.  As soon as this tutorial goes live, I will share it on my tutorials page.


Monday, July 11, 2016

T Stands For Hibiscus Tea


I needed a bit of diversion from my basement drama, so grabbed some hibiscus tea leaves I bought a few weeks ago.

Even before I got the tea off the front porch, it was beginning to steep.  It just proves what I've said in the past: you don't need sun to make sun tea.

But of course, with sun, it steeps better

and produces a deeper, richer color.   Please be aware this is NOT for drinking, but for dyeing.  And although this might look like something I would fix in my kitchen, I assure you this pot and tea strainer are dedicated to crafts only.  I will never mix the two because it just makes sense to use only items for the craft room in the craft room and items for my kitchen in my kitchen. 

After sitting the tea in the sunny part of my driveway,
I decided to share the last of my bags of books Scott and I pitched. 

I have two more shelves to go through, but the worst is over.  And I have a short term, low-cost plan.

1.  Divert the rain gutters so they don't drain into the patio area.
2.  Build up the patio 4 inches.
3.  Purchase a dehumidifier.

Long term and costly items include

1.  Install a sump pump.  In my area, it cannot drain into the main drain, but must drain elsewhere.
2.  Lift the foundation of the house above the basement and level everything.

But now it was time to bring in my hibiscus tea.

Instead of bothering to place the tea in anything else, I simply added the old muslin sheet to the hibiscus.  Since I love the mottled look, I think this will turn out swell.   And Dianne will wish I'd done this before I sent her PINK pages to her.  BTW, I hope to share those pages later this week.  Possibly Dianne will share them today.  Who knows!

But I've talked enough.  Now it's time for you to share your T related post.  Since I was so late visiting everyone last week, I want to reiterate: please link directly to your T post, not your blog in general.  
For example, this is my blog: http://alteredbooklover.blogspot.com/

This is NOT what I would ask you to link to.  Instead, copy your T post, then paste it in the URL line.  Here is mine: https://alteredbooklover.blogspot.com/2016/07/t-stands-for-hibiscus-tea.html

It takes very little time to copy your direct link, and others don't have to go searching for it.  Since my computer is so old and slow, when you link your entire blog, everything on the home page has to load.  PLEASE be kind and thoughtful of others and link directly to your T post.  PLEASE!  And for those of you who use direct links all the time, I apologize.  It's obvious I'm not talking to you.  But I ran into this problem last week with several people who linked their complete blog.  Sometimes being late shows the flaws in the system.


Also, please don't forget that next week is our 3rd annual anniversary party, so those who wish to exchange ATCs should have them ready before we go live.

Sunday, March 6, 2016

Experimental Dyeing

While offline, I tried some experimental dyeing.  One of the things I tried was

dyeing fabric using grape juice.

I began with lace, which was thin.

It was easy to section the lace in a modified shibori diagonal accordion fold.  I used plastic clips to hold the folds in place.  I hoped these clips would also create distinctive marks in the lace.

Next I tried another accordion fold
and tied the white fabric in rubber bands.  I should mention this is dry fabric torn from an old bed sheet.

My final piece was torn from a pink bed sheet and fan folded.  I tried to place clips on the three corners, but the fabric was too thick and the clips simply wouldn't hold.  I thought about trying to find other clips or even clothes pins, but decided not to bother.

I placed the various dry fabrics in a bucket

and added three small bottles (10 fl oz, 296mL per bottle) of grape juice and heated everything in the microwave for six minutes, in two minute intervals.  I allowed the juice and fabric to cool overnight, then removed the fabric and disposed of the grape juice in my compost container.

I allowed the fabric to dry in my basement for three days, but everything was still wet when I thought it was time to undo the clips and rubber bands.

That's when I decided to take the fabric outside to see if it would dry there.  What's that on the turquoise clip?

I believe it was a bug.  Note the accordion folded fabric wrapped in rubber bands is in the background soaking up the sun.

This is the fan folded once pink fabric.  It doesn't look much different than it did before the grape juice dye bath.

Once everything was dry, I removed the clips and rubber bands and prepared to see if this was successful or a failure.  I tried to show where the clips had been on the lace, although I'm not sure they did much for the design.  I believe these clips would have worked better with solid color fabric, instead of lace.

Next I unwrapped the accordion folds

and was rather disappointed.  Where the grape juice had penetrated, all was well.  But most of the fabric had been untouched by the grape juice.  I can't believe I was able to tie the rubber bands that tightly.

Also, the fan folded pink fabric was nothing to write home about.  If you are looking for a subtle mottled pink (and I do love mottled), grape juice is something you should try.  But if you are looking for a bold, in-your-face grape, you'll need a different dye, certainly not grape juice.

The grape juice worked relatively well, albeit subtly, on the lace, which was not cotton, but didn't work well on the cotton bed sheets.   Thanks for dropping by today because I always appreciate your interest in what I'm cooking up.

Friday, April 12, 2013

Overdyeing fabric using herbs from the garden and old potpourri

The weather has been crazy in my part of the USA.  On Monday and Tuesday morning, the temperature was around 70 F.  By Tuesday afternoon, the bottom fell out of the thermometer and the high for Wednesday was 32 F, about 38 degrees F colder than on Tuesday morning .  Those yo-yo type temps have kept me from being as productive as I should be, so today I'm taking my art to the basement studio in hopes of finding a bit of inspiration.

Those of you who read my blog often, probably saw my snow dyed pieces here and here.


What you didn't see were the two pieces I tied together and let soak in the last of the green food coloring.  As a reminder, these are bed sheets I got from the thrift store and tore into manageable sizes.  I opened the first piece before I thought about taking a photo, and was quite disappointed.

 After unwrapping the second piece, I knew I had to overdye these torn bed sheets.

One of the nice things about starting a project like this is you need to think it through and have all your supplies on hand before you begin.  And I wanted to begin with leftover herbs from the garden, along with spent potpourri flowers and onion skins.  This is a great way to get the last use from your floral potpourri, as well as use herbs that are more than you can possibly use for cooking or bathing.


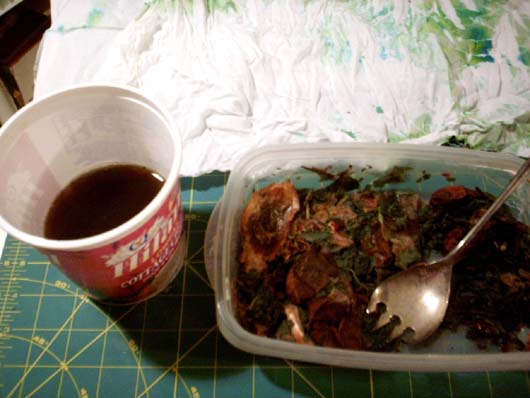
From back left clockwise:
Empty containers
Spoon/fork to remove herbs from dye water
Vinegar used instead of a mordant to set the "dye"
Water
Combination of herbs, onion skins, rose petals, spent potpourri, and old spinach (rectangular container)
Thyme (round container)
Fabric (bed sheets) torn to size

I added about a cup and a half of water to the first mixture and allowed it to cook on high in my microwave for five minutes.

I siphoned off the liquid from the herbal/potpourri mix, added vinegar to the liquid,

then scrunched the really wrinkled bed sheet into the liquid.
 
I did the same with a bowl of thyme I had saved from my garden, cooking it on high also for five minutes.

I originally planned to siphon the cooked liquid into the large ice cream bucket in the back, but realized I had far too much bucket and far too little liquid.  To correct that problem, I found a smaller container and

 
poured the siphoned thyme liquid and vinegar over the fabric I folded in the opposite direction from what it had been when I first dyed it in food coloring.

Now it is time to play the waiting game, which I've become all too familiar with this month.  Since it's still too cold to play outside, this is going to take at least a full day (and possibly more) for the fabric to absorb as much of the herbal liquids as possible, then another day to allow the fabric to air dry in my basement bathroom.  I'll post the finished project when it is dry and ironed.

Today is Day 12 of my recycle, reuse, repurpose projects leading up to Earth Day on April 22nd.