
A few days ago, I noted in my accountability post, that I would like to dye fabric using either coffee or avocados. Coffee sounded like the easier of the two, so off I went to procure the needed materials.

From left:
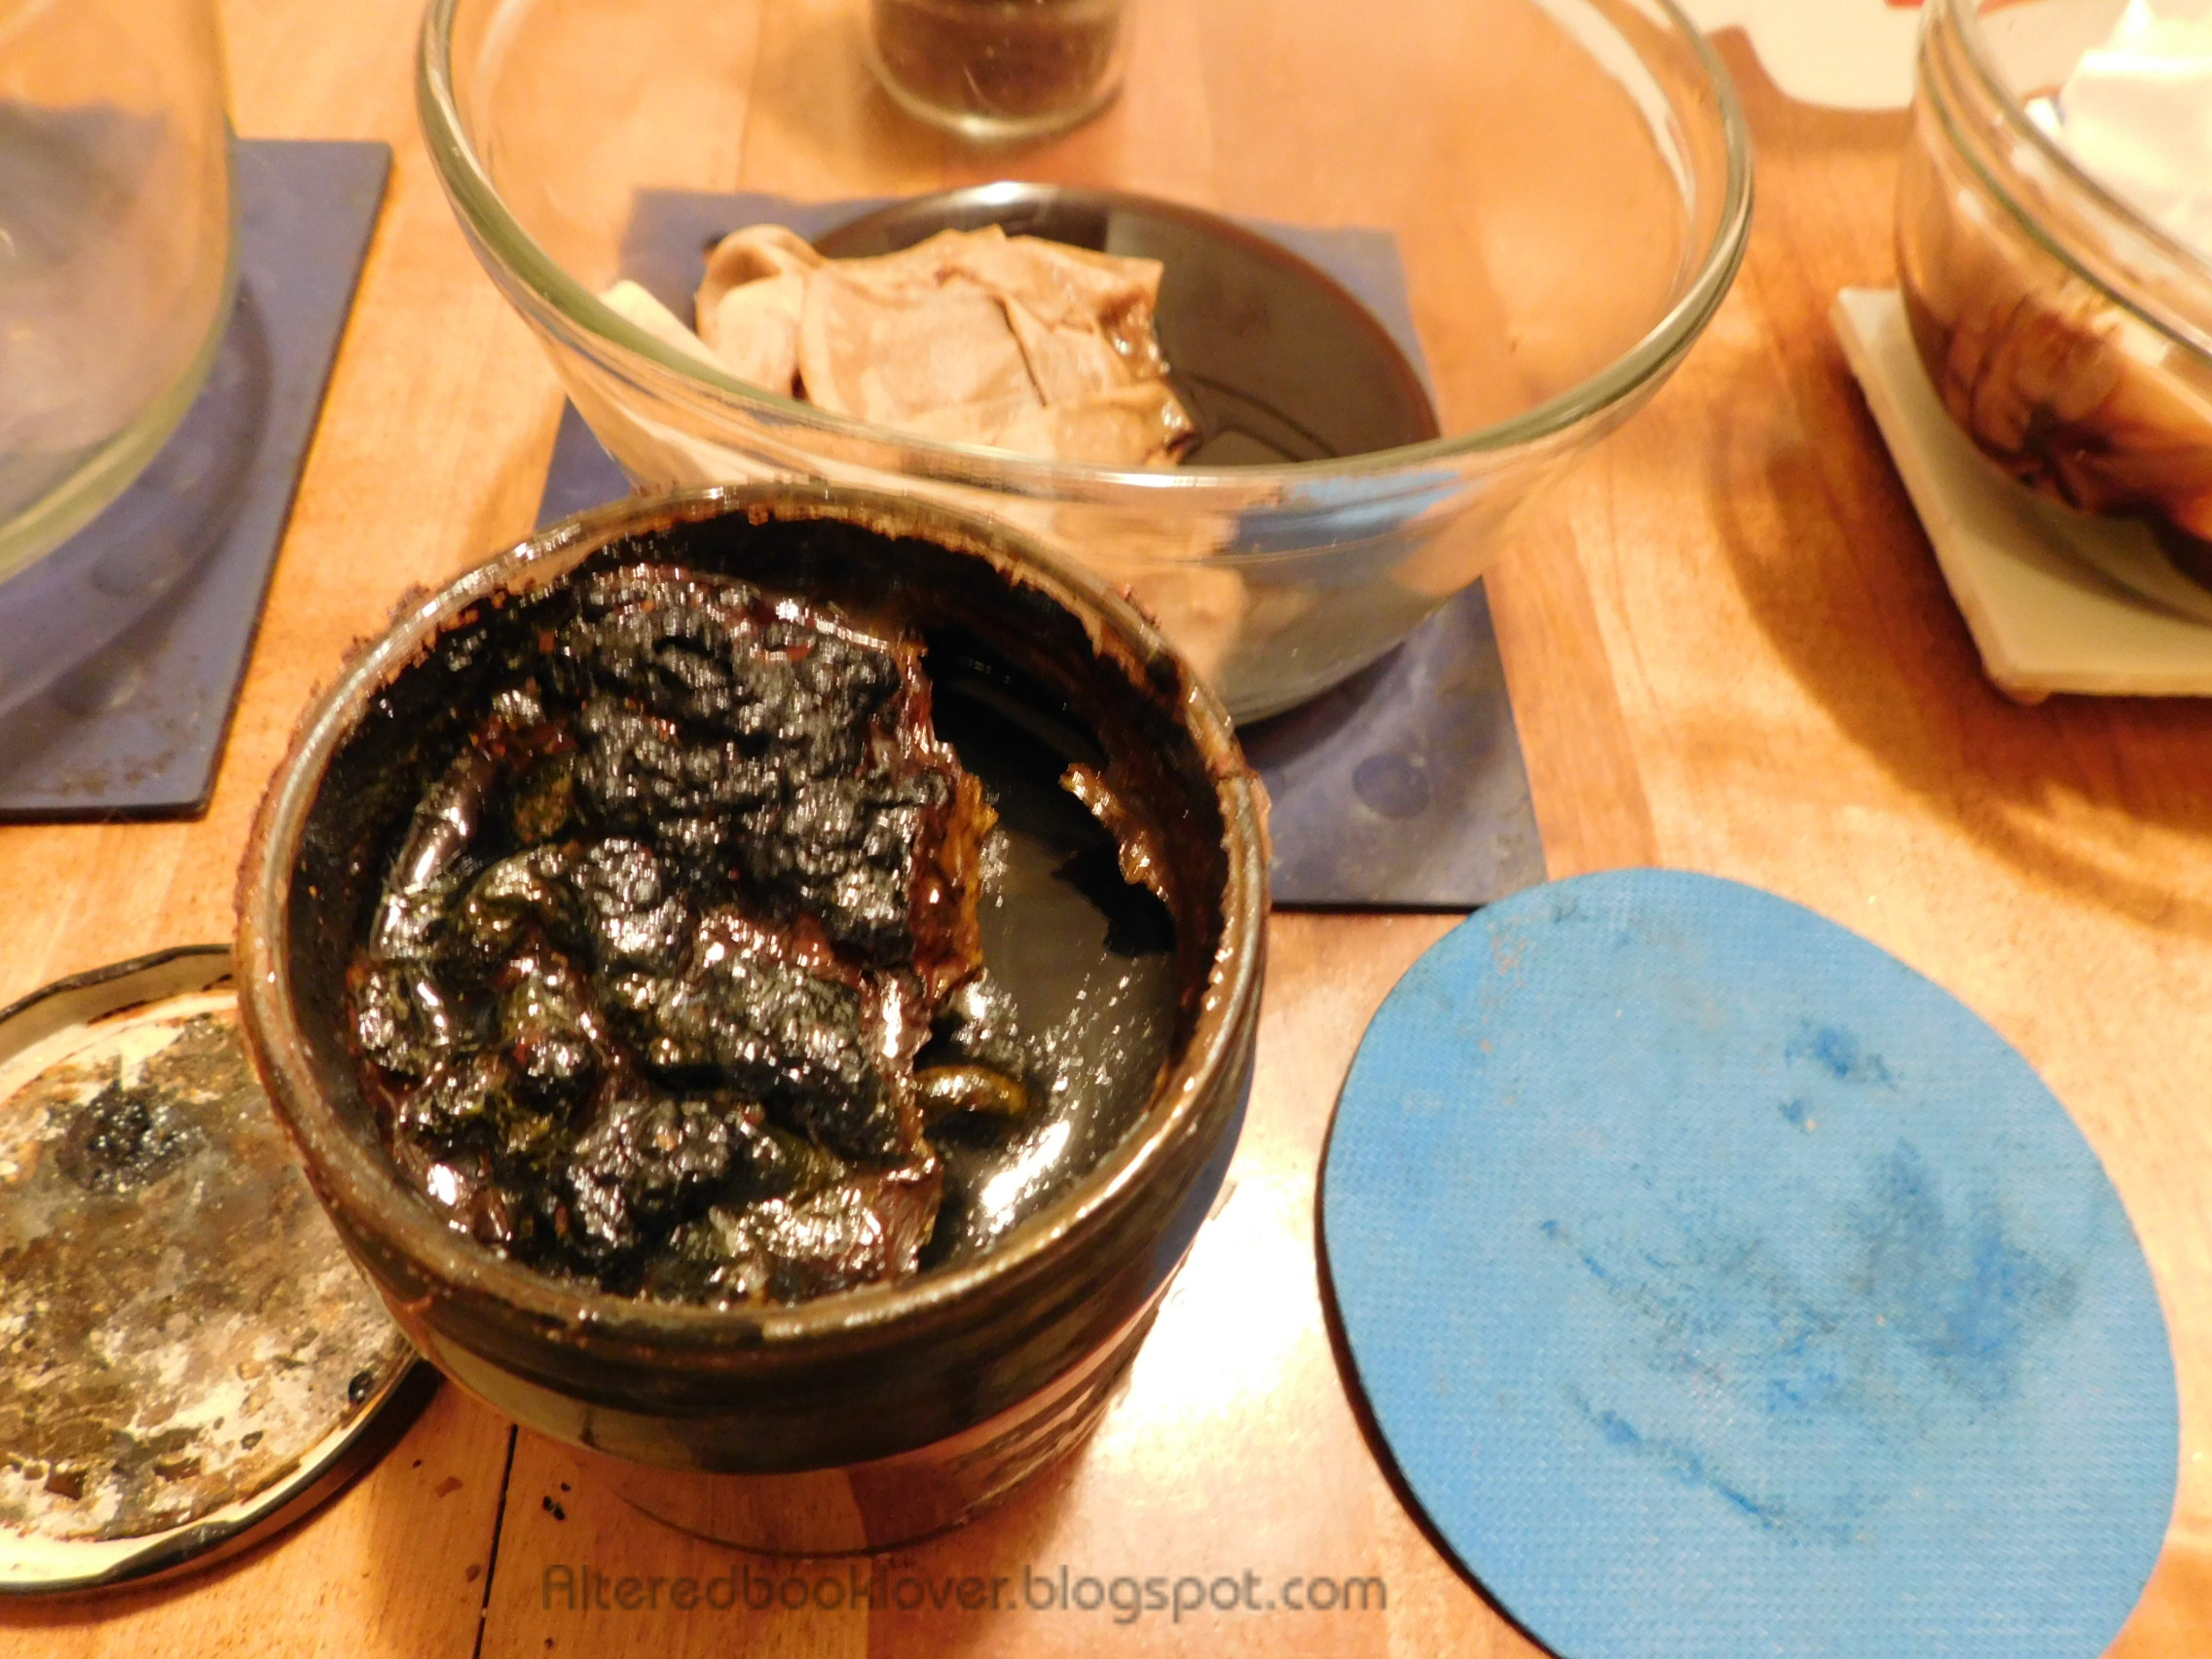
Sanka sludge*
100% cotton fabric cut from a blouse
New cheap instant coffee crystals
Iron oxide (vinegar water and large metal chain)
Distilled water
Glass bowls
(*Sanka sludge is instant Sanka crystals that got wet in the basement and turned into a sticky glob of sludge)

Sanka sludge, fabric, new instant coffee, large metal chain in vinegar water.

Distilled water will keep the experiment consistent.

I don't normally get carried away with my experiments and forget to explain the process or take a photo like that of the bowl on the right as I was adding the fabric. Sadly, that is what I did.
If you go on the world wide wonderland known as the web, you will find tons of tutorials that will tell you how to dye fabric using coffee. The first thing is to make a pot of very strong dark roast coffee. I only drink dark roast (either dark Sumatra or French roast. However, I refuse to use my very expensive coffee on a fabric experiment that might or might not work.
The second thing is to heat the coffee to boiling in a glass bowl in the microwave for about three minutes. If you don't have a microwave, you will need to use your stove or coffee pot. I personally can't live without a microwave, but at the same time, I see no need for a cell phone. Be sure to wet (dampen) your fabric before adding it to the bowl of coffee.

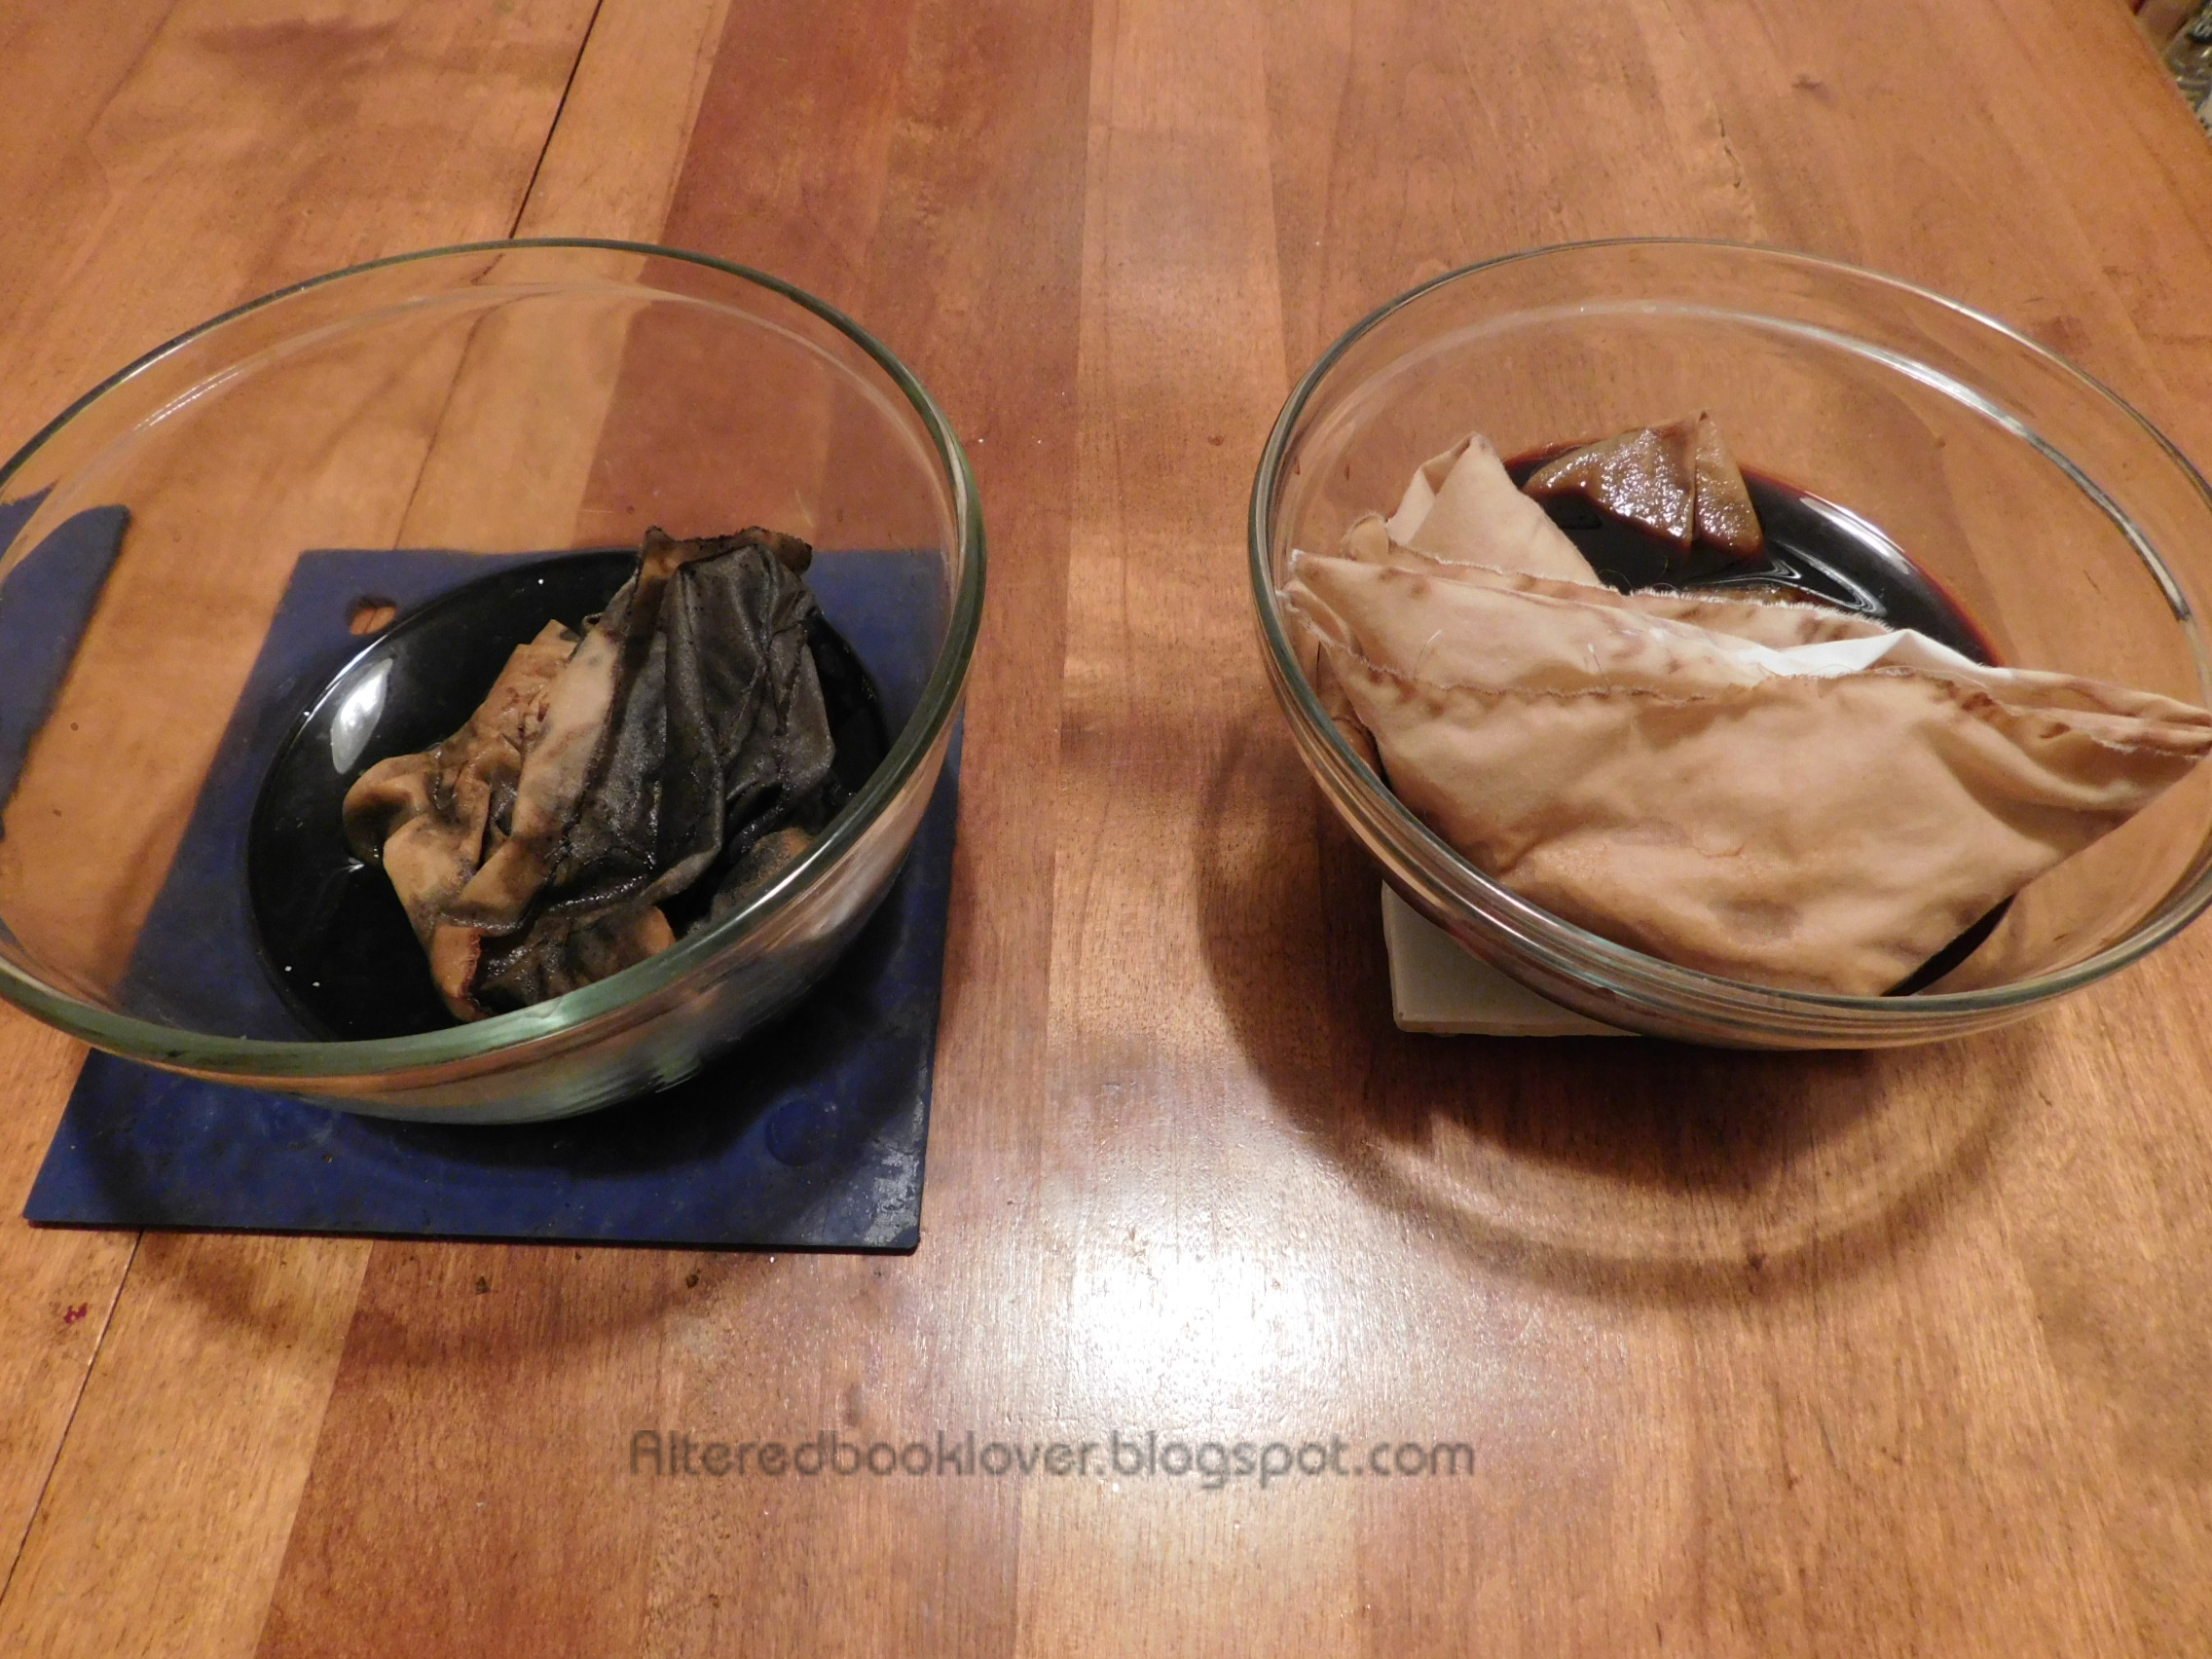
See the fabric in the bowl on the left? At one time, the bowl was well over half full. However, when I was removing it from the microwave, that's when everything went south. I dropped the bowl on the floor. I got boiling coffee on the microwave, my floor, the kitchen table where my camera was located, the counter, and a good part of the stove when the bowl started to roll, rather than sit stationary. I was so shaken, it took forever to clean everything, including myself. My left shoe was filled with coffee, as was the front of my clothes. Needless to say, after I cleaned my kitchen, I had to shower. Because this took so long, I was able to pull the dyed fabric from the bowl on the right and add more fabric to the bowl of straight coffee and distilled water.

But now it was time to experiment. I decided I had enough coffee left in the bowl, I could add a bit of iron oxide (rust).

One half teaspoon of the rusty goodness and I got a big shock. Before I could barely get the lid back on the rust, the fabric was already turning black. If I had not been so rattled by the mess I made, I would have realized I should have removed the fabric immediately.

With each passing minute, the fabric with the rust was getting darker and darker.

In the bowl with coffee and water, I was seeing some incredible patterns emerging. Would they stay once I removed the fabric from the coffee bath? Only time will tell.
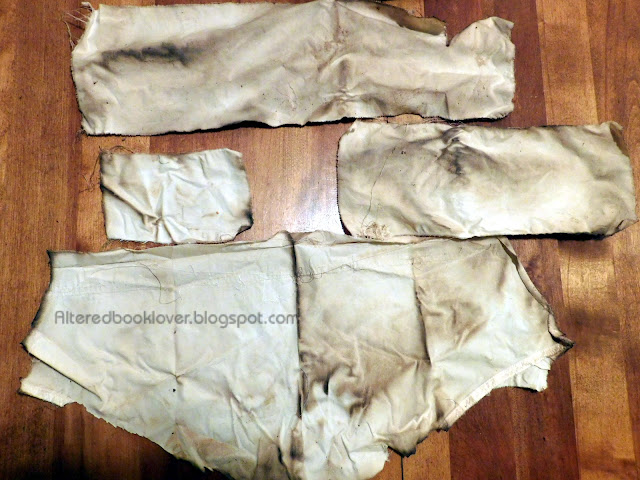
It is late at night and I have not had a chance to iron the fabric. However,

here's what the fabric looks like on my dark kitchen table when I didn't color correct.
A few close up photos:

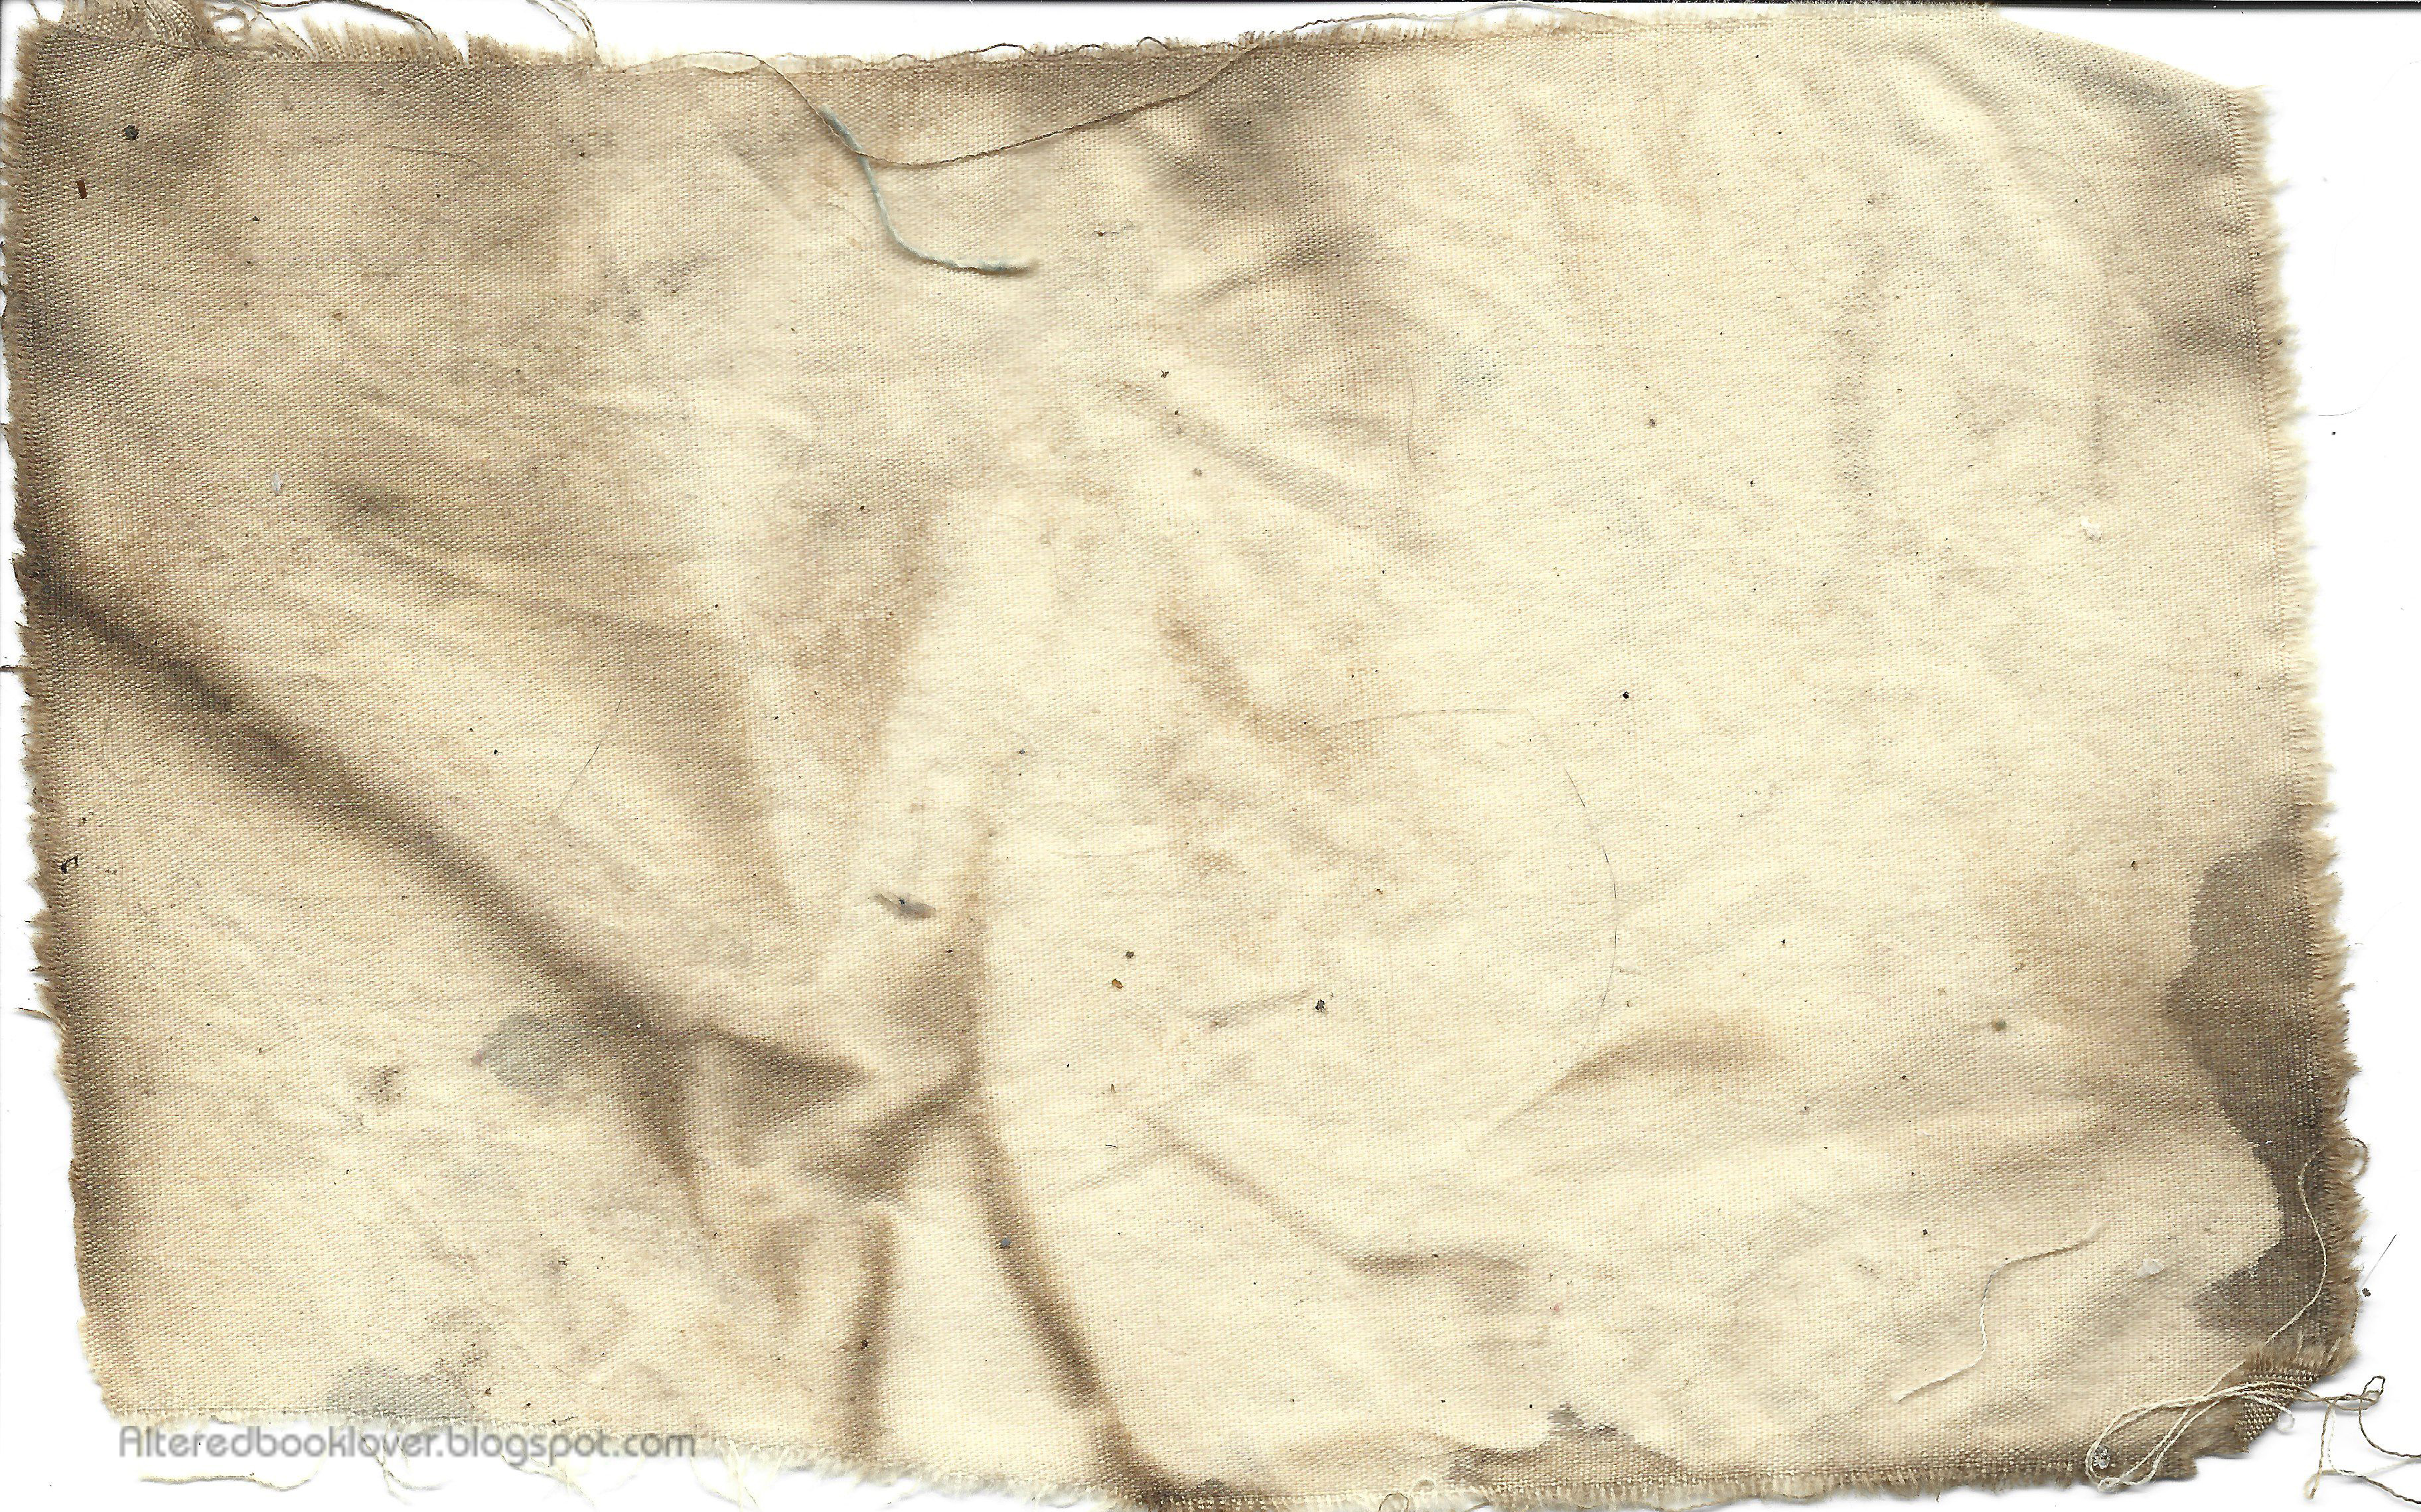
This is the large piece from the first bowl. It received the least amount of time in the bath.

Here it is without any color correction in Photoshop.

I think this will look good once it's ironed.

It's obvious the rusted fabric is still quite wet. I will update when everything is dry and ironed.
Thanks for joining me today as I dyed cotton fabric in coffee and some with rust added. Once this goes live I will add it to my tutorials page. I will also update as needed. I'm just delighted you had a chance to stop by.
UPDATE:

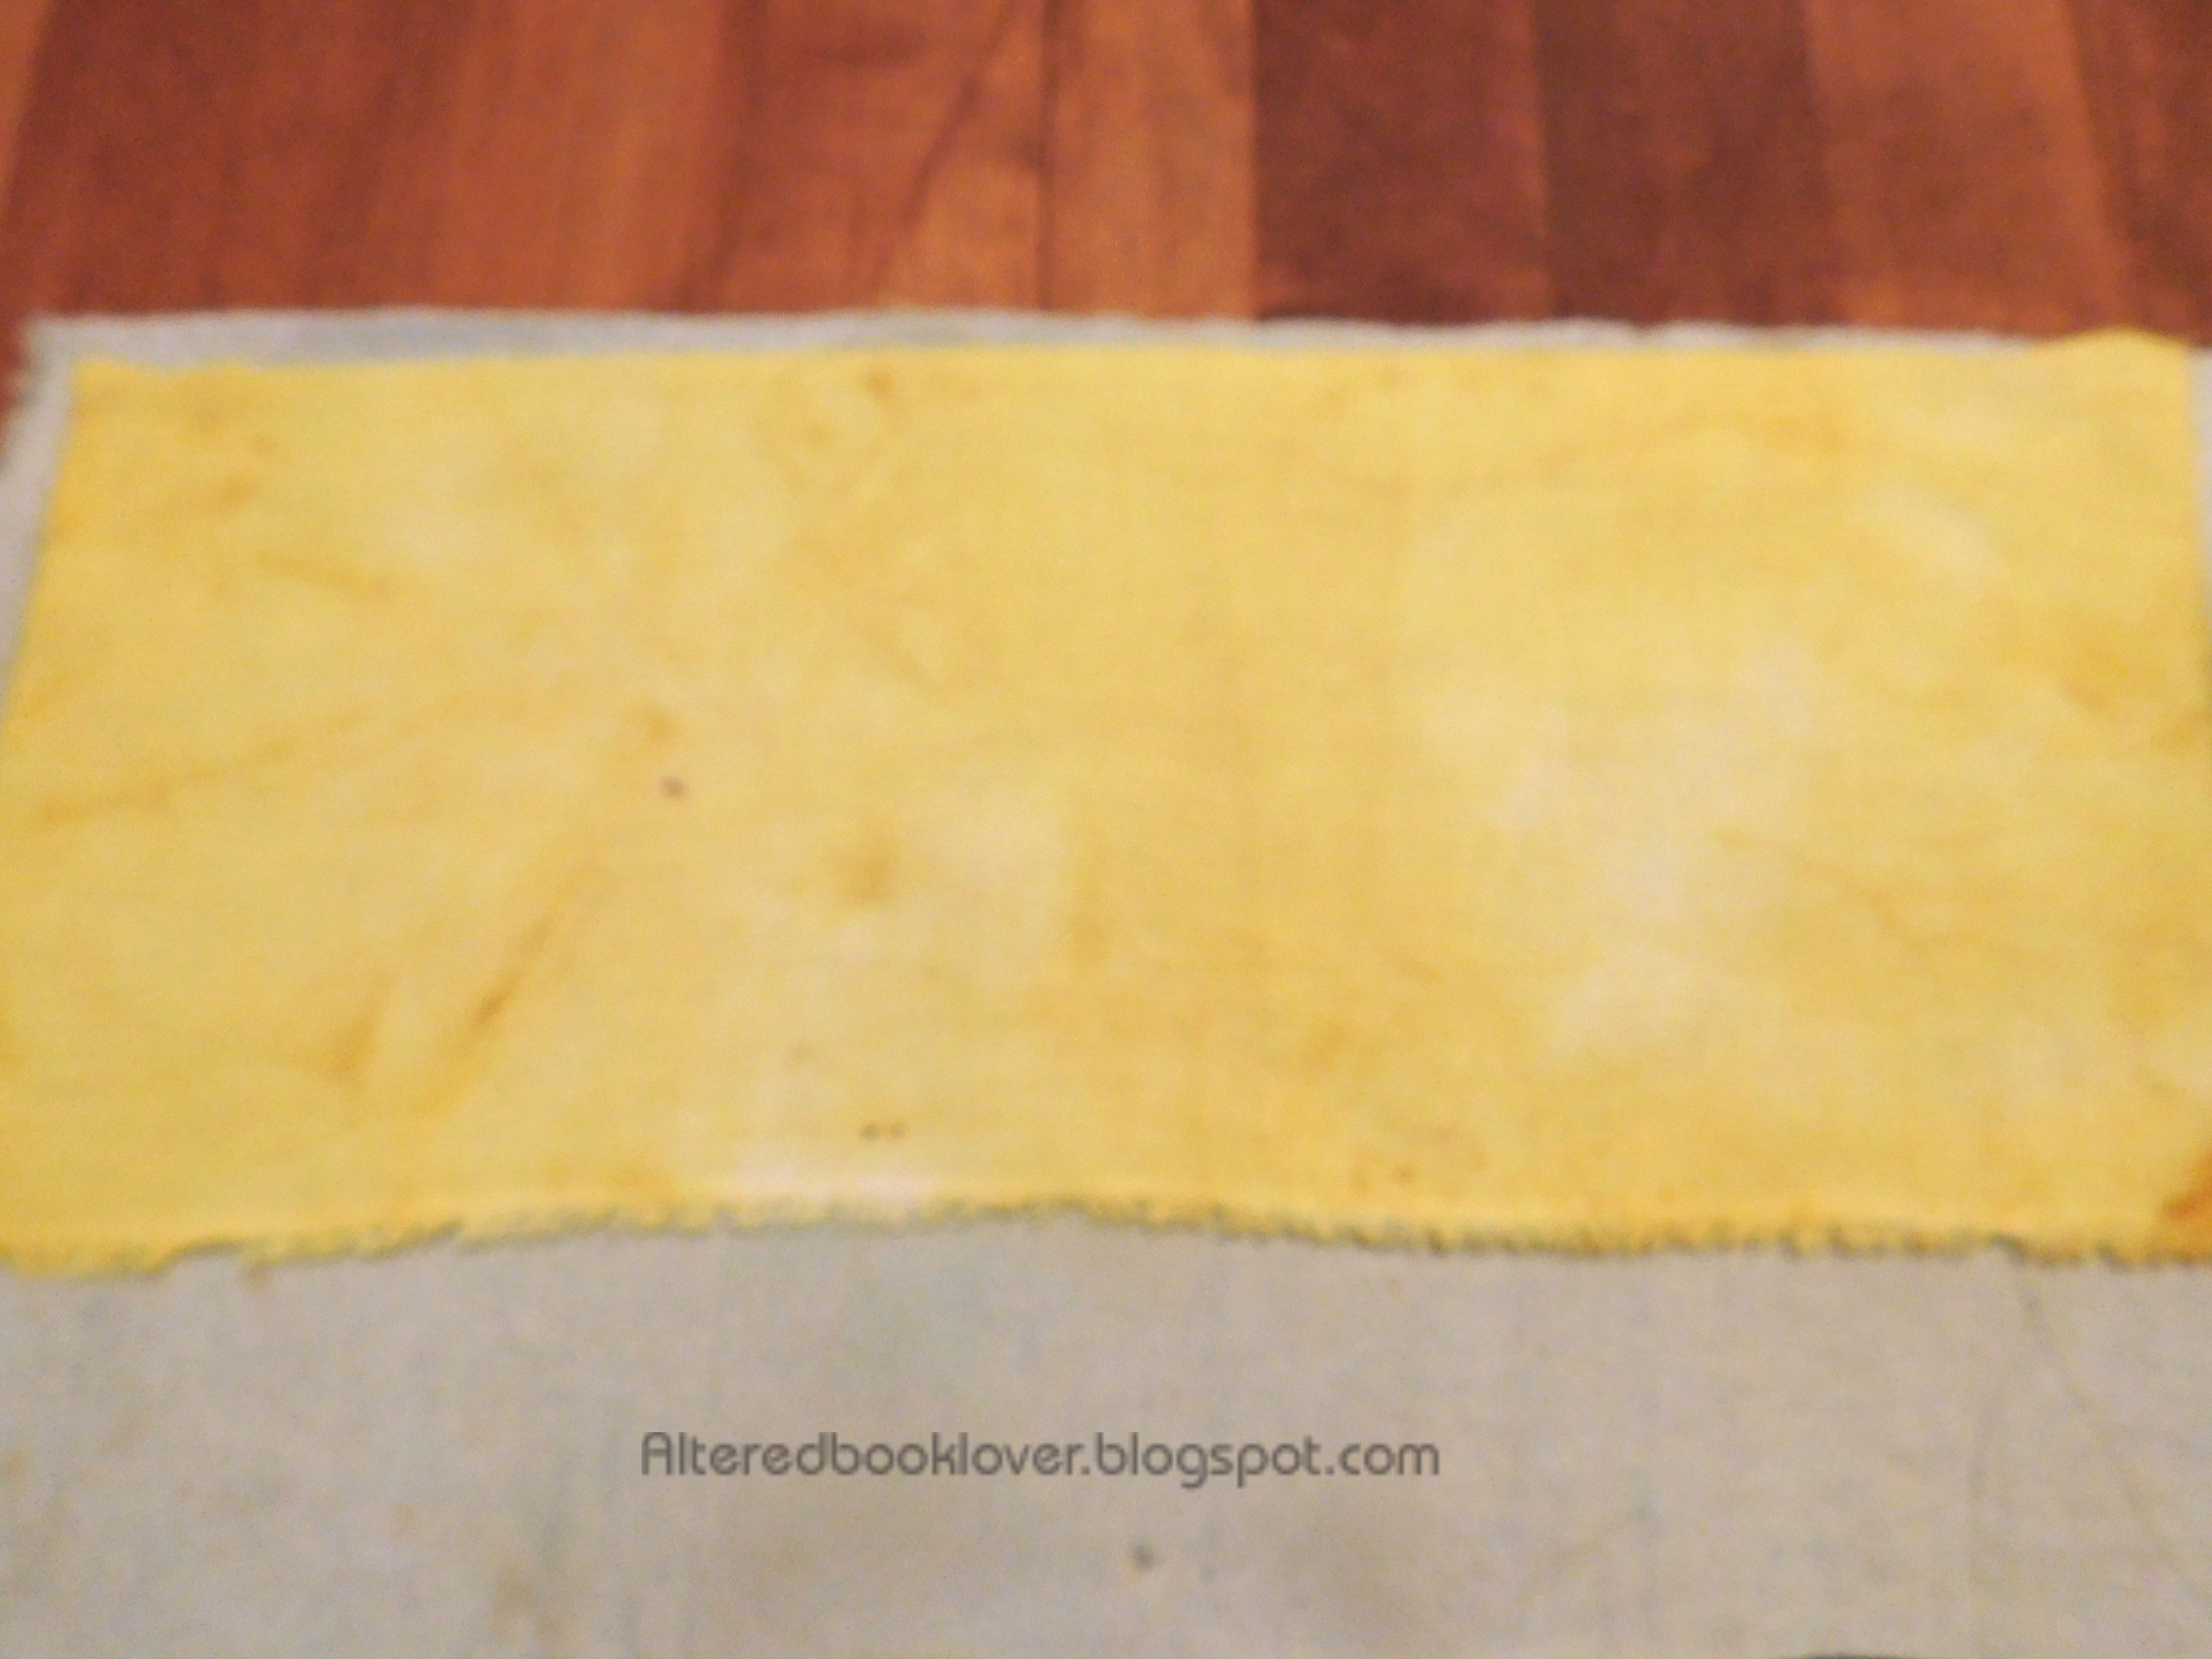
This is my favorite. It has bits of coffee and bits of rust. I love how mottled it turned out.
Finally, if you would rather dye paper instead of fabric,

I have two tutorials showing how I created these watercolor papers.
UPDATE:
Deb asked in another post if I would use this fabric in clothing or crafts. I DO NOT
make clothes, but I make little art quilts I call quiltlets. The
fabrics have been washed in baking soda water to neutralize the rust.
They are now safe to handle without gloves. I use my sewing machine to
create the quiltlets I often send to friends.


 However, as you can see,
  they are now all back where they belong.


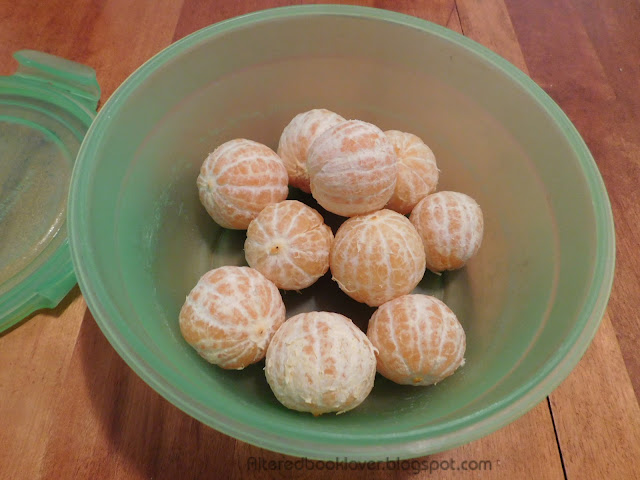 Some of you have seen this bowl of mandarin oranges before.
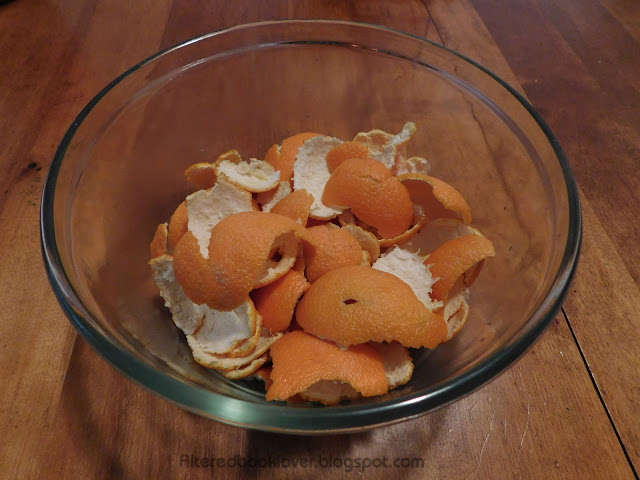 You may also recall I purchased
the oranges for the peels because their outer skins are much thinner
than regular oranges.
You may also recall I purchased
the oranges for the peels because their outer skins are much thinner
than regular oranges.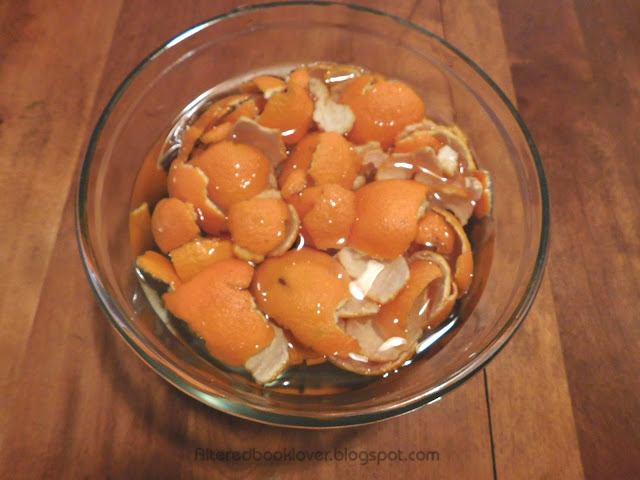 I added water to the peels and cooked them in the microwave oven for 30 minutes on 30% power. I know ALL reputable web sites will tell you to cook them on the stove in a steel pot for an hour, but those sites also have a bigger budget than I have. I am trying to conserve electricity, the cost of which is through the roof right now. By using the microwave, I am hoping to 1) save on electricity and 2) achieve basically the same results.
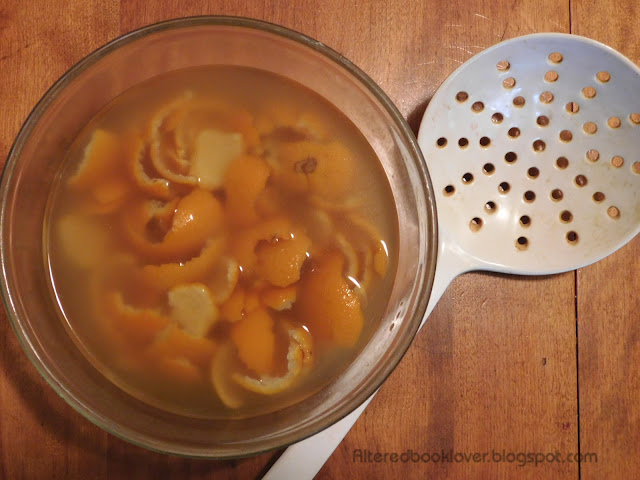 As I mentioned earlier, I wasn't sure I had the right color, but I decided it was probably not
going to get much darker. Using a strainer dedicated to crafts, I
removed the peels. I wondered if I should have cut or torn them a bit
more before I cooked them.
As I mentioned earlier, I wasn't sure I had the right color, but I decided it was probably not
going to get much darker. Using a strainer dedicated to crafts, I
removed the peels. I wondered if I should have cut or torn them a bit
more before I cooked them. 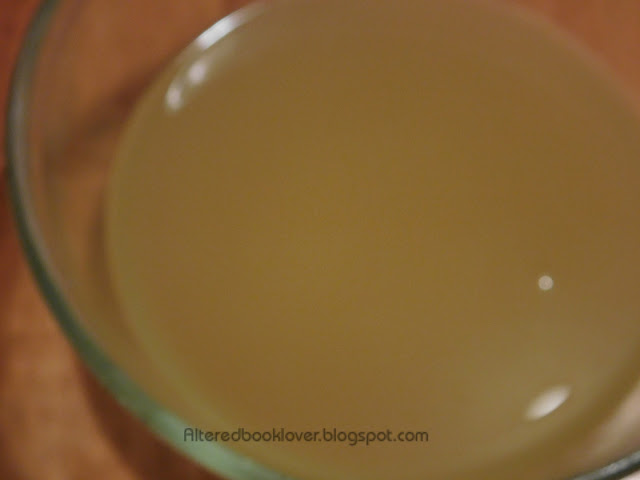 At least they were easy to remove from the bath.
 I had to
wait overnight until the liquid cooled sufficiently before I
continued. BTW, the spent peels went in my compost pile.
I had to
wait overnight until the liquid cooled sufficiently before I
continued. BTW, the spent peels went in my compost pile.
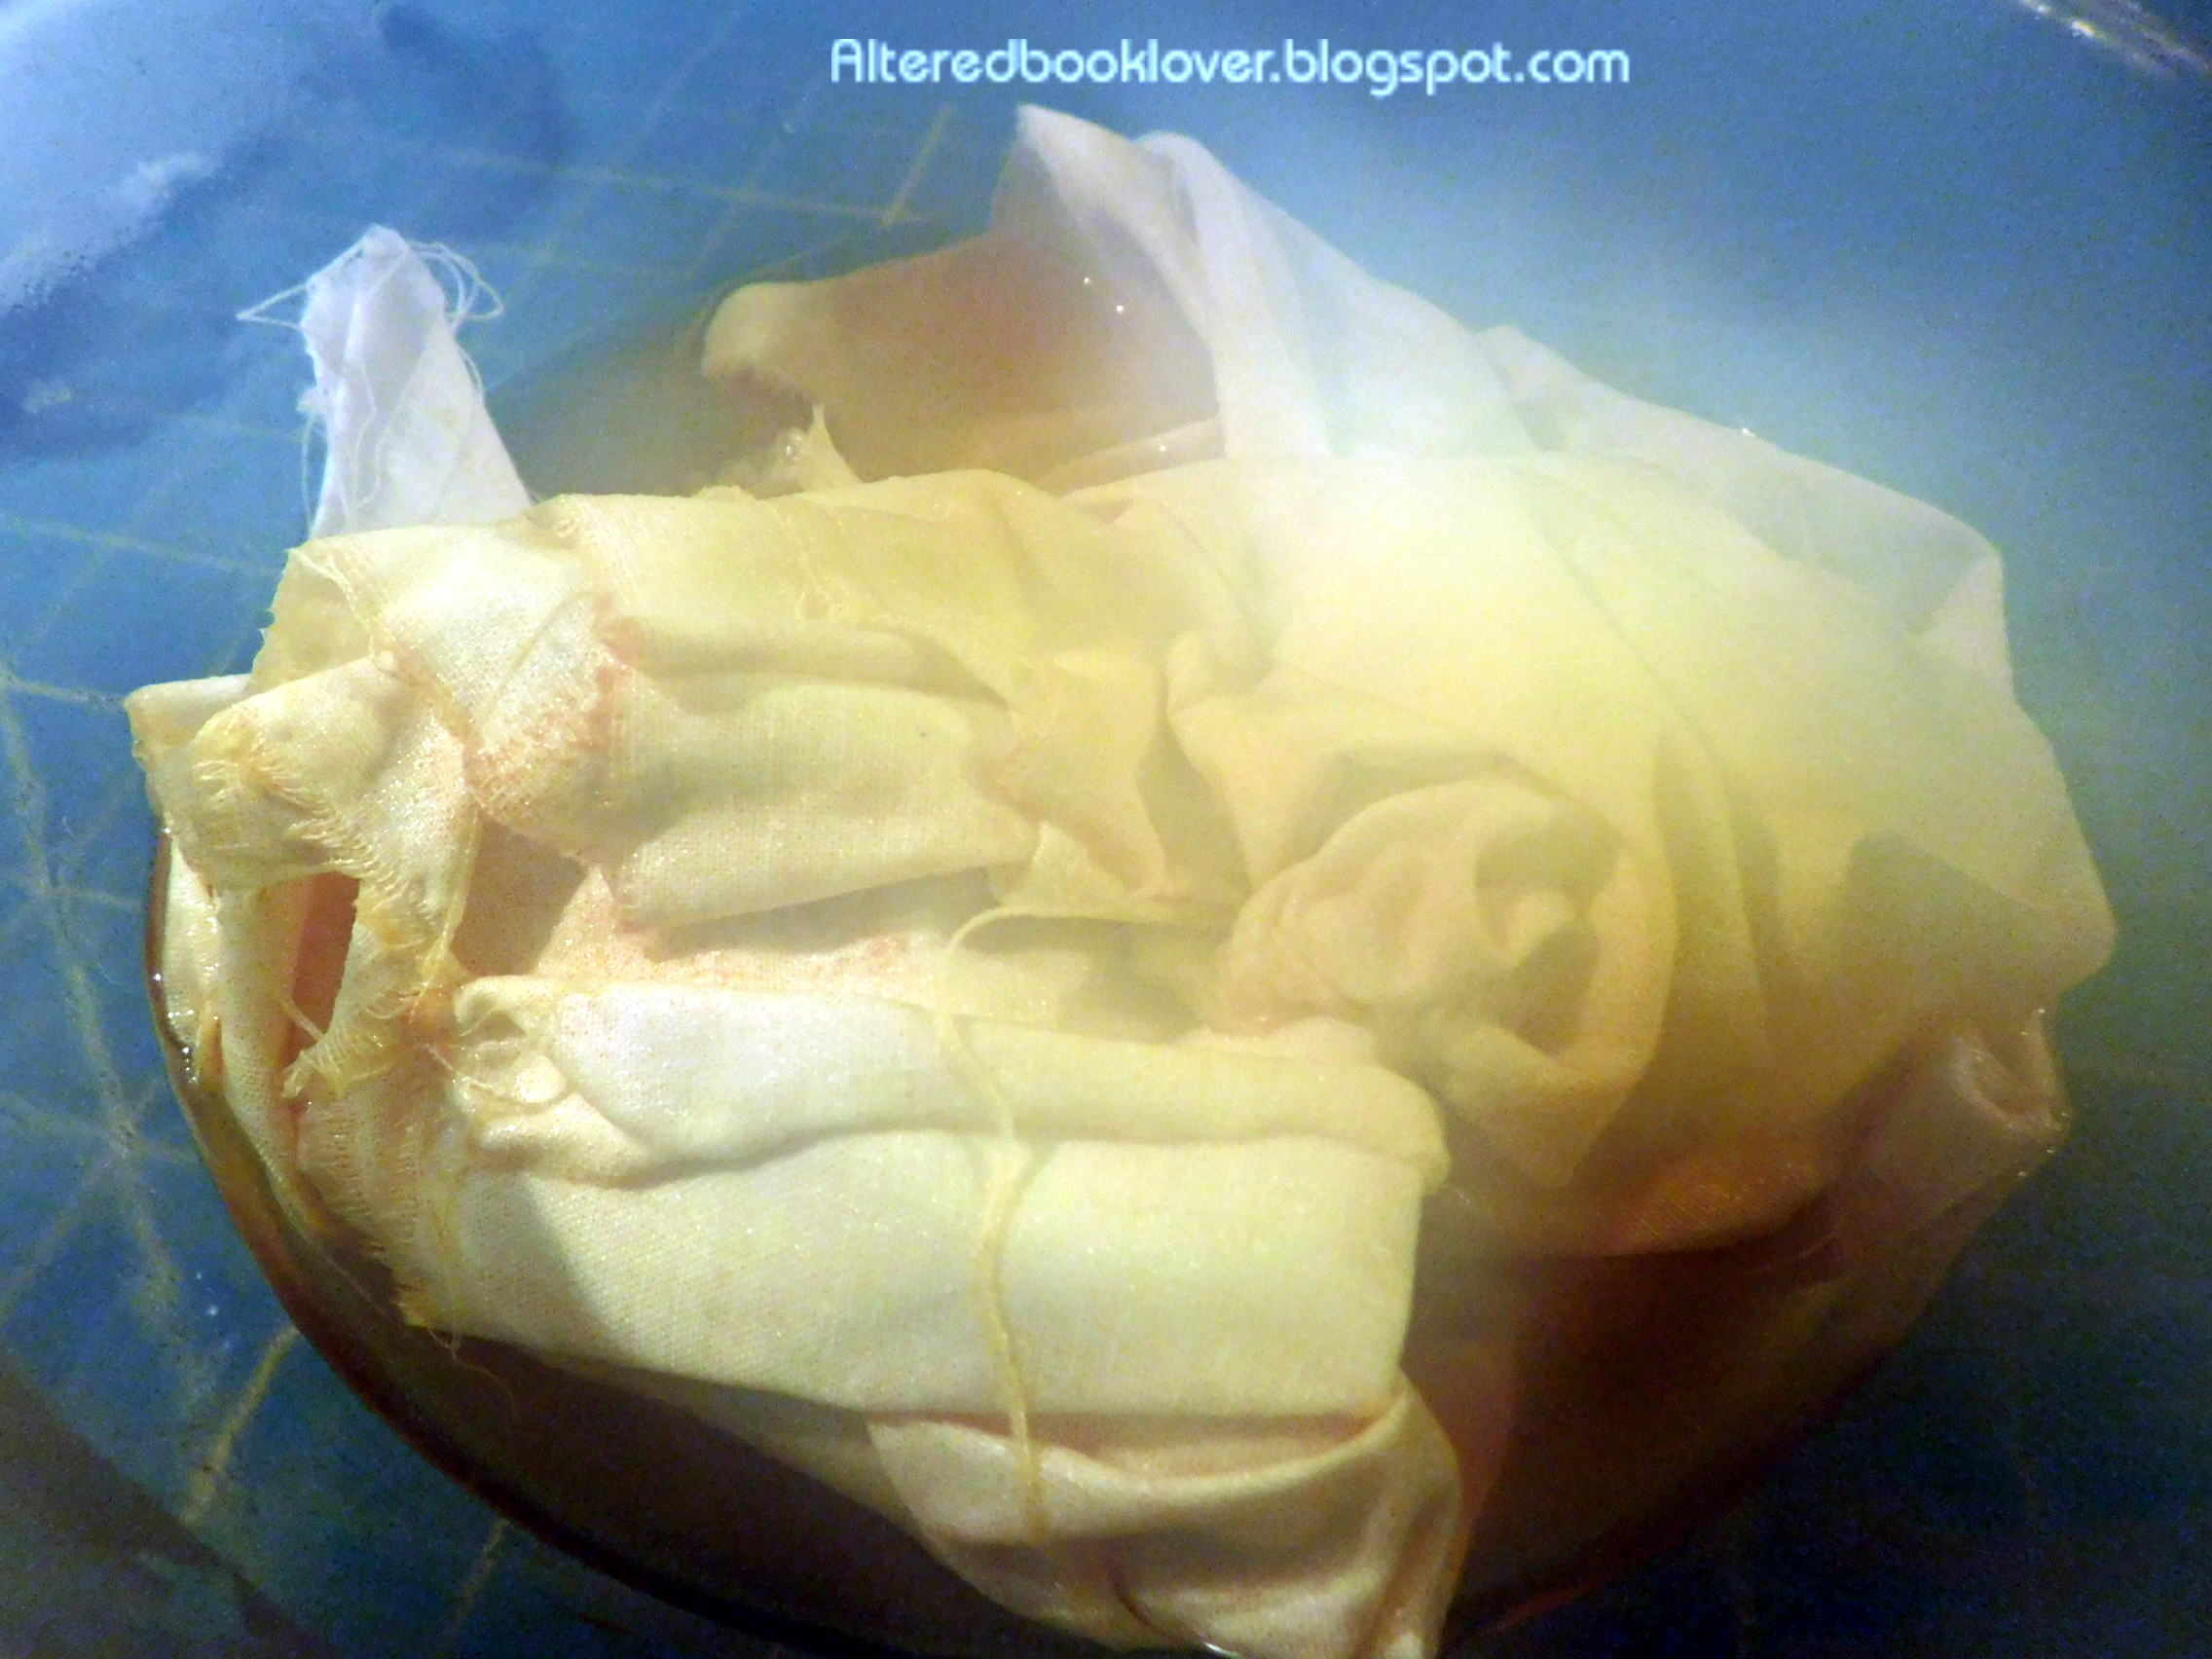


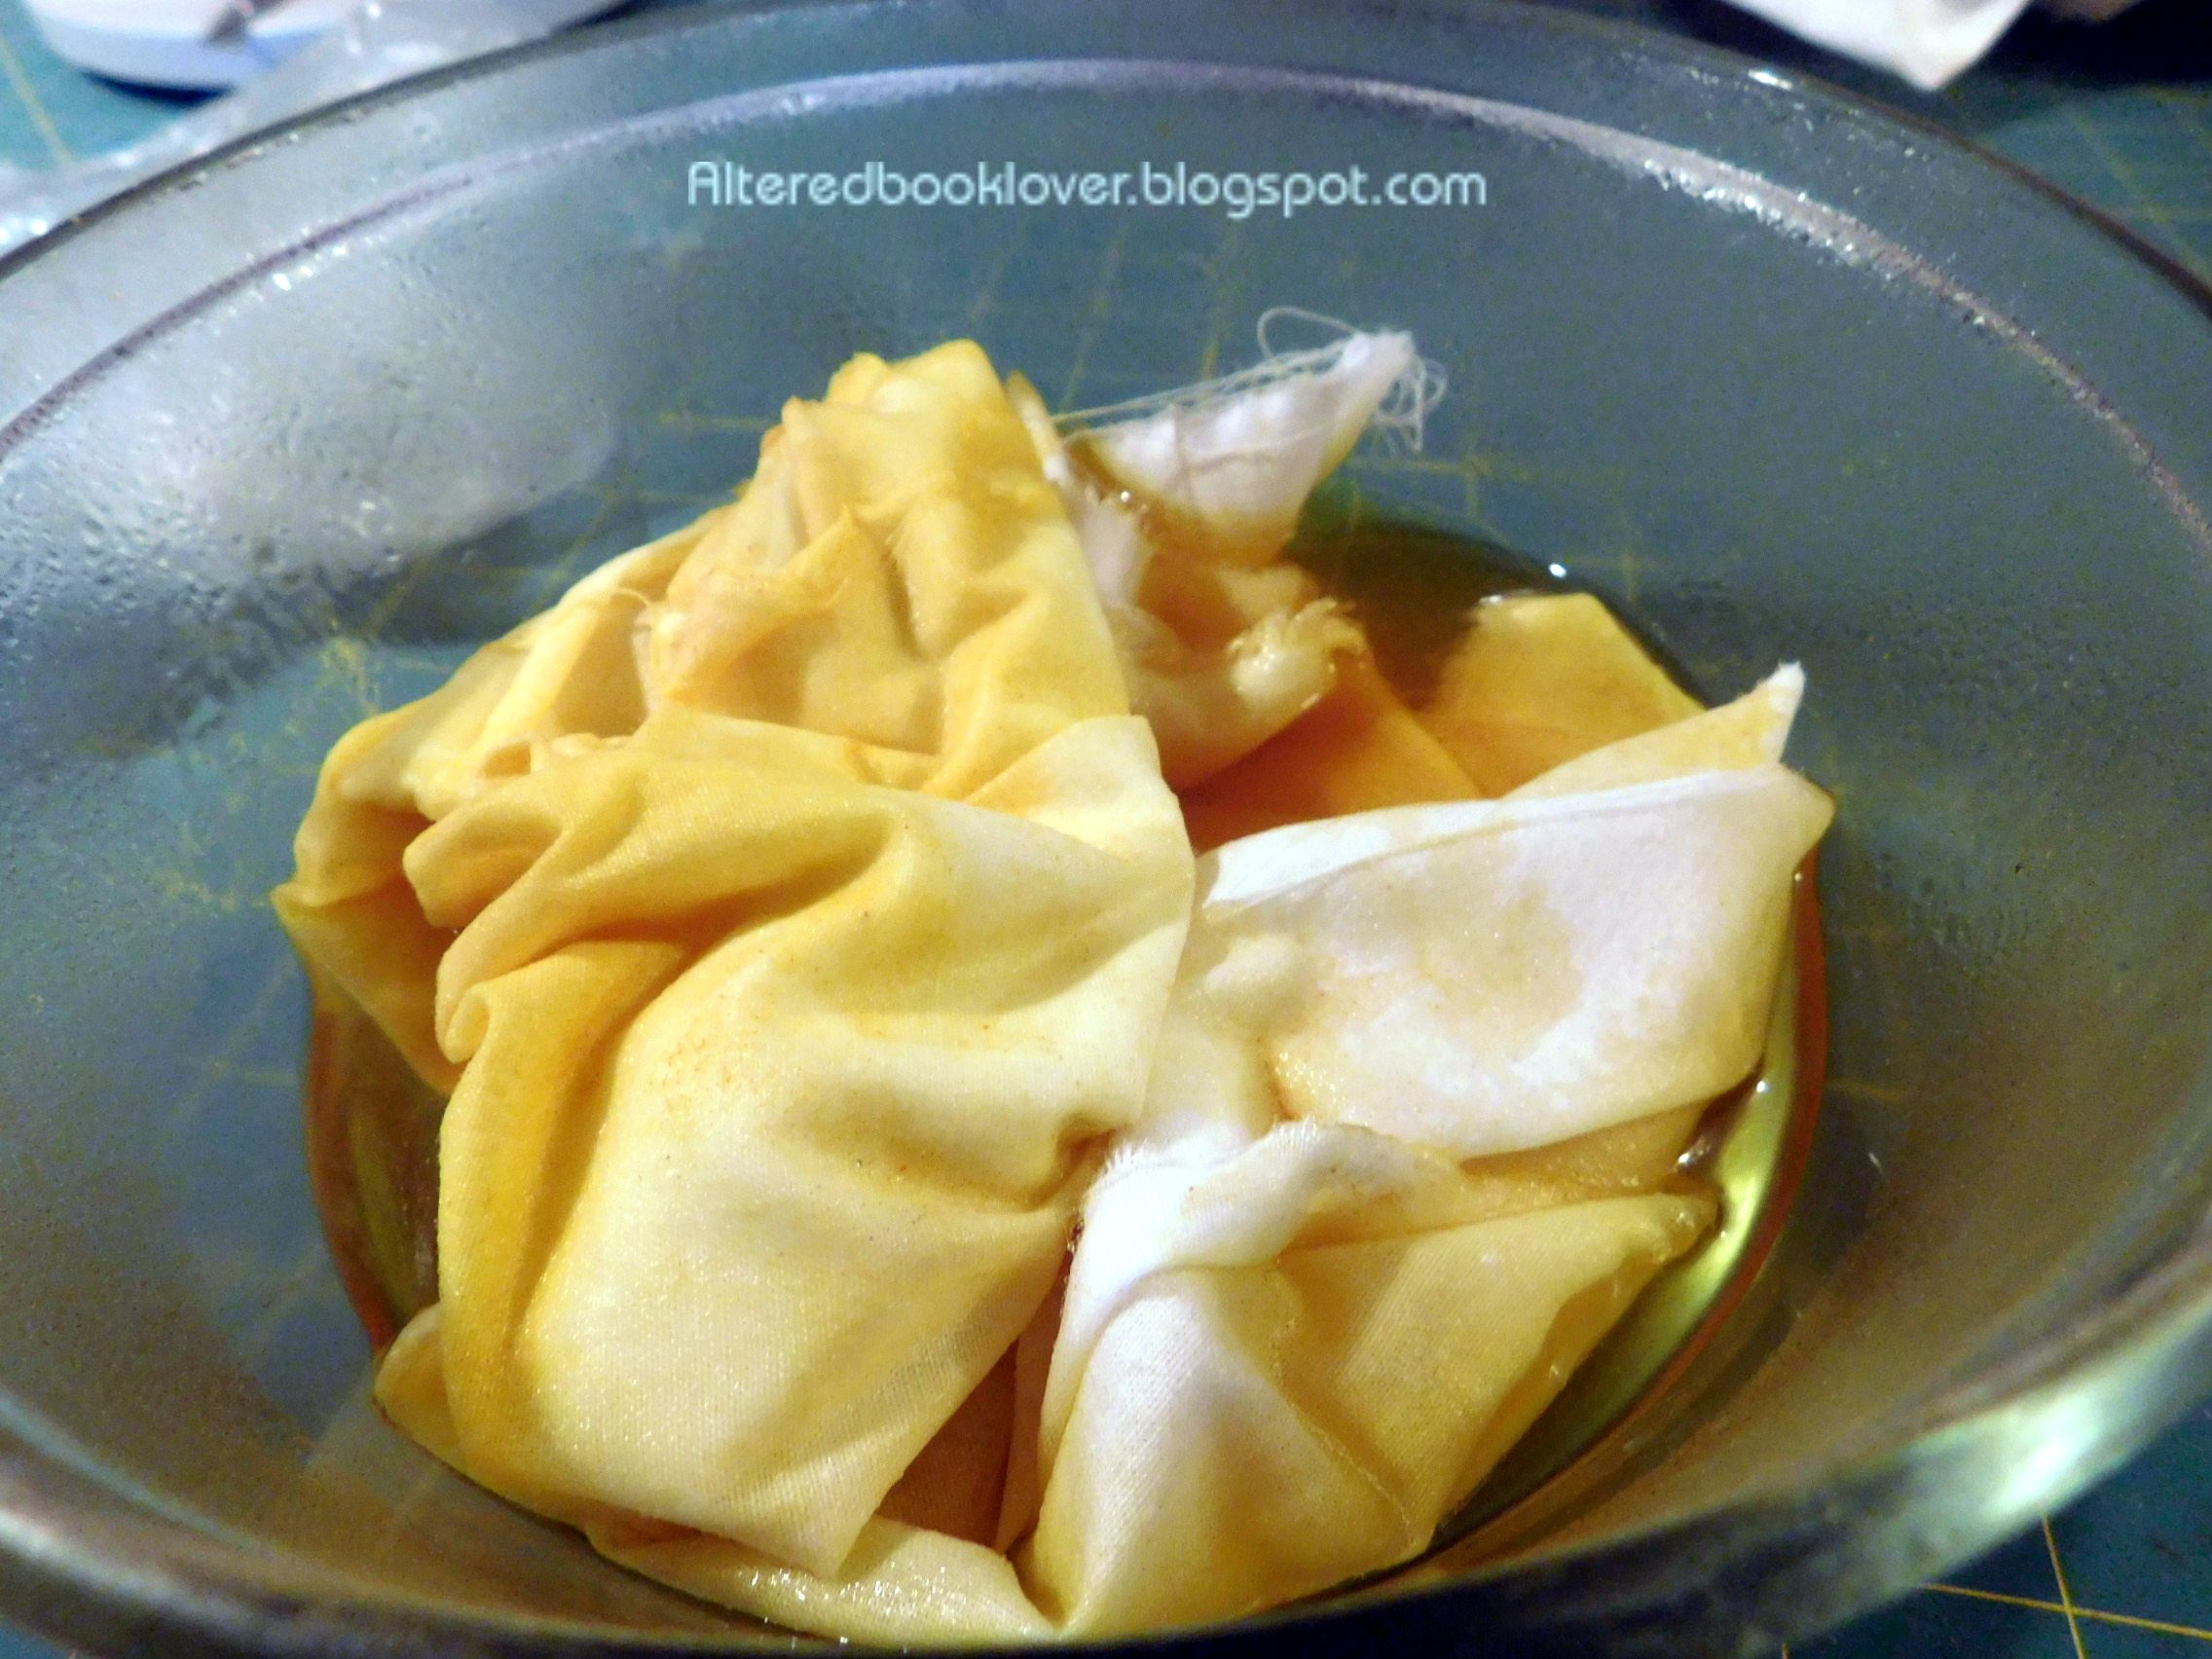















 Dollar Exchange Rate



